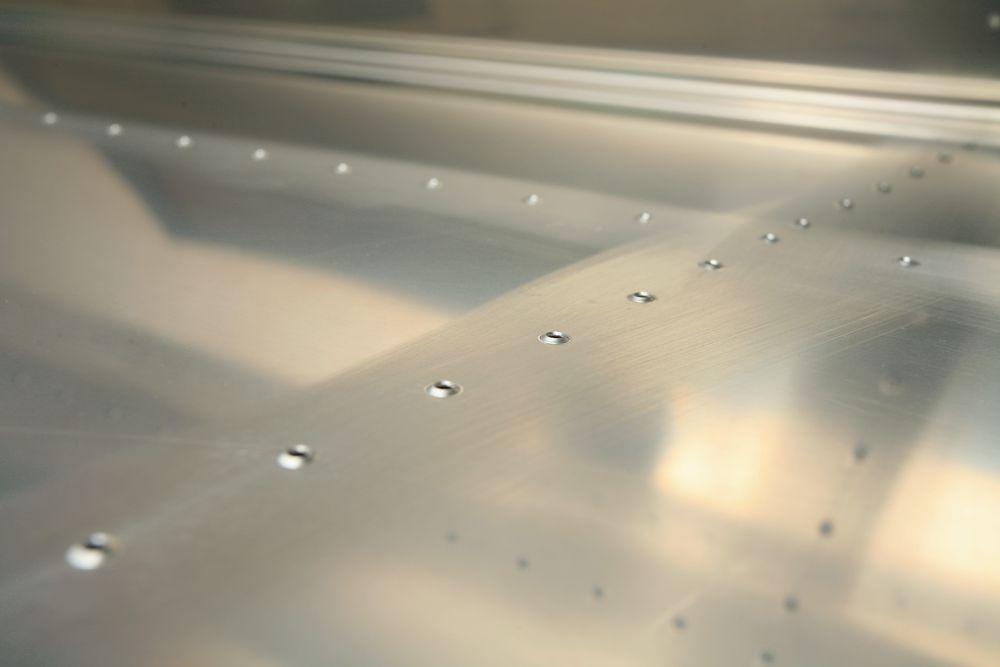
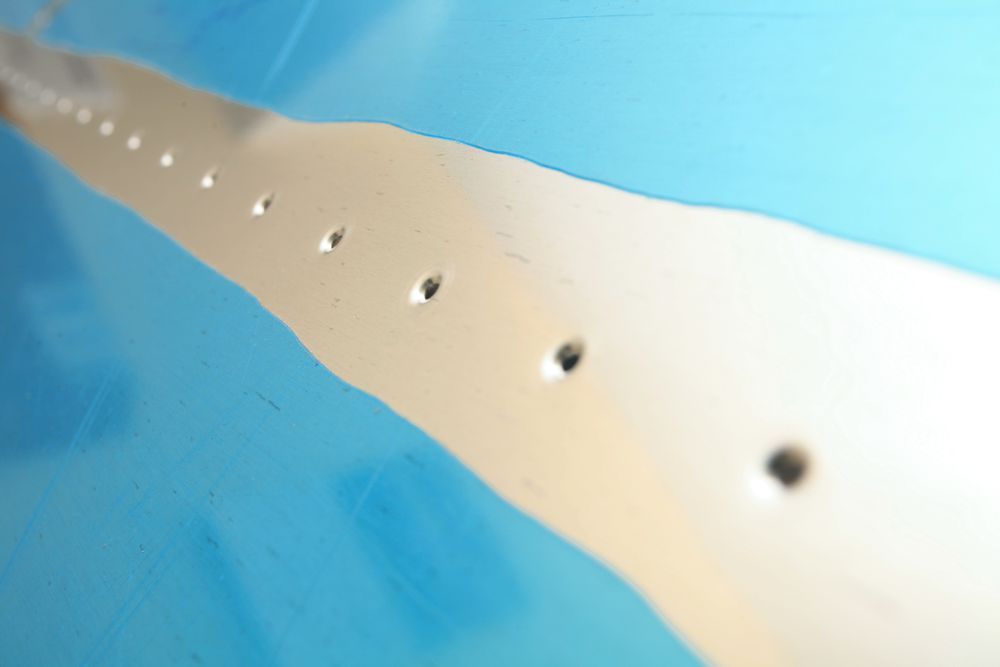
I deburred the holes from the rudder skin to the spar, and edge-finished the skin.
May 2011 Archives
I got some work done on the RV in the past few days, but didn't write any updates here, so today's entry actually covers three days.
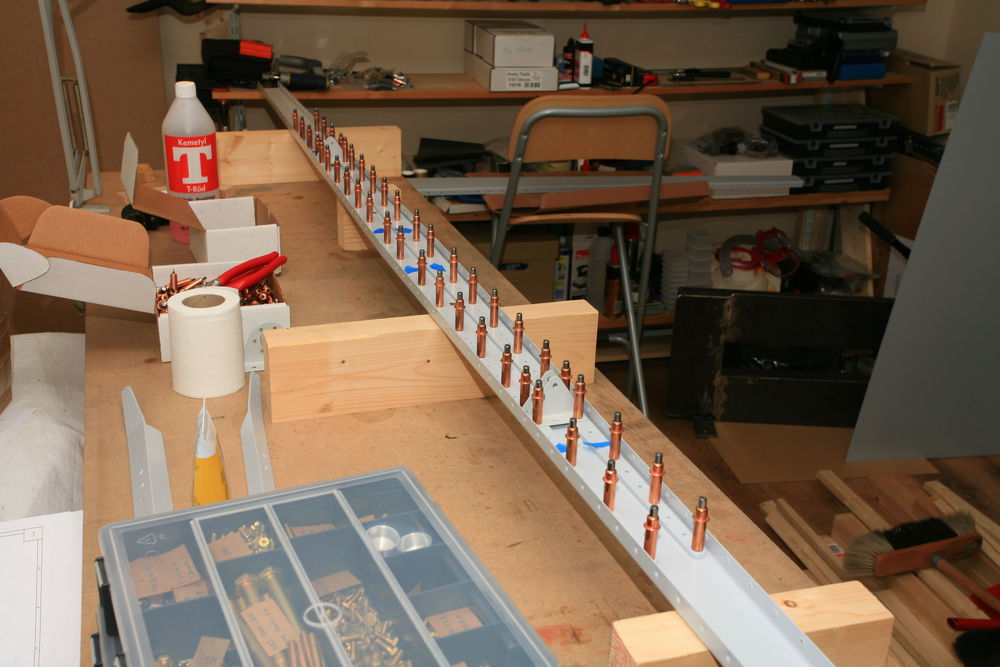
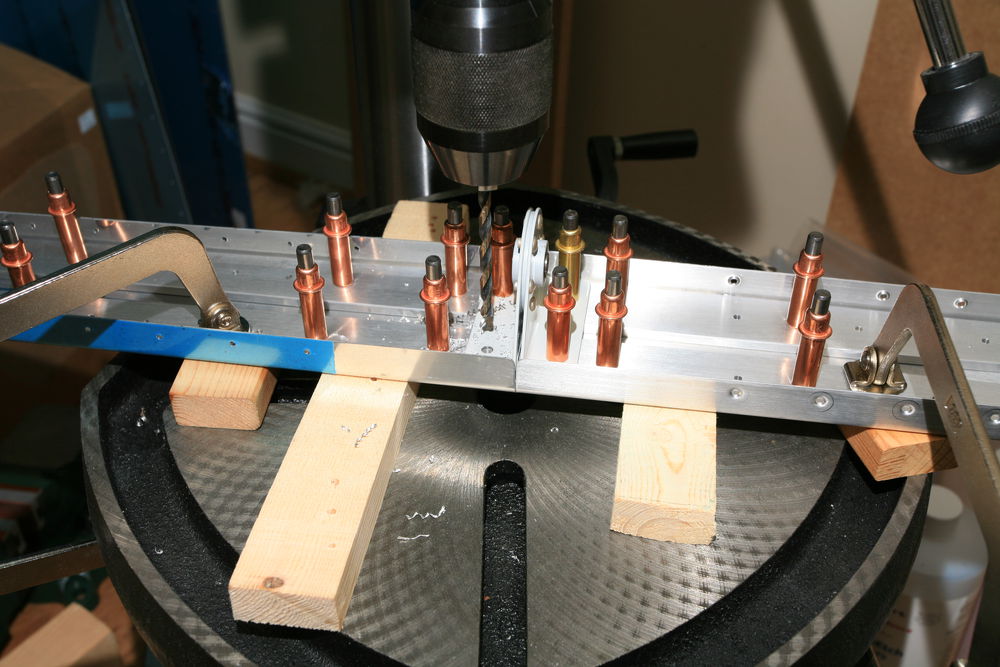
As you already read I have lots of primed parts now, so I could do some riveting. I started with the horizontal stabilizer spars. The rear spar consists of the left and right channel (HS-603PP) and two reinforcement bars (HS-609PP) plus some hinge brackets and the central bearing for the elevators. Here you see the reinforcement bars clecoed to the spar channels:
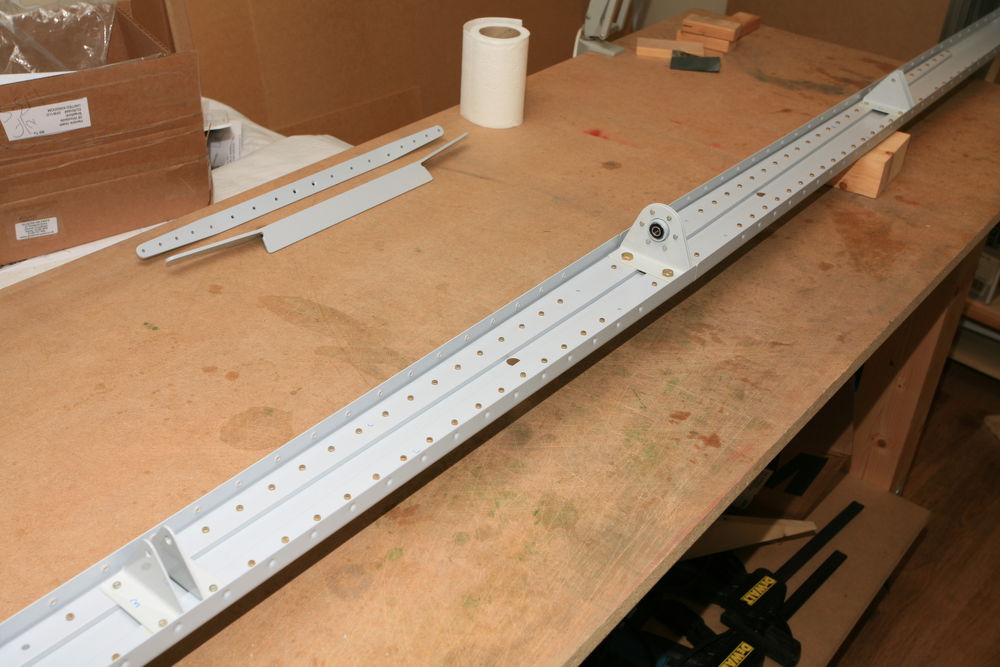
And the riveted spar:
The plans call for AN470AD4-5 rivets for the outer hinge brackets (HS-413PP), but they are way too long and so I used -4 rivets after the very first -5 rivet tipped over and I had to drill it out.
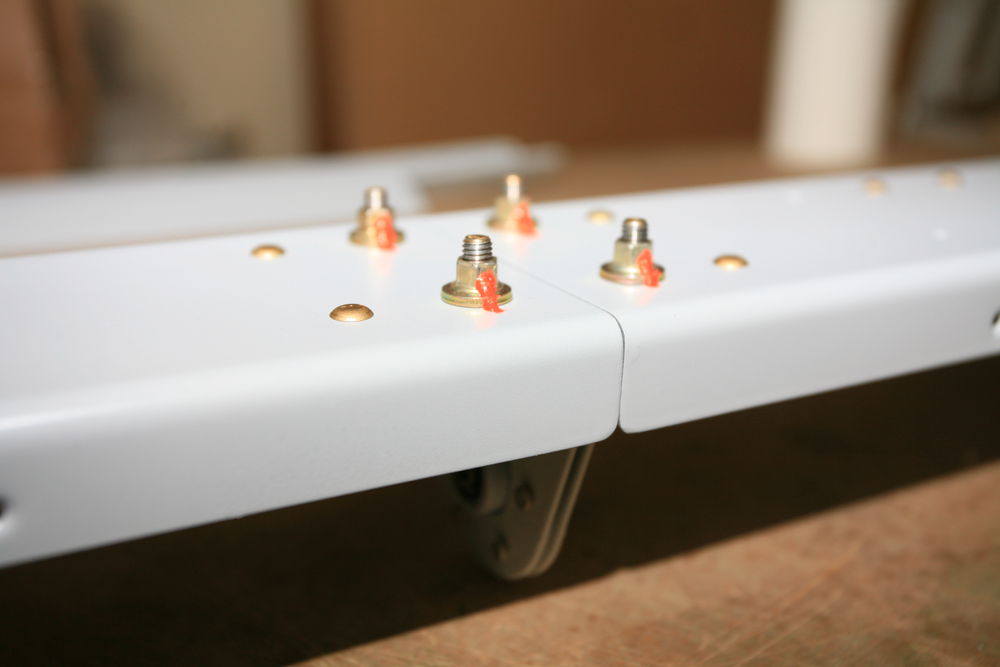
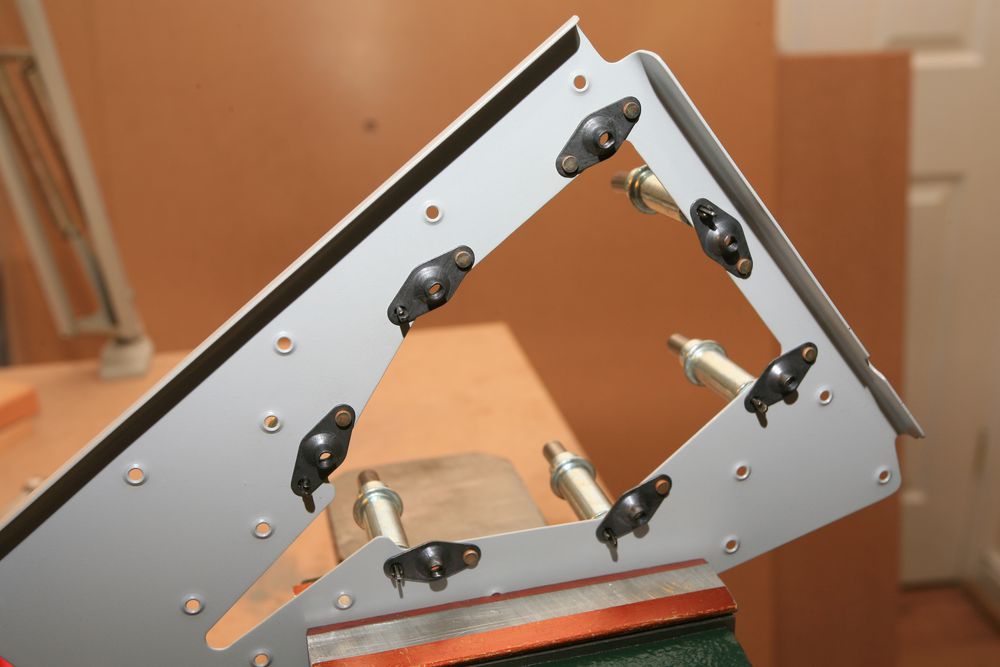
The central bearing is bolted to the spar. Instead of AN-365 nylocks I decided to use all-metal locknuts (MS-21042) because they are quite a bit lighter (0.75g vs 2.2g) and perform the same. Here they are, torqued and sealed:
The next day I proceeded with the front spar. Again it's made from two halves (HS-702), this time jointed with two angles (HS-810-1 and HS-814-1). That's what they looked like about half way through the riveting:
And the (almost) finished product. The central rivets are flush rivets which I did later, and the other holes stayed empty for ribs and the fuselage attachment:
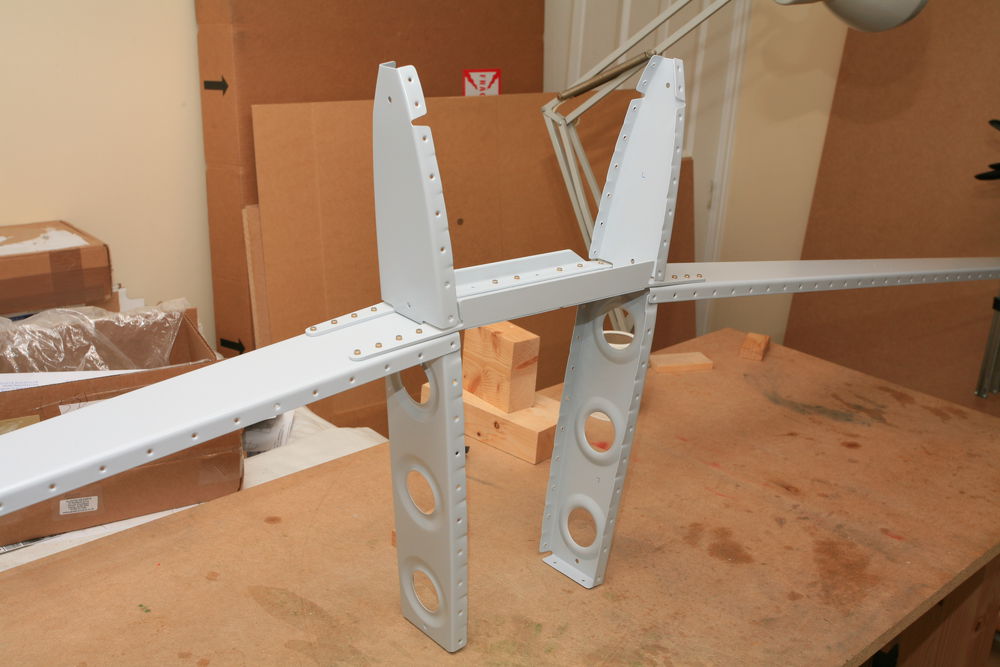
Talking about ribs, I also riveted the main ribs to the spar. Looks like an airplane, doesn't it? I can assure you that no neighbors were harmed during the generation of airplane noises.
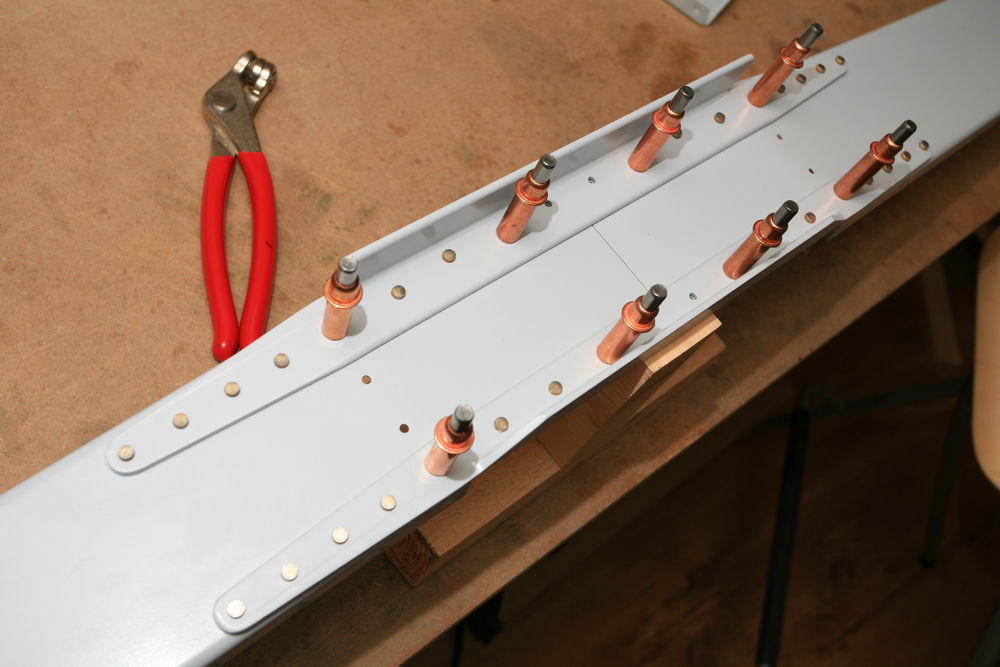
Fast forward two days. This afternoon I drove and squeezed some more rivets. As an easy starter I attached the plate nuts to the E-615PP trim access reinforcement plate. Instead of dimpling the plate nuts I machine countersunk the reinforcement plate and used NAS1097 flush rivets.
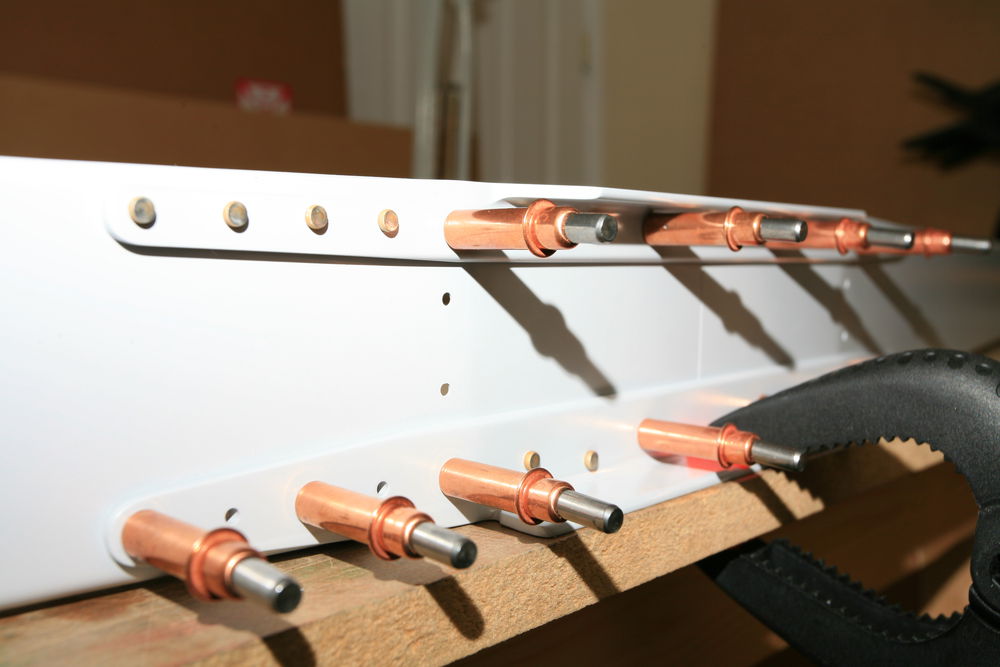
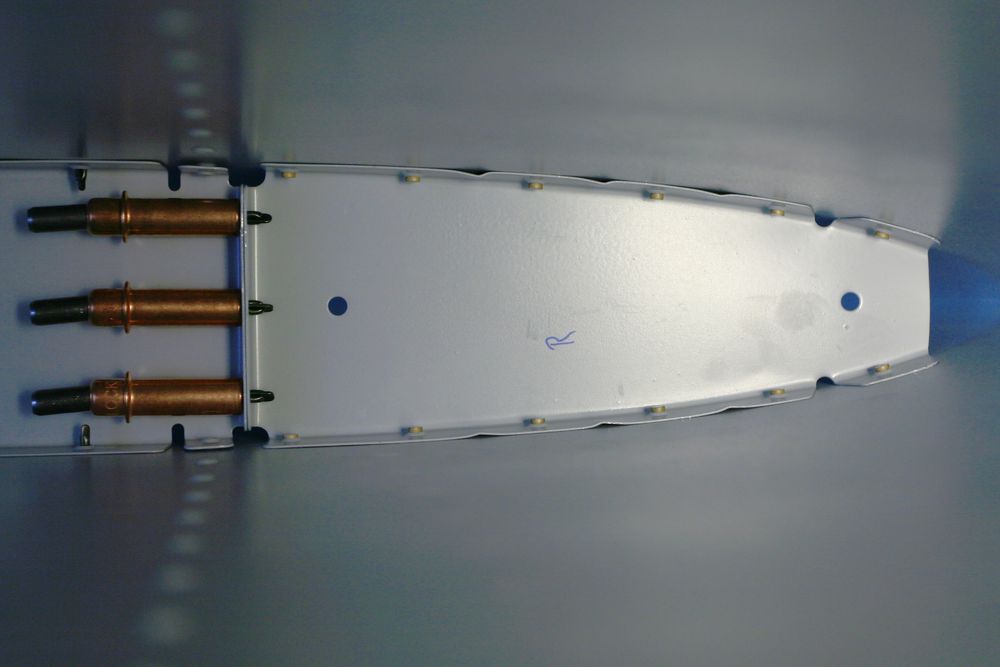
And finally I riveted the HS-707 nose ribs into the two HS skins. I'm glad I have the tungsten bar. There isn't much space to buck the forward rivets:
Last night I primed the left HS skin. That was the last missing part of the horizontal stabilizer. I'm still fighting with the spraying. Certainly the education bit of "education and recreation".
Since the wind was forecast to be strong from the north-west, I didn't go to the glider club today. With this wind direction we get some nasty turbulence on the runway and often don't fly at all. So I primed some more HS parts and then deburred and dimpled the left HS skin. No pictures today -- you've seen it all before.
Today I received my new Pan American angle drills from Avery. I had bought the Taylor angle drills before, but wasn't happy with their trigger action. Since I already have a regular Pan Am air drill (smooth as silk!), I phoned Bob and asked if I could send the Taylors back and exchange them for Pan Am drills. That was no problem at all (Avery's customer service is great) and I'm very happy I did that. The Pan Am drills are so much nicer. Smooth trigger action, no kick back when they start (unlike Taylor), nice variable speed, and I believe they are a bit quieter.
Here they are, equipped with Avery's air line swivel:

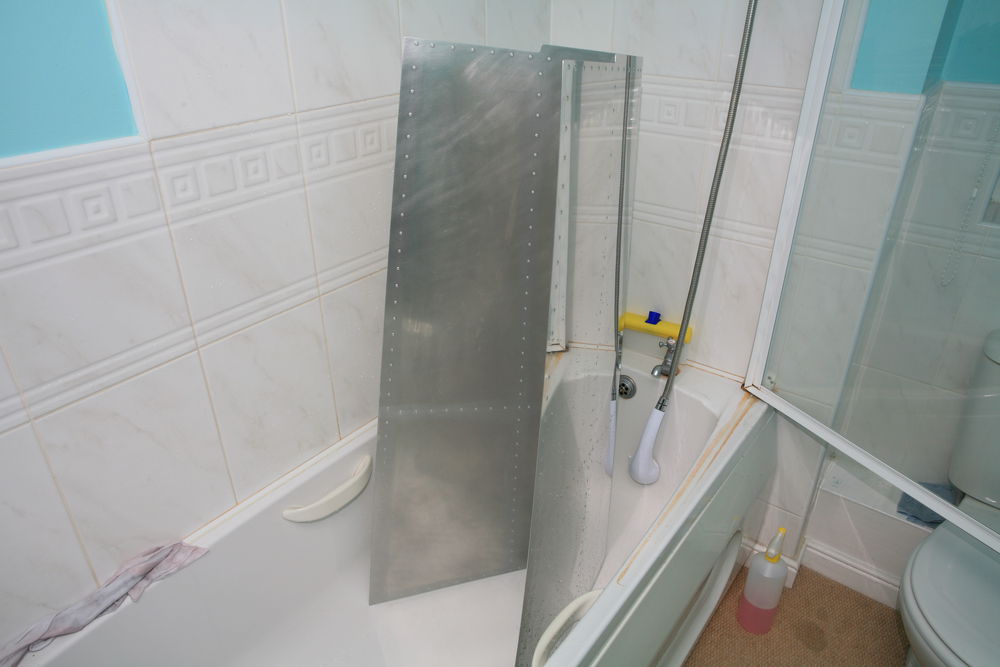
Tonight I primed some of the HS parts: The right skin, the left skeleton, and one of the rear spar reinforcement bars. When I primed the rudder skin, I cleaned and etched it in my backyard. Today I tried the bath tub, and even though it's not perfect, I don't depend on weather or daylight:
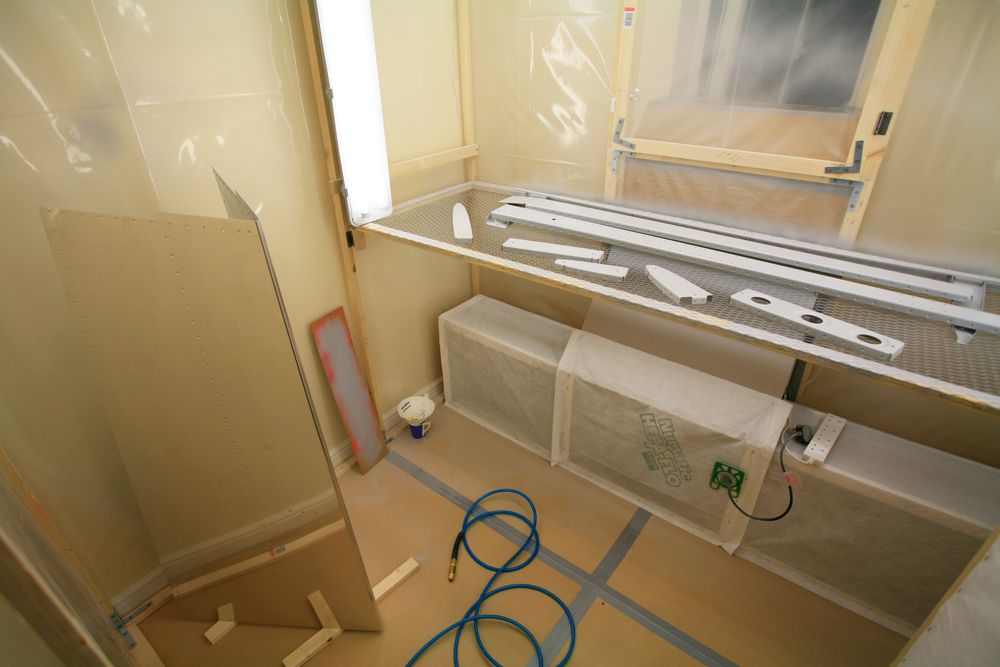
The parts in the paint booth:
Yesterday night I disassembled the left HS and drilled the hinge bearing assembly (HS-411 + VA-146) to the rear spar. You might have noticed that I don't really follow the order of the instructions, but work much more in parallel. According to the instructions I should have drilled this a year ago, well before clecoing and drilling the rest of the HS, but at that time I didn't have the primer yet, so I couldn't prime the bearing, so I couldn't rivet that assembly, so I couldn't drill ... well, you get the idea.
I also drilled the remaining holes from the HS-810-1 and HS-814-1 reinforcement angles to the front spar. Today I deburred, scuffed and dimpled the skeleton. Still need to deburr and dimple the skin, but that's for another day.
Weekend, marginal weather, work (the kind that pays the bills) -- today that summarizes most of the day. Nevertheless I prepared new elastic bands for my glider's canopy cover, so that it hopefully doesn't get blown off by the wind anymore, and I deburred and dimpled the right HS skin. Looks like I'll have another priming session next week.
Moving gliders on the ground can be a bit of a pain. By far the easiest way is to hook them up to the car and tow them. So this week I started making a tow bar. It's almost finished, I just need some long bolts before I can make the final adjustments at the glider.
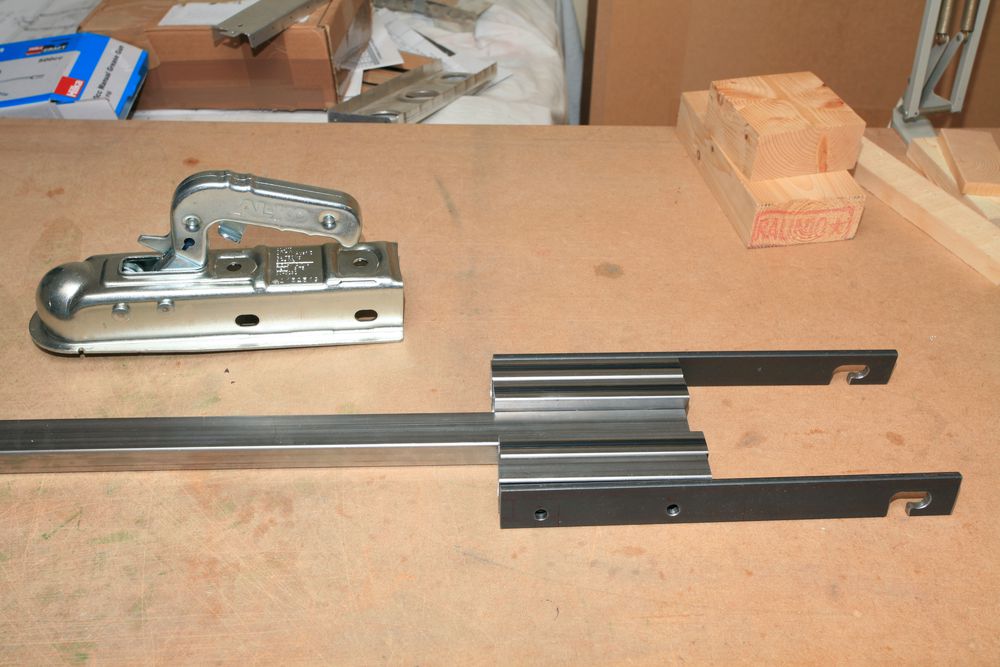
The next project is a wing wheel, so that nobody needs to walk my wing any longer.
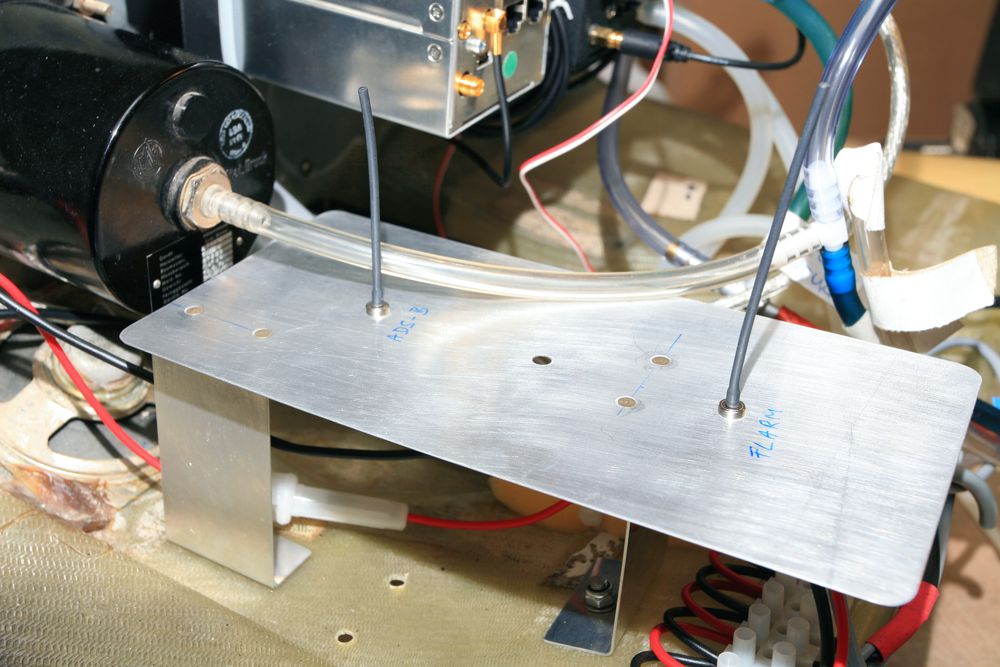
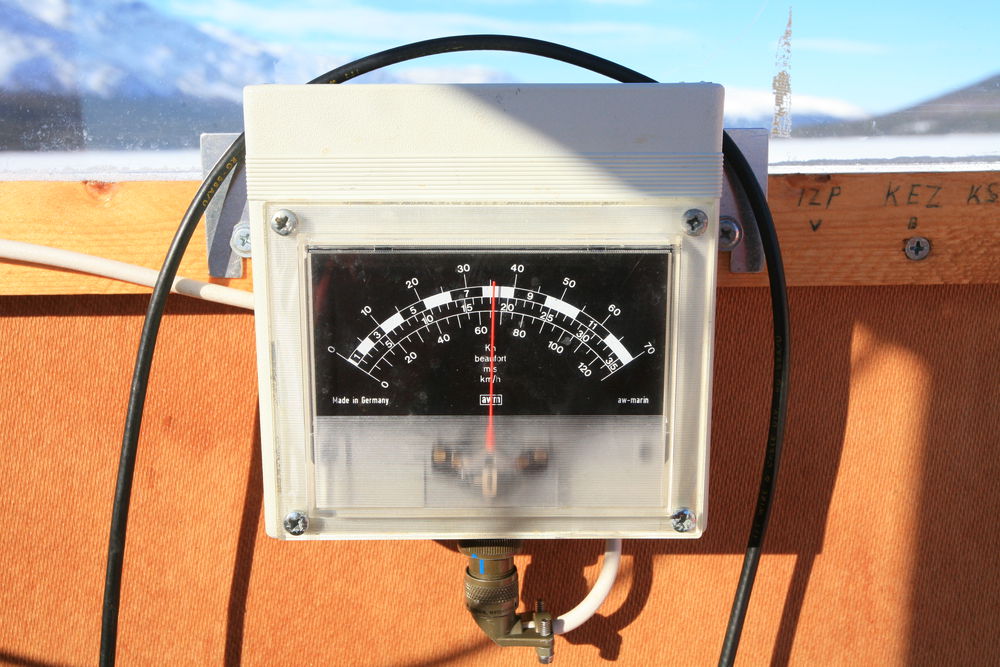
This winter I finally bought a FLARM. I opted for the new Garrecht TRX-2000, which includes not only a FLARM device with graphical representation of the traffic situation, but also an ADS-B and Mode-S transponder receiver. A nice piece of equipment.
Both the ADS-B and the FLARM antenna need a ground plane. In my Libelle the only possible location for the antennae is behind the instruments, and since the antenna cables have straight connectors, I needed to elevate the ground plane a bit. Some scrap aluminum was quickly converted in what some might consider overkill (nobody will ever see those flush rivets):
During the last few weeks I didn't work on the RV, but nevertheless spent quite some time in the workshop. So why not document it here? Then at least you know why the work on the RV is stagnating.
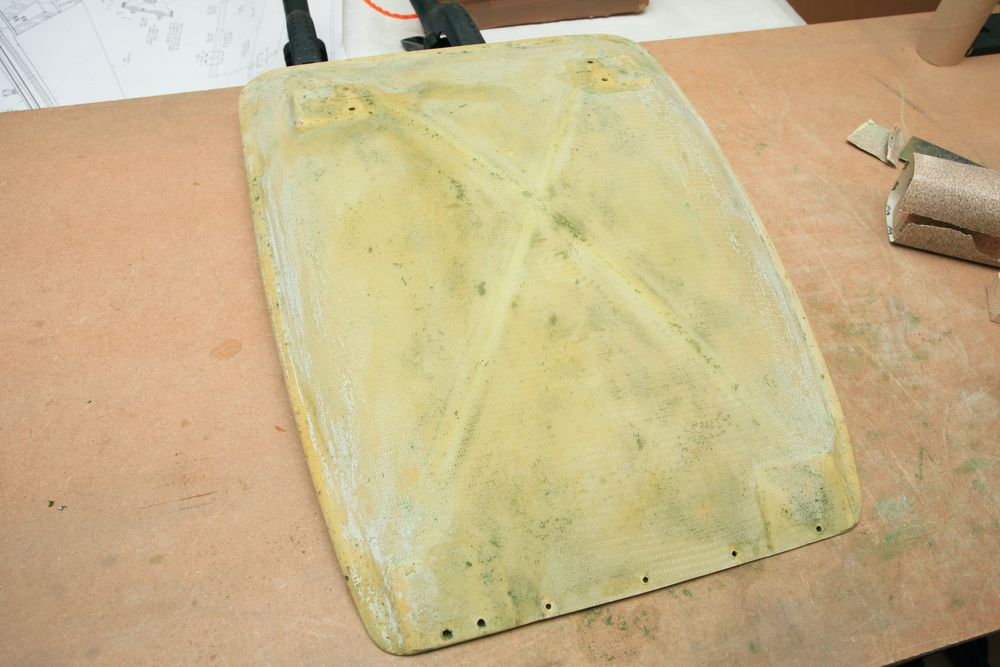
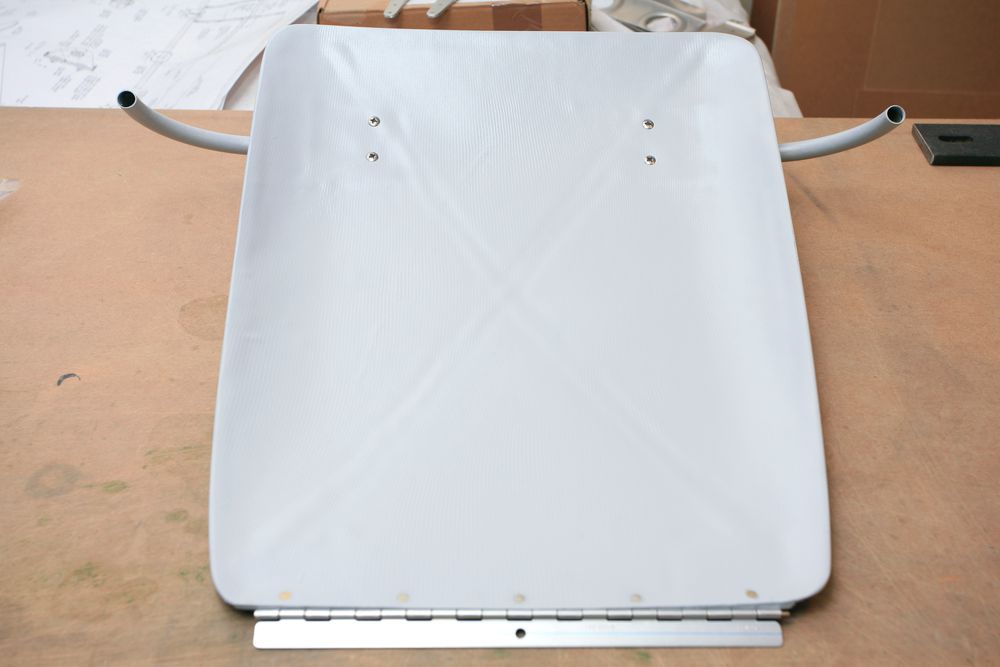
One of those projects was the refurbishment of the seat back in my Club Libelle. The cable for the seat adjustment had to be changed (sorry, no pictures for that), and having the seat back on the work bench was the perfect chance to fix the rotten piano hinge holding it in place. Here is the old vs new comparison:

The reason why it cracked so much is that it had been riveted to a wavy surface, so I decided to make a fillet with flox (epoxy with flocked cotton), but of course not on the old paint. Perfect excuse to get rid of the horrible dark green paint and strip the whole thing:
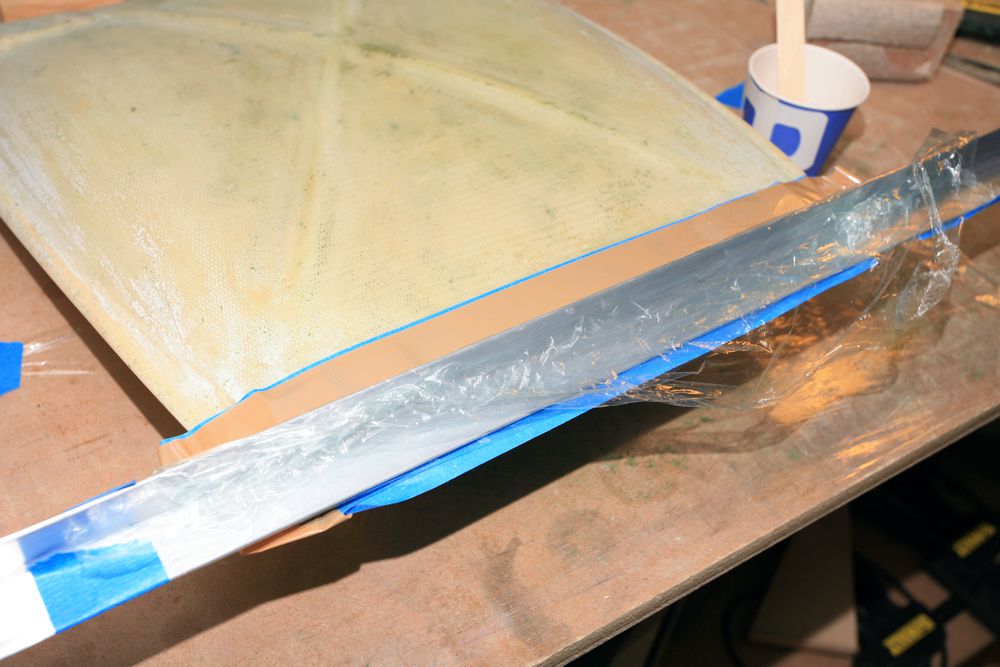
Using an aluminum angle as flat surface to form the fillet:
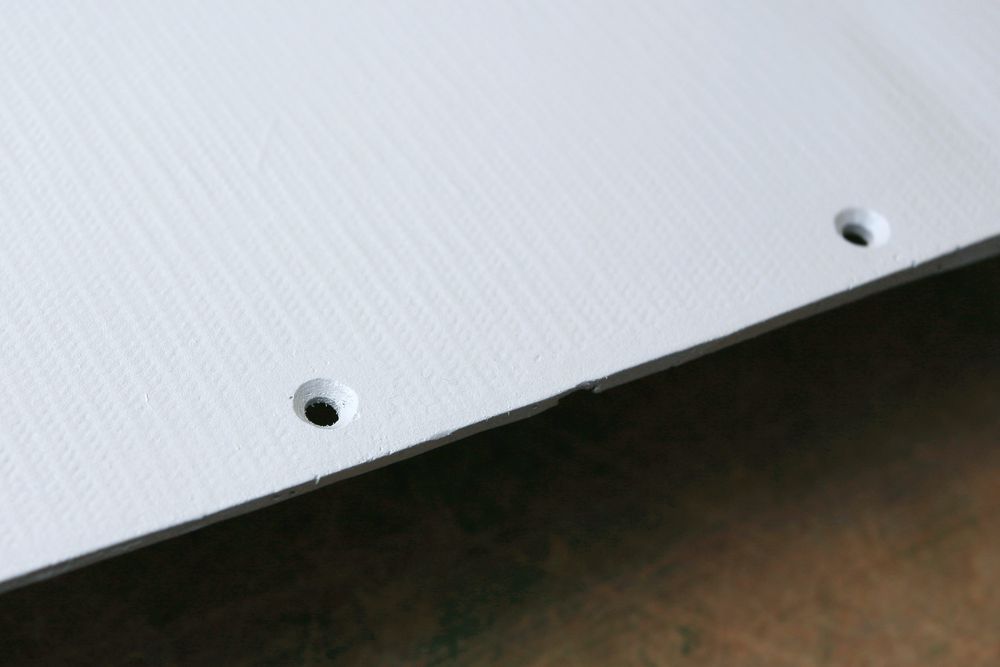
Nice new rivet holes, shown after painting the seat back with smoke grey epoxy paint:
Here I'm fitting the new piano hinge. What would life be without clecos?
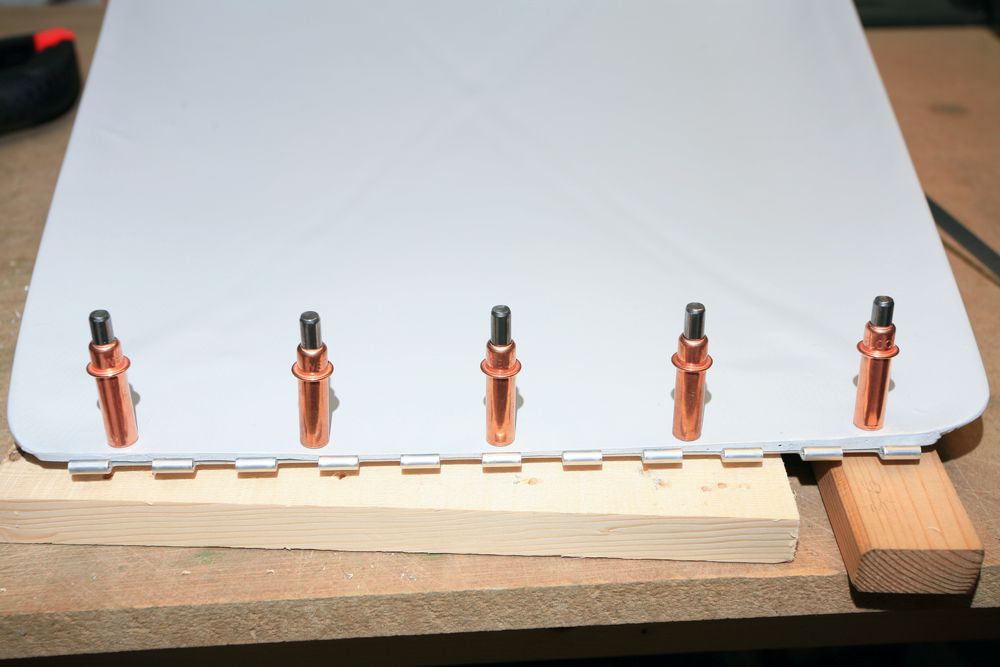
And the final product. Note that in this picture I didn't drill the screw holes in the bottom part of the hinge yet. That was done at the airplane, to get the alignment right.
Even though I haven't posted anything here for two months, I am still alive. And I have a very good excuse: I was busy flying and working on my other airplane. In fact I have already flown more this year than during all of 2010. Before you ask: That wasn't too difficult, unfortunately.
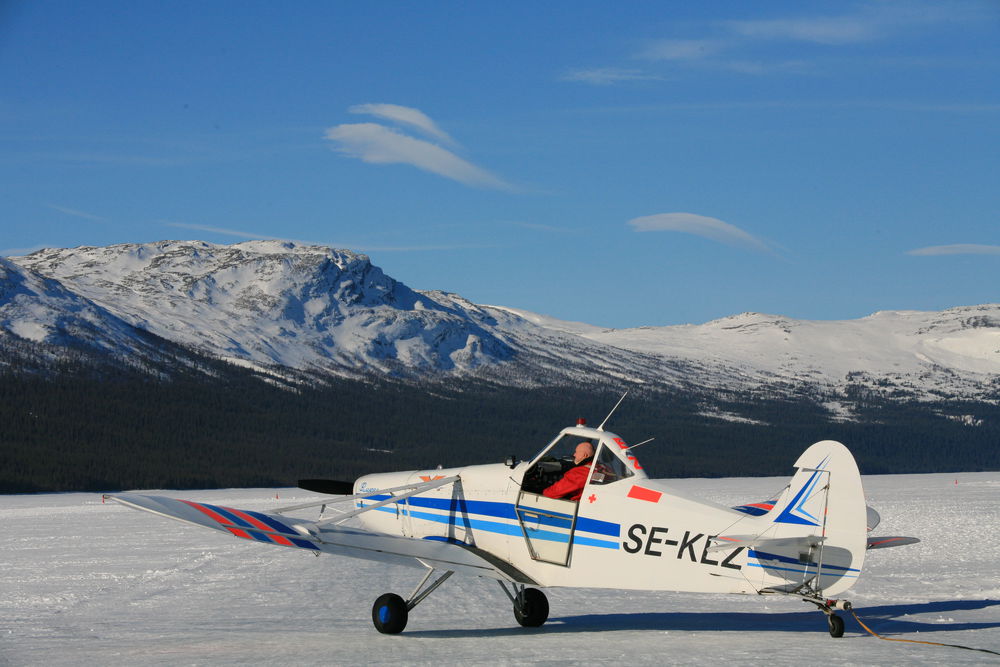
So what did I do? In March I attended the Ottsjö wave camp in Sweden, like the last two years, and it was great fun to fly from that frozen lake again. From there I took my glider to Germany for the annual inspection, and back to the UK. Some maintenance during the evenings after work, and more flying during the Easter/Royal Wedding/May Bank Holiday week. That's the summary, and here are some impressions from Sweden.
The Libelle on the ice, waiting to fly:

The wind is down to 35 knots, let's get going!
Any doubts why it's called wave? Look at the clouds.
At 18000 feet, climbing with 900 feet per minute:
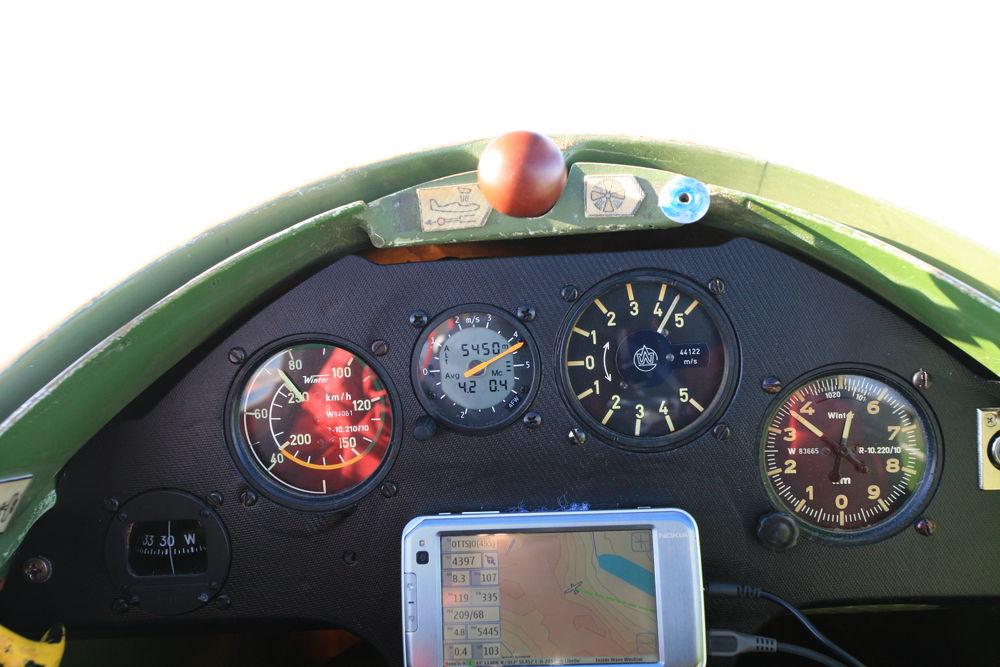
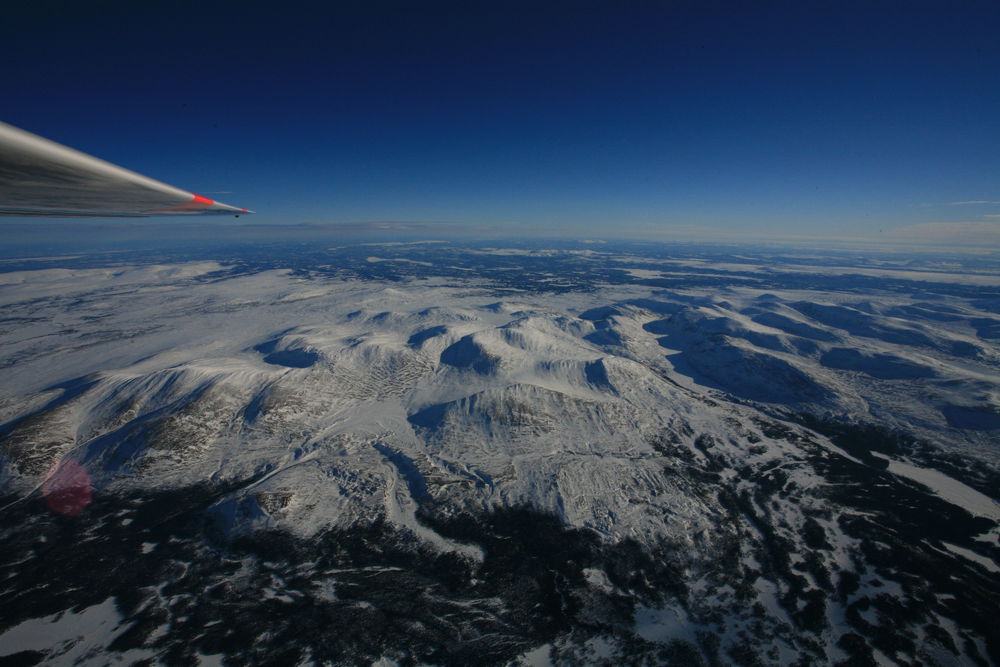
That's what the world looks like from 19000 feet:
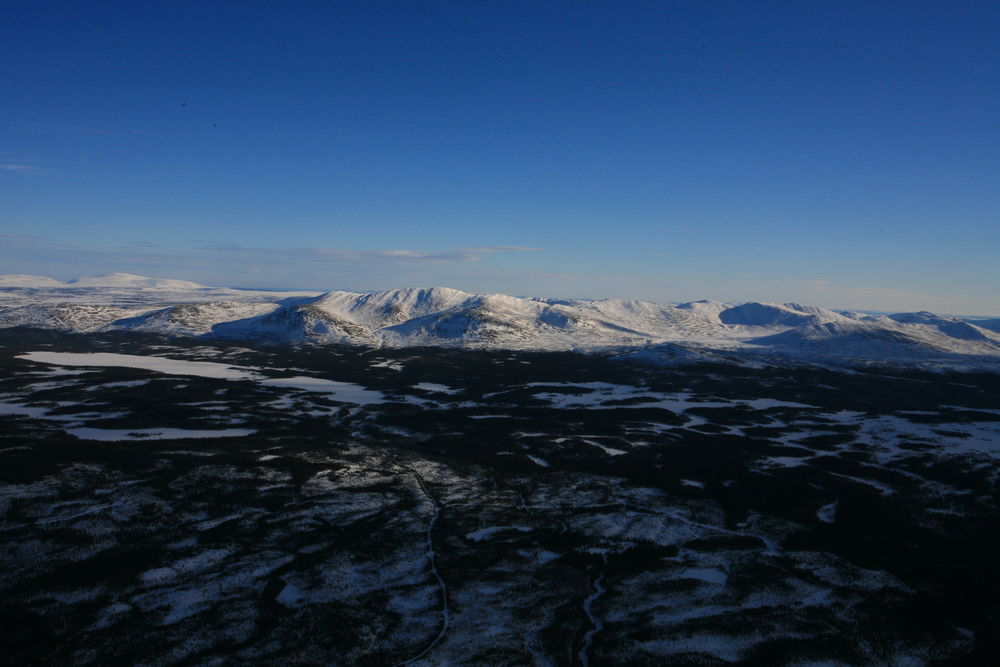
The same mountains, on my way down:
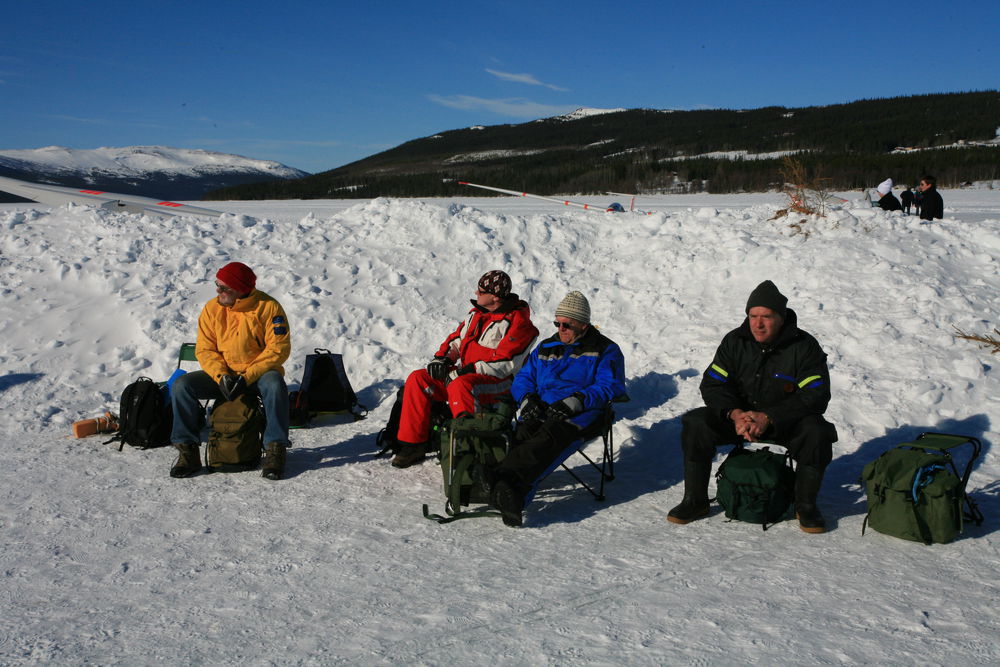
Lunch break on the ice, enjoying the sunshine:
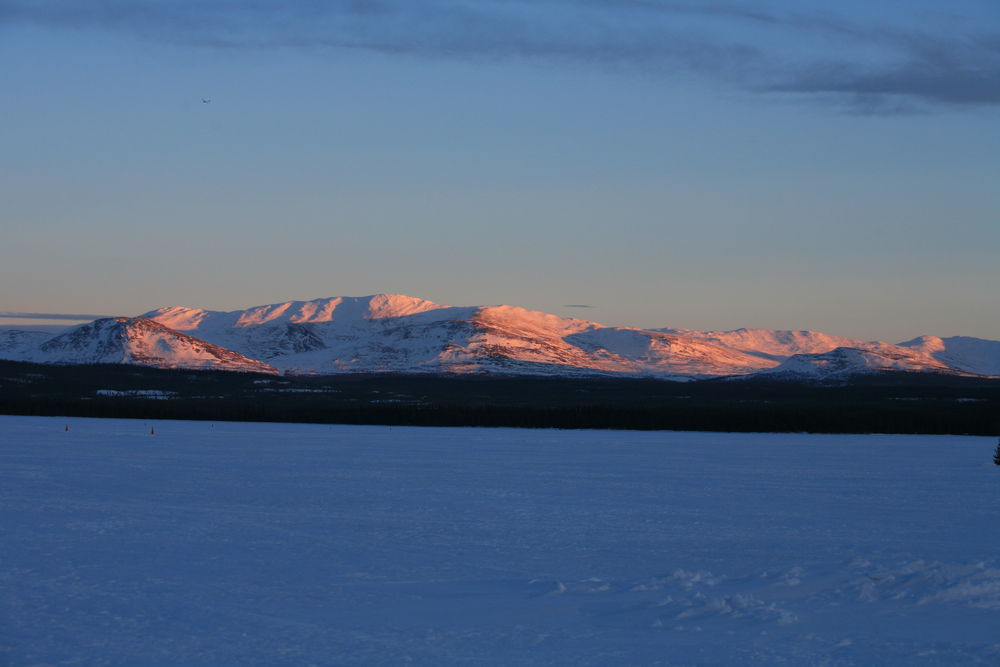
Evening

Unfortunately the holiday came to a sudden end after the first week. The weather changed and within a few hours we had about 1 foot water standing on the ice, flooding the gliders. So it was time to go home, get the plane in the workshop and dry it. Luckily nothing was damaged.

Last year I had the flight with the largest altitude gain. The Trophy for that is awarded the following year, so this year I went home with the famous wooden moose:

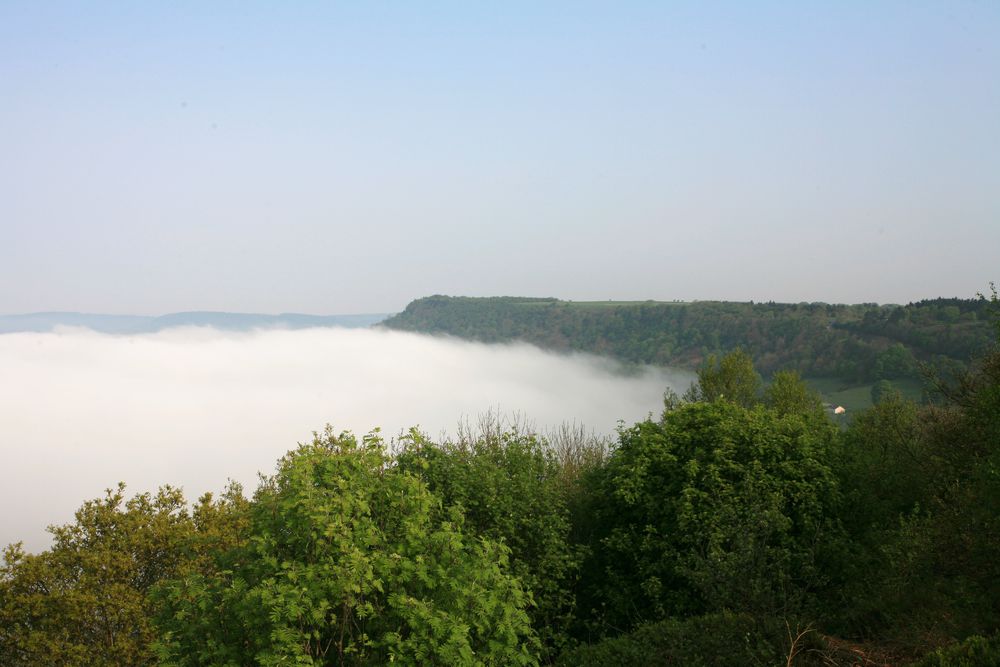
Big jump in time and space, Easter weekend at my home club (Sutton Bank). It's a hill site, and we had beautiful morning fog in the valley. Just too bad that when it lifted, it stayed low enough to prevent us from flying on that day -- the visibility was simply too bad.