December 2012 Archives

Dimpling rudder skin

I dimpled the holes in the rudder skin that connect to the spar and the top and bottom ribs. Now the skin is ready for priming that edge. I didn't prime this region before, because those rivet holes needed to be match drilled after riveting the stiffeners and bending the trailing edge.

Did I ever mention that the DRDT-2 is a great tool? A heavy sucker, but wonderful to work with.

2012-12-19_09.jpg

New trailer for the Libelle

My old trailer was slowly falling apart, awkward to use, leaky. You name it. This spring it spontaneously decided not to fully open its brakes anymore. It was time for retirement.

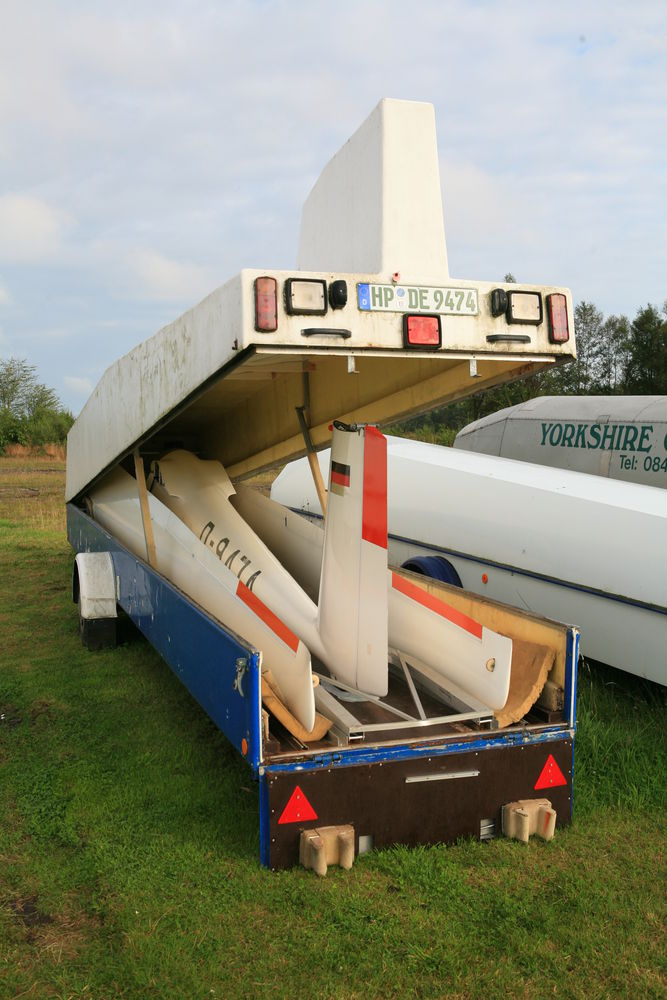
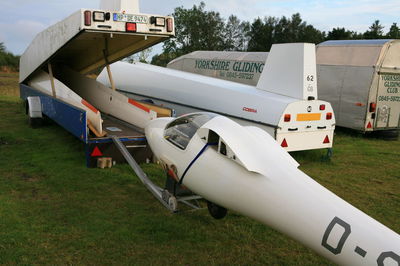
I found a new one (well, a new used one) that used to be the home of an ASW 20. After a full weekend of remodelling the fittings, it was safe to drive the Libelle back to England.

2012-12-19_03.jpg

2012-12-19_04.jpg

2012-12-19_05.jpg

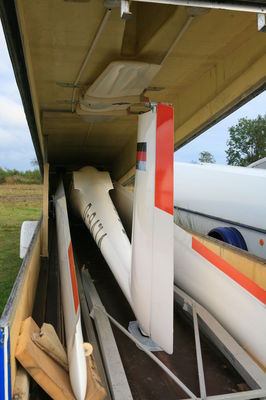
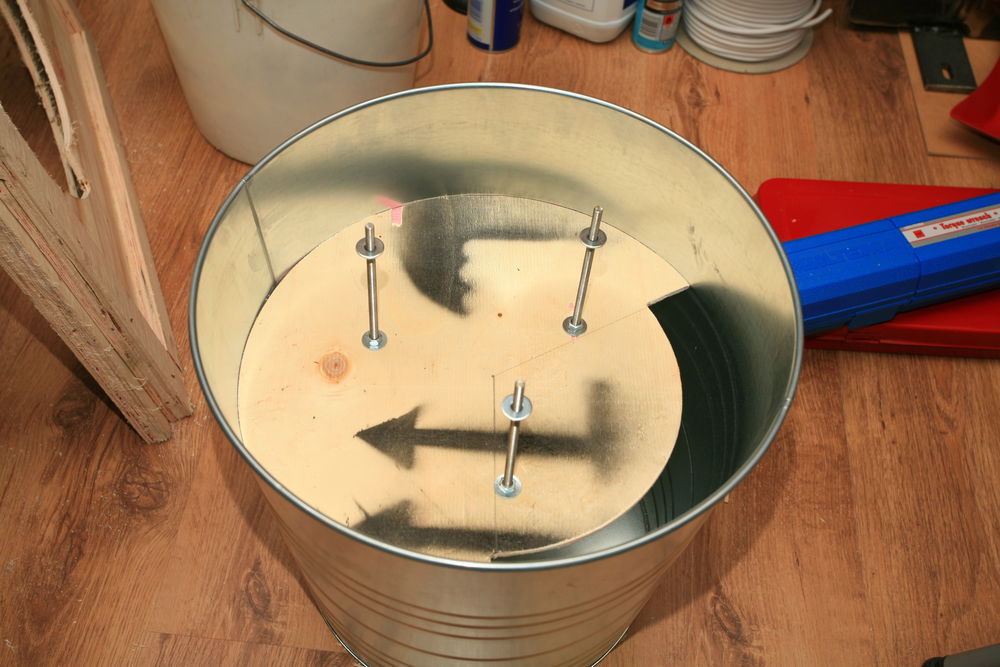
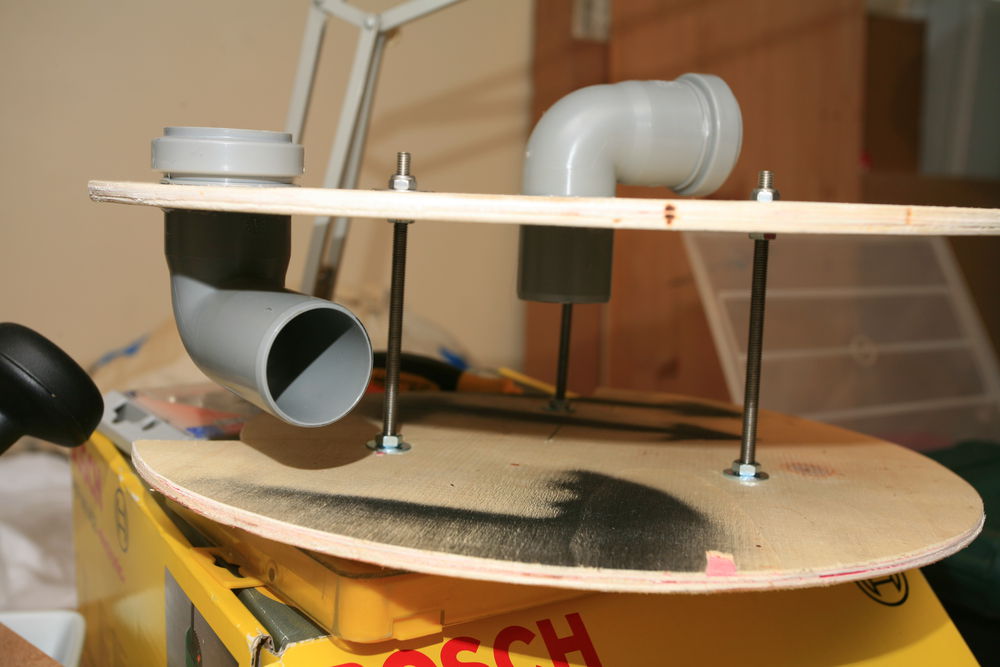
Back home I continued working on it. It's all those little things that take forever. For example the ASW 20 has a large tail skid, while the Libelle has a small tail wheel. So I had to fabricate a new floor recess for it. My first attempt to make a mould using expanding foam failed miserably:

2012-12-19_06.jpg

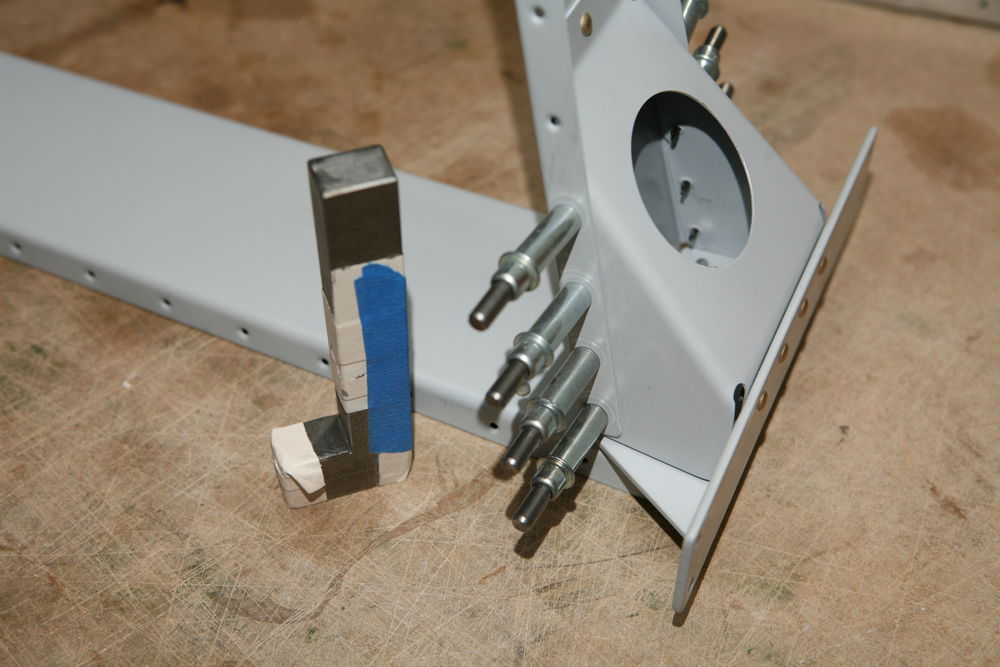
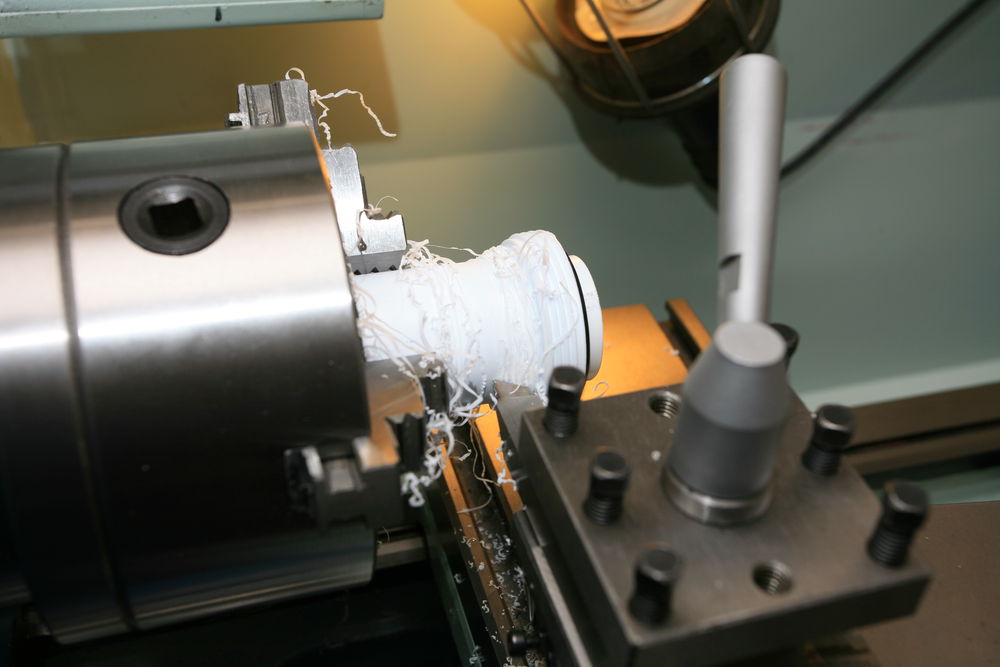
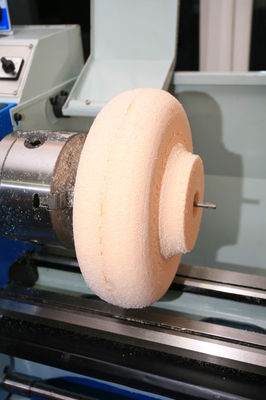
Instead, I went to the lathe and made a fresh mould in the size and shape of my tail wheel, epoxied a rim around the original recess in the trailer, and finally glued the two pieces together with lots of flox. Came out very nicely. I thought I had made a picture of the finished product, but I can't find it, so probably not. This is the tail wheel plug on the lathe:

2012-12-19_08.jpg

The trailer still needs some work. I want to build a new ramp (the current one is crap), the outside needs a repaint, and the wingtips need new support blocks on the floor. But overall I'm very happy with it. It tows well, is mostly watertight, and fully insulated. Much much drier than the old one, even in rainy England.

Flange straightener

In this VAF thread and in the "27 Years of the RVator" I found an ingenious little tool for straightening rib flanges. The anvil is undercut by 11 degrees, so that when the aluminum springs back it's at a perfect 90 degree angle. I made both the anvil and the handle from some ash I had lying around from a 4x5 view camera I built several years ago.

2012-12-19_01.jpg

Building this tool took me less time than I spent straightening the flanges in the empennage, and it makes the straightening job a breeze. Much more accurate, too.

2012-12-19_02.jpg

Rudder horn riveting

In my last post about the rudder horn you might have noticed that I riveted the R-710 rudder horn brace first, and then the rivets that connect the rudder horn and the rear spar. Van's calls out for a different order, but I have no idea how to add the brace without serious bending once the rudder horn, bottom rib and rear spar are connected. That's why I did it this way.

I had to make an L-shaped custom bucking bar to reach all those rivets through the small hole in the rudder horn brace, but in the end it all worked. Look ma, all solid rivets:

2012-12-18_10.jpg

2012-12-18_11.jpg

2012-12-18_12.jpg

Shop vac cyclone separator

Who hasn't been annoyed by the fact that the shop vac is always full? Buying dust bags doesn't come cheap, either. I remembered having seen a homebuilt cyclone separator, so I searched the web and came up with this one: The Thien Cyclone Separator Lid. Looked great, and I decided to build my own.

My version is based on a galvanized IKEA planter, some threaded rod, PVC piping and plywood of the crate my lathe came in. Here is the baffle fitted in the planter:

2012-12-18_06.jpg

The completed lid. The fittings are glued in using hot glue:

2012-12-18_07.jpg

One would think that waste water tubing is standardized. Nope. Isn't. I had to turn one of the pieces down on the lathe to make it fit:

2012-12-18_08.jpg

The completed separator, mounted together with my vacuum cleaner on a little plywood trolley built from the lathe crate. This thing is awesome!

2012-12-18_09.jpg

Speakers

One of the projects that occupied my bench for a short while last year was a set of speakers. I decided that after many years of headphone music it was time for a stereo system. There are beautiful speaker kits around that produce a nice sound for (relatively) little money, so I opted for Udo Wohlgemuth's SB18 kit. The first step is to build the cases from some MDF:

2012-12-18_02.jpg

Some veneer to make them look nice. This was my first veneer job every. 19 years ago when I lived with my grandmother for a few months I came across a roll of rubberized paper tape and had no clue what this was. Now I know it's veneer tape and used for seaming veneer. Definitely a learning experience!

2012-12-18_03.jpg

After gluing the veneer, I cut the holes for the drivers and connectors, and hot-glued the audio crossover into the case:

2012-12-18_04.jpg

The finished speakers now live on my compressor enclosure in the kitchen and are driven by a tiny TA2024C tripath amplifier I bought from China for 30 bucks. The audio signal comes from my router which actually is a single board computer running Linux. Like this I can play all my music using my laptop, my phone, etc. Nice.

2012-12-18_05.jpg

Still alive ...

It's been a long, long time since my last post here. Many things have happened in the meantime -- both in the shop and privately. Not too much has happened with the RV, though. At some point I was very frustrated that I don't get to do anything on the plane, but then I checked my diary and realized that half of the time I was not even in the country.

Anyway. There was some progress, and many people are prodding me for an updated on the blog. I will try to cover some of the things that occupied the workshop, in no particular order. I won't show everything, but I will try to keep this place a bit more up-to-date.

2012-12-18_01.jpg

About this Archive

This page is an archive of entries from December 2012 listed from newest to oldest.

May 2011 is the previous archive.

Find recent content on the main index or look in the archives to find all content.