September 2010 Archives

Bending the rudder

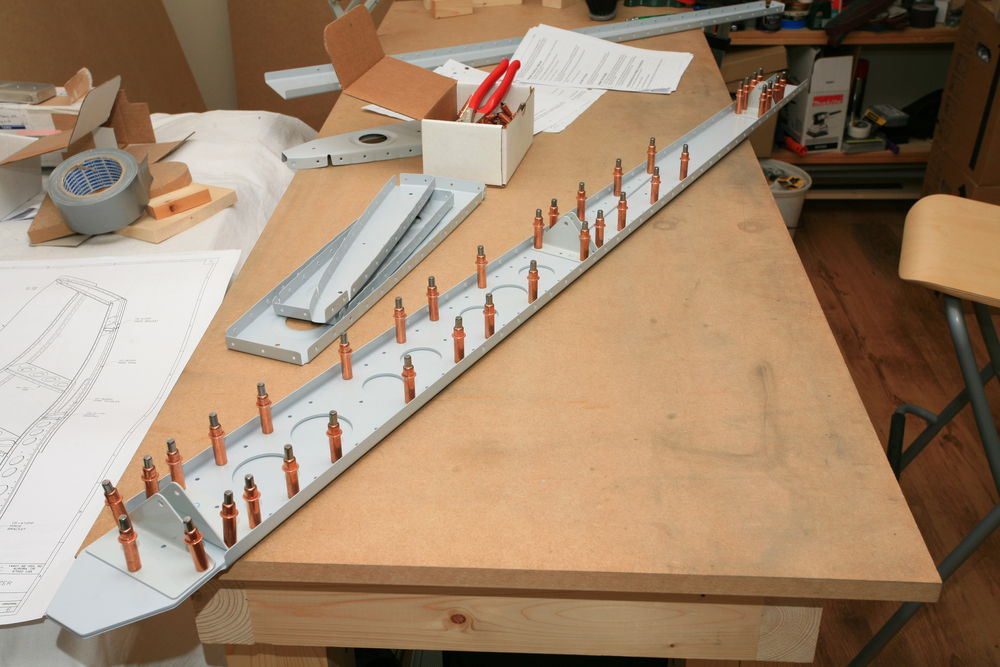
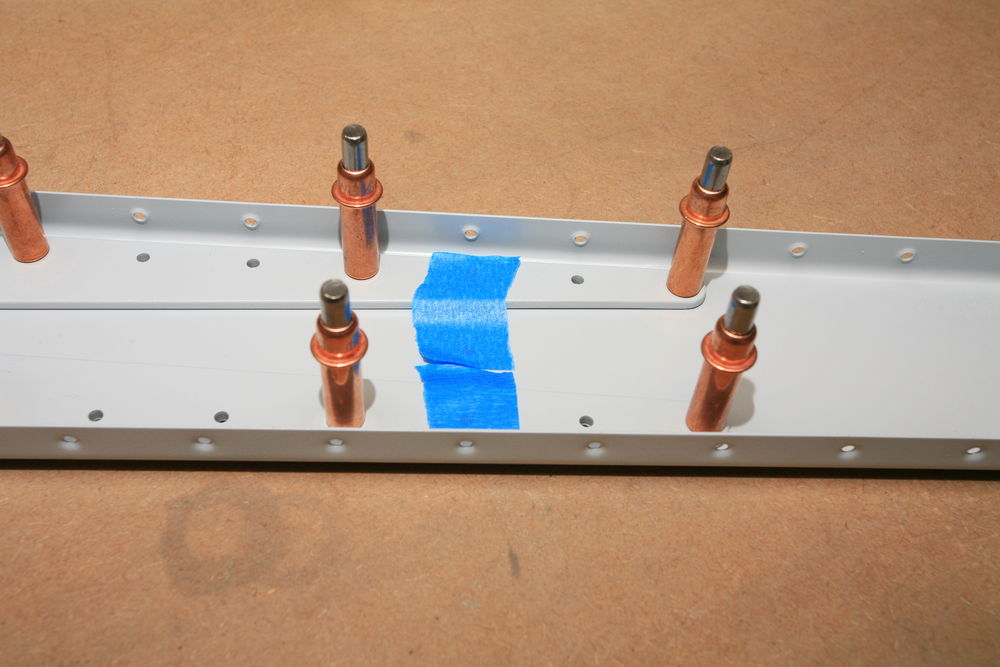
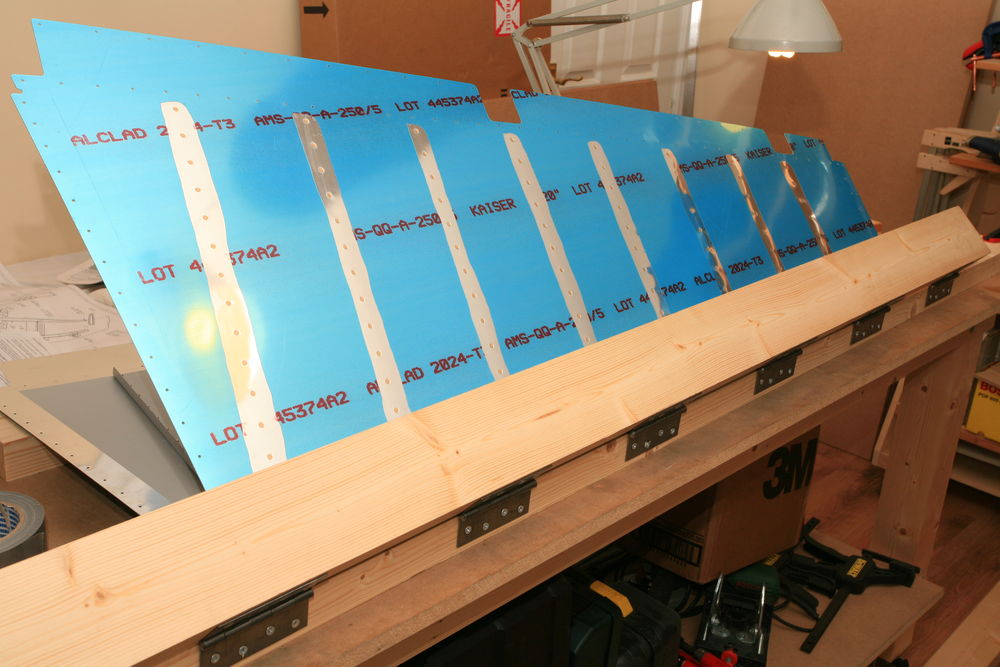
After a busy week I got back into the workshop today. Bought a couple of door hinges for 30 cent a piece, including the screws. Not too bad. I also found 1/8" dowels in a model shop. Equipped like this I built a bending brake from 2x4s which I still had at home, taped the dowels in the back of the rudder to prevent it from being crushed, and started bending.

2010-09-11_01.jpg

2010-09-11_02.jpg

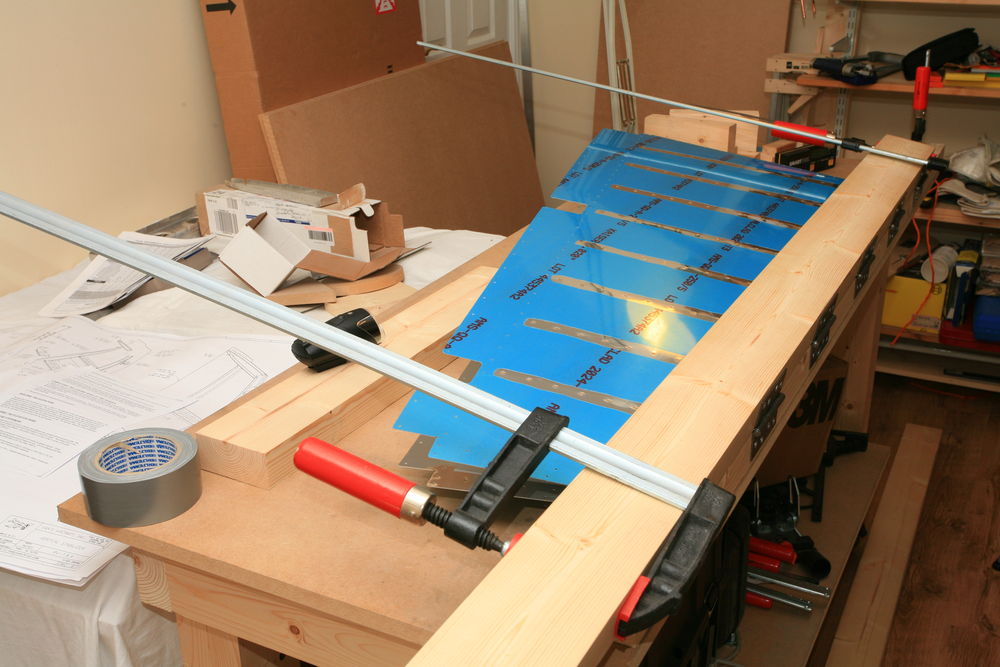
The other builders are right. Boy, this takes quite some force! It didn't take long until I attached two large clamps to the brake:

2010-09-11_03.jpg

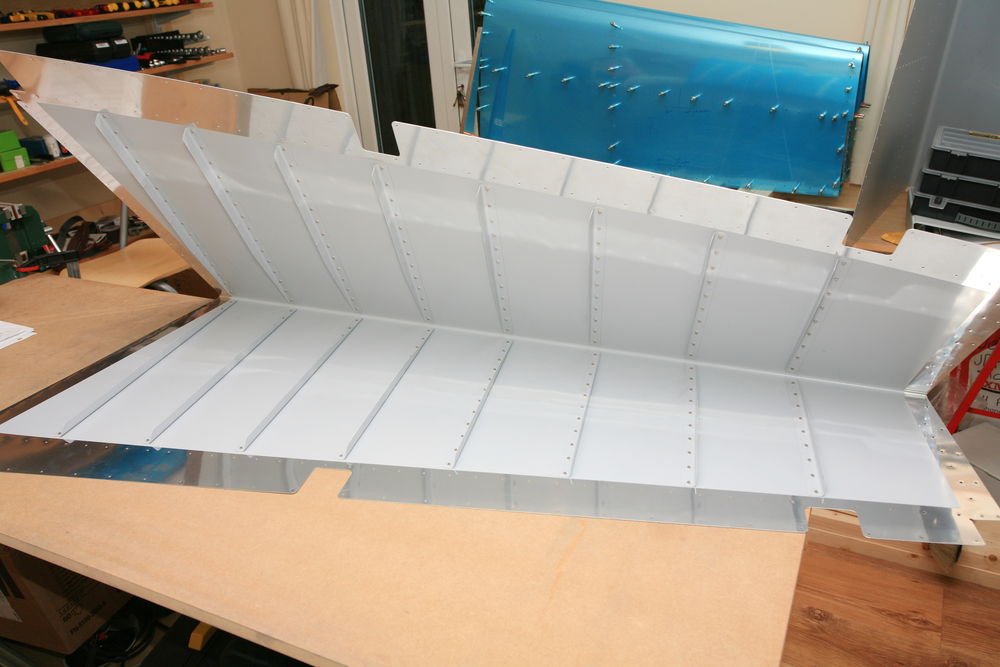
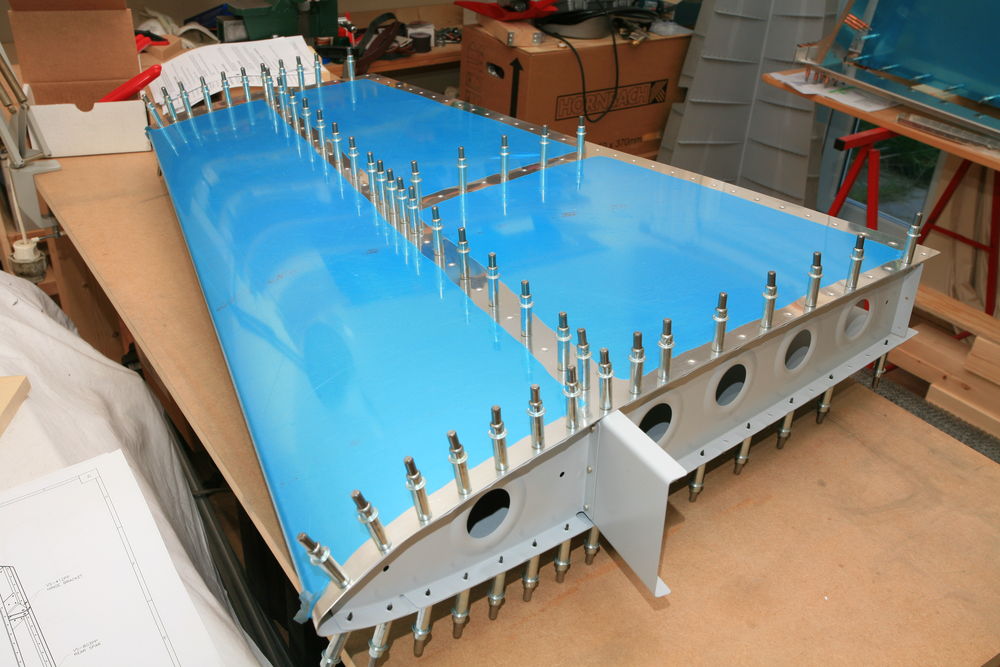
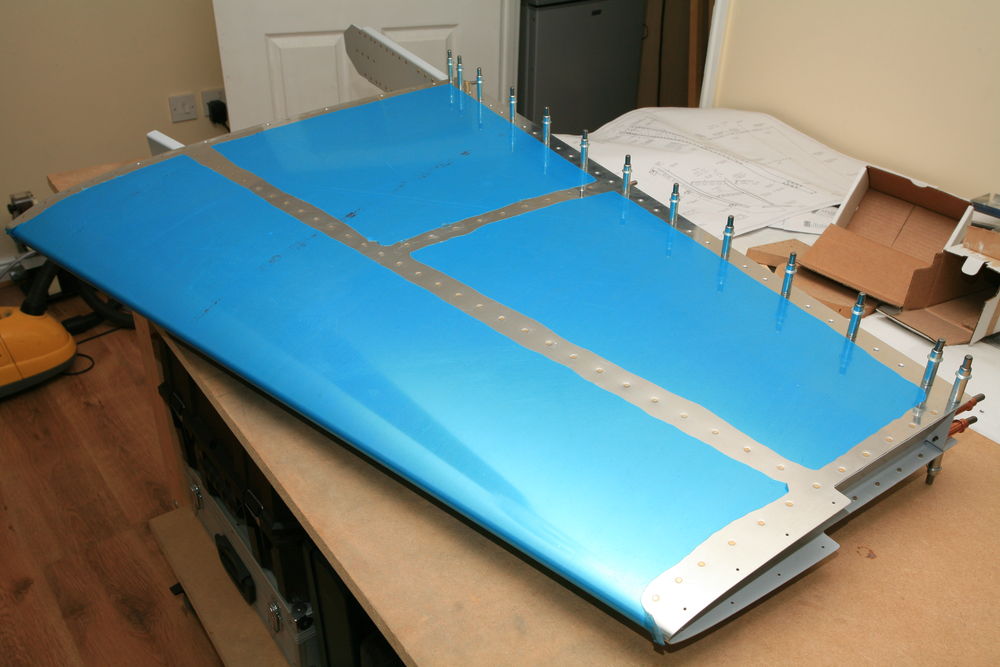
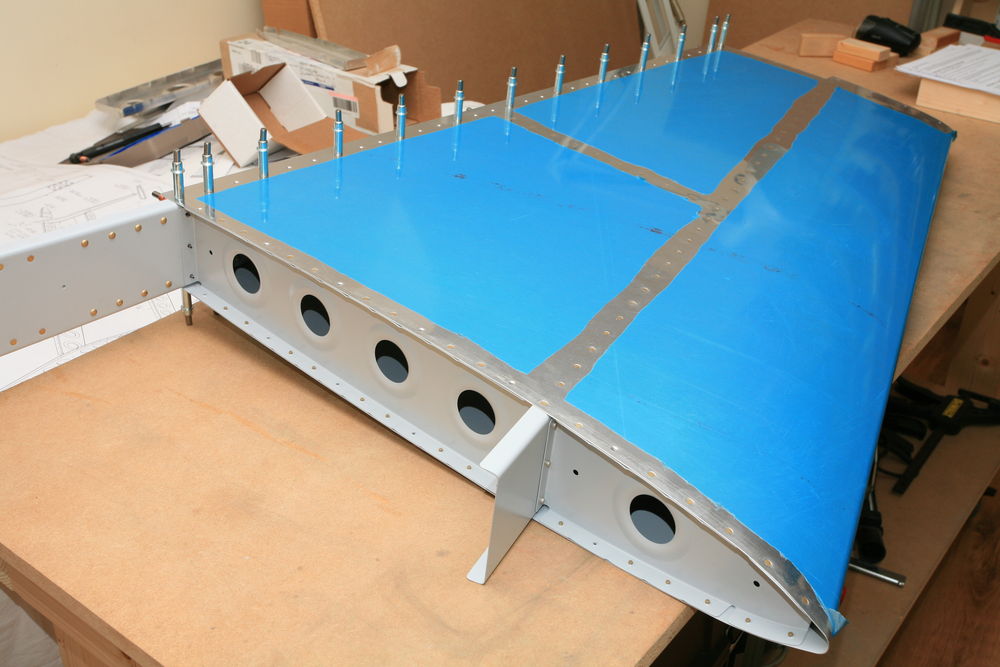
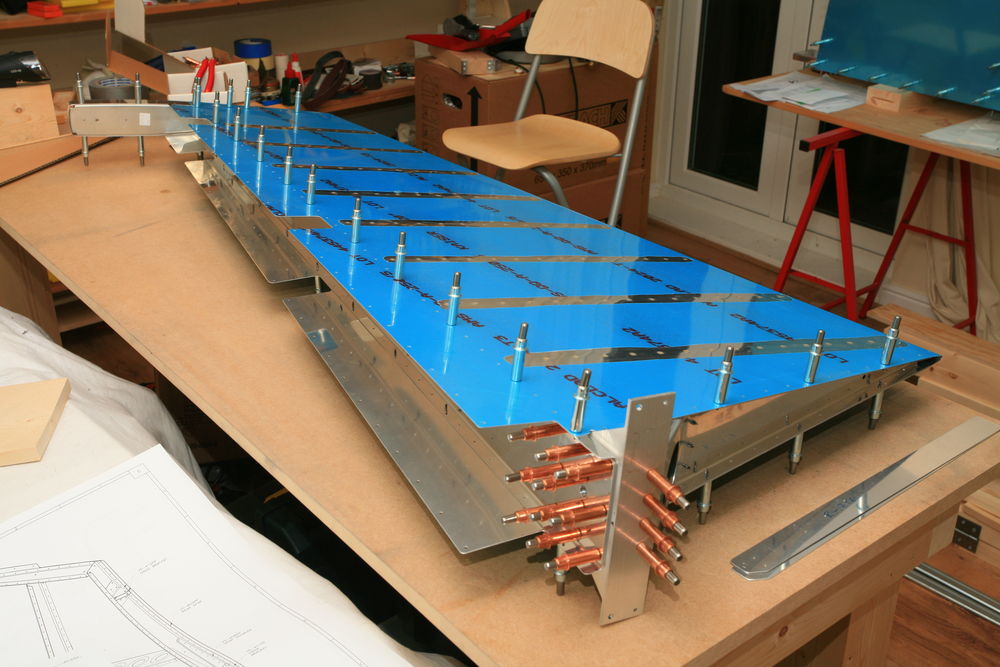
When I built the brake I had left a 1/8" gap between the lumber, but now I think that's too wide. It was hard to get the last bit bent, even though I took out the dowels. Nevertheless, in the end it worked out fine. Looks already like a rudder:

2010-09-11_04.jpg

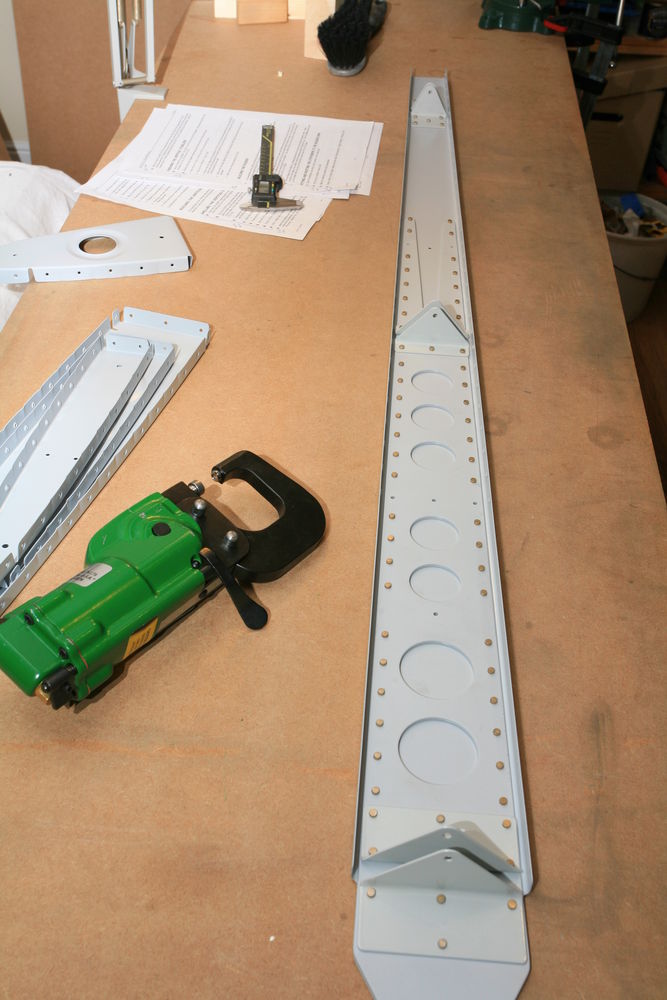
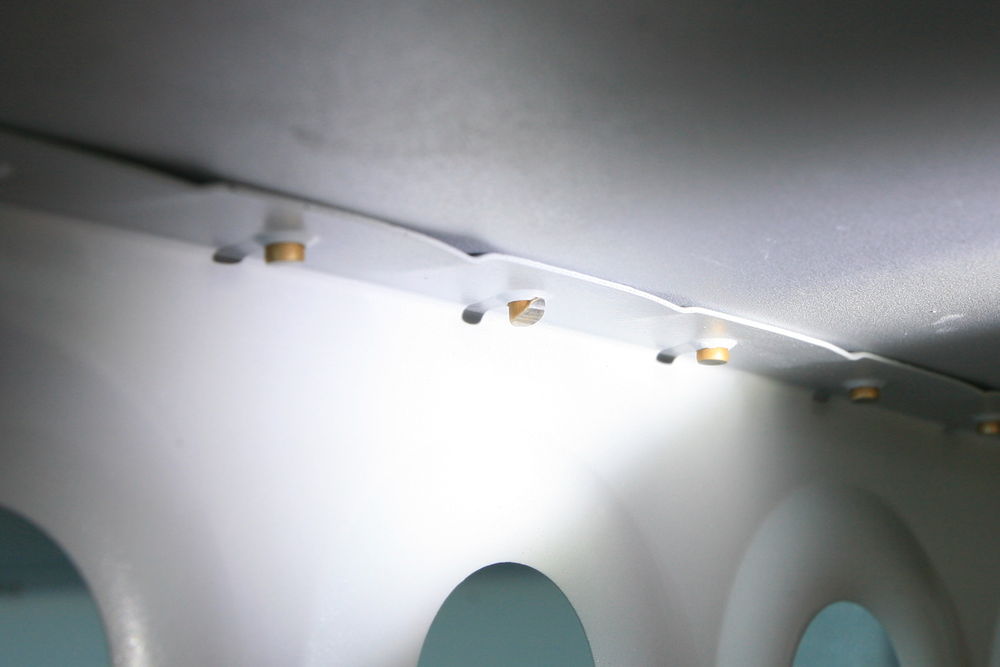
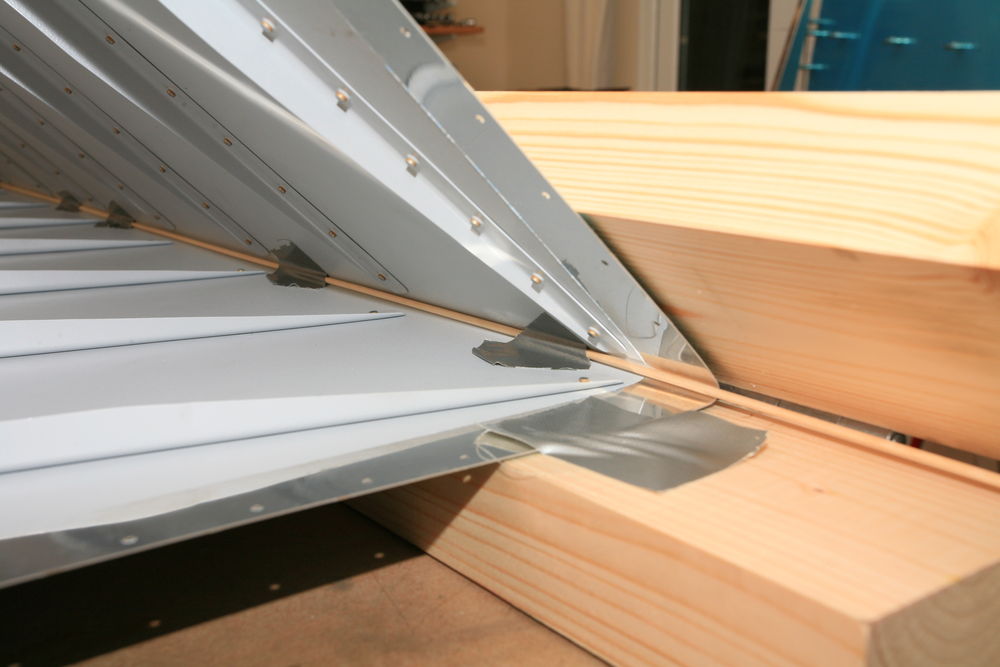
Closeup of the trailing edge. Good enough for government work:

2010-09-11_05.jpg

Wings ordered

Lots of work at work this week, but I also managed to order my wings. I will also get some new tools with them. More clecos, tube bender, flaring tool, a real angle drill ... It took me several hours to get everything sorted out.

More rivets

Two productive days! Yesterday I had my first large rivet session. I riveted the stiffeners to the rudder skin. Backriveting is the best option here, so the first step is to insert rivets in the holes and fix them with tape. I use Scotch Magic Tape -- much cheaper than rivet tape and works just as good.

2010-09-05_01.jpg

Then you place the skins with the manufactured rivet heads down on a heavy flat chunk of steel and form the shop heads with the rivet gun. This is how the skin looked afterwards; it really is a different beast now, gone is all the floppiness:

2010-09-05_02.jpg

2010-09-05_03.jpg

2010-09-05_04.jpg

Then I assembled the VS rear spar. Ready for riveting:

2010-09-05_05.jpg

I taped over the holes where the ribs will be attached, so that I don't accidentally put rivets in:

2010-09-05_06.jpg

All done, gotta love that pneumatic squeezer!

2010-09-05_07.jpg

In the lower part of the spar flush rivets are used. That's where the VS will be attached to the fuselage, and universal rivet heads would interfere:

2010-09-05_08.jpg

This afternoon I first riveted the VS ribs to the front spar:

2010-09-05_09.jpg

2010-09-05_10.jpg

I told you that I got some runs on the first ribs I primes ...

2010-09-05_11.jpg

Now I could cleco and then rivet the VS skin to the front spar and the ribs. I love that tungsten bar!!!

2010-09-05_12.jpg

I drilled out four rivets on the VS. On two I slipped with the bucking bar (see the picture below) and two were simply too short. Van's calls for AN426AD3-4 rivets where the front spar and the main rib at the bottom meet, but there's no way to get a proper shop head with that. I ended up using -4.5 and that worked fine.

2010-09-05_13.jpg

Look ma, no clecos! (Except on the rear spar, that is. I can't close any parts before someone official has looked at them.)

2010-09-05_14.jpg

2010-09-05_15.jpg

First rivets

Just a few minutes in the workshop tonight. I squeezed the rivets on the VA-146 hinge bearing which is sitting between the two HS-411 brackets. Van's calls for -5 rivets, and adds with an exclamation mark that this is the correct length. Well, those rivets do look too short, but I measured the shop heads after squeezing, and sure enough they are within MIL-specs (min. height .050" and min. diameter .163" for 1/8" rivets).

2010-09-02_01.jpg

I will spend some more time this evening figuring out what to order with my wing kit. I want to save shipping, so I asked on VAF what other people typically needed for their wings.

About this Archive

This page is an archive of entries from September 2010 listed from newest to oldest.

August 2010 is the previous archive.

November 2010 is the next archive.

Find recent content on the main index or look in the archives to find all content.