Recently in Horizontal Stabilizer Category

Riveting HS spars, trim reinforcement plate, and HS nose ribs

I got some work done on the RV in the past few days, but didn't write any updates here, so today's entry actually covers three days.

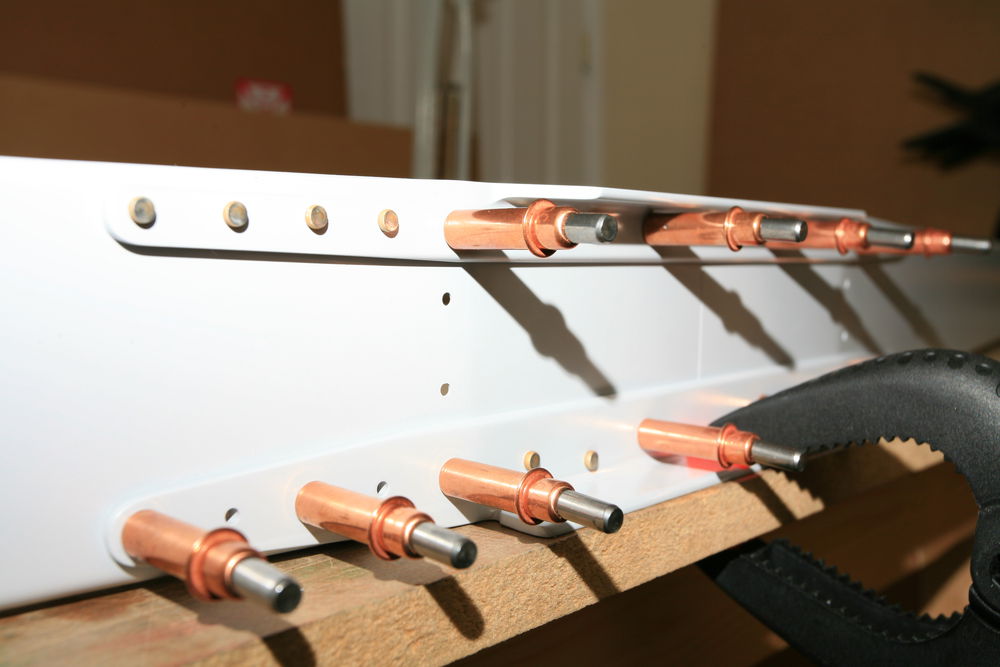
As you already read I have lots of primed parts now, so I could do some riveting. I started with the horizontal stabilizer spars. The rear spar consists of the left and right channel (HS-603PP) and two reinforcement bars (HS-609PP) plus some hinge brackets and the central bearing for the elevators. Here you see the reinforcement bars clecoed to the spar channels:

2011-05-22_01.jpg

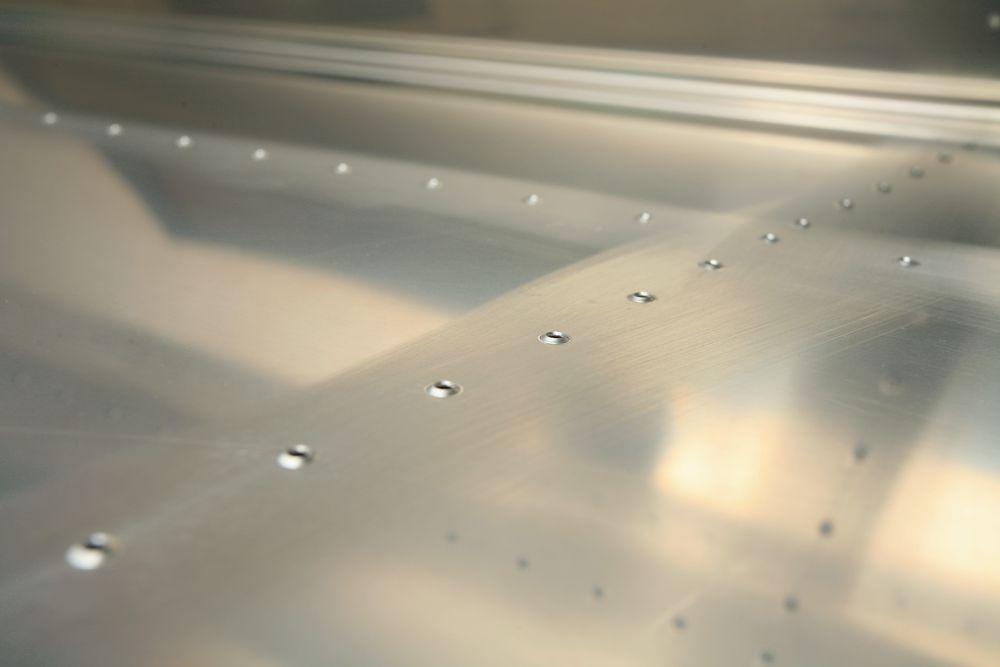
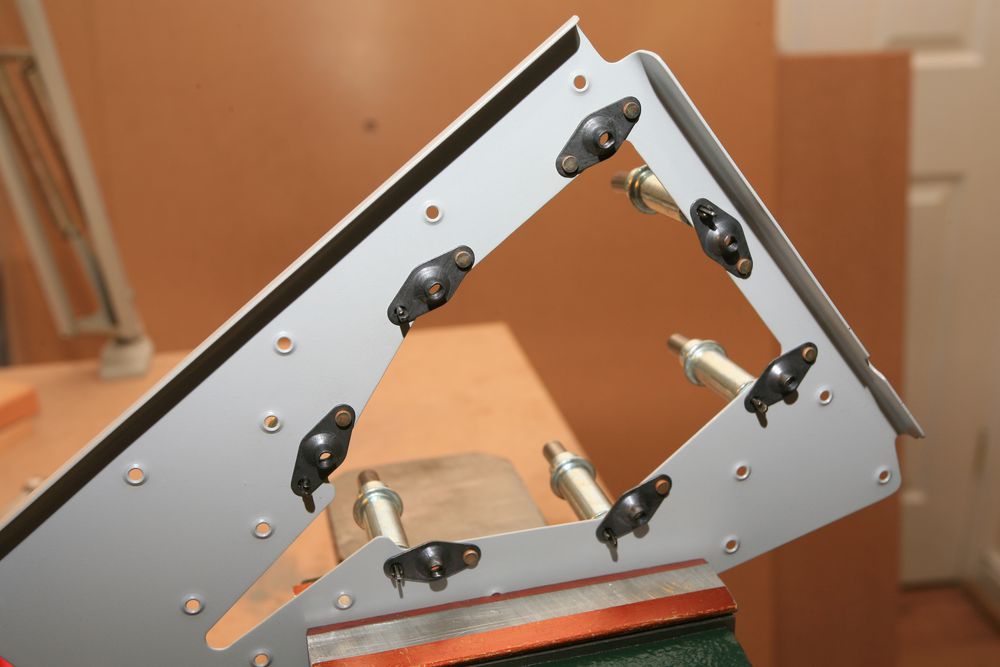
And the riveted spar:

2011-05-22_02.jpg

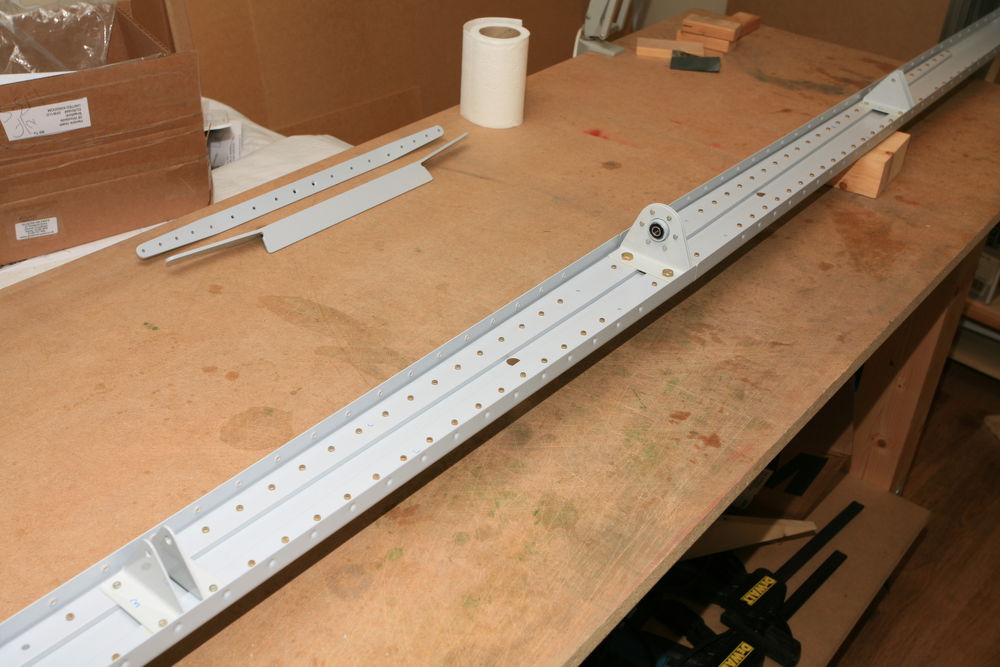
The plans call for AN470AD4-5 rivets for the outer hinge brackets (HS-413PP), but they are way too long and so I used -4 rivets after the very first -5 rivet tipped over and I had to drill it out.

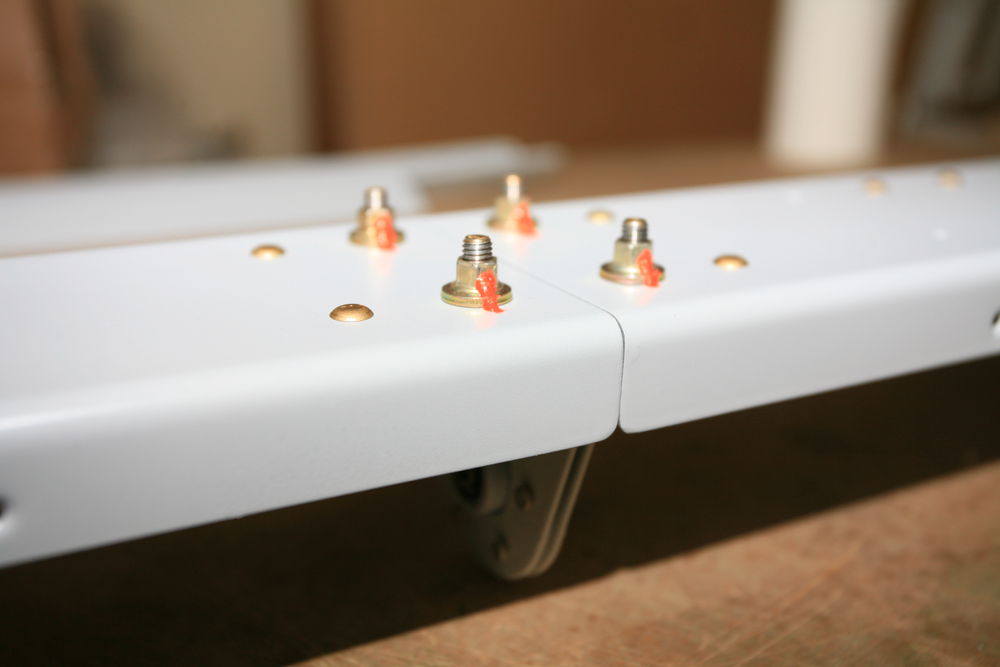
The central bearing is bolted to the spar. Instead of AN-365 nylocks I decided to use all-metal locknuts (MS-21042) because they are quite a bit lighter (0.75g vs 2.2g) and perform the same. Here they are, torqued and sealed:

2011-05-22_03.jpg

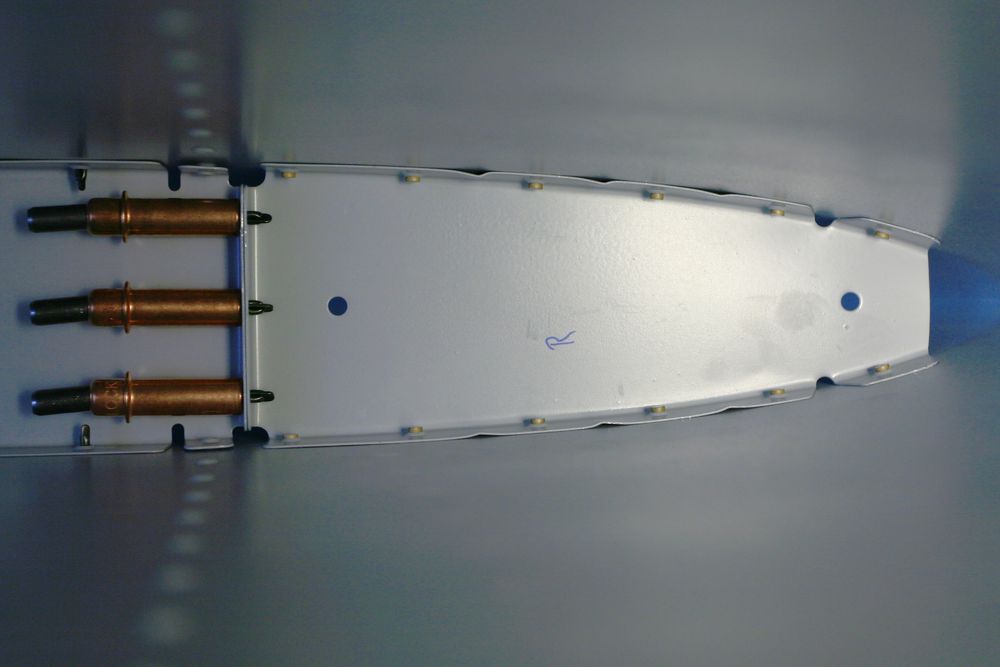
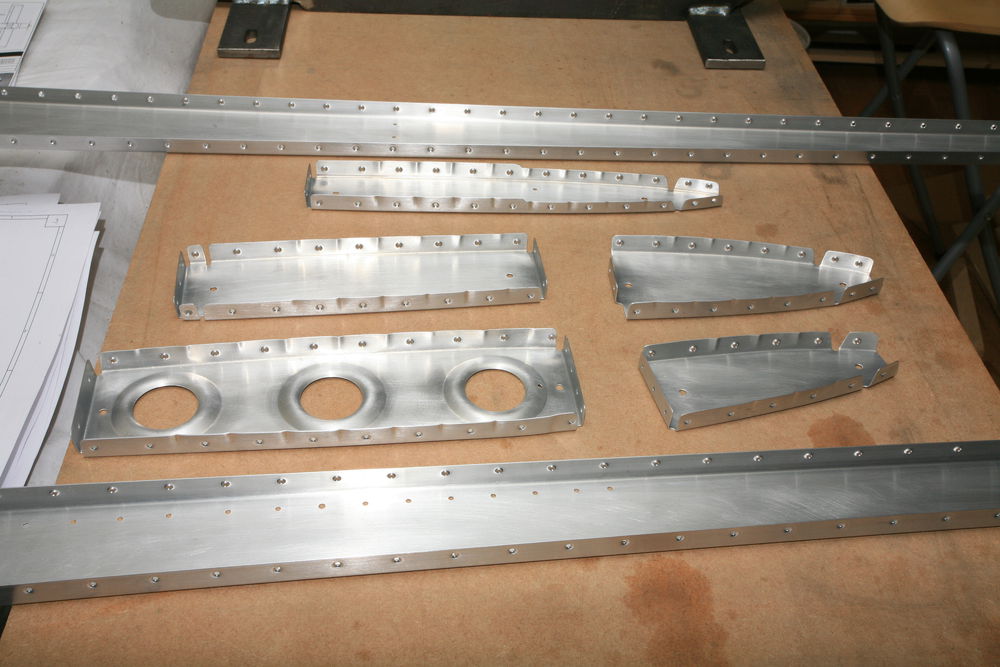
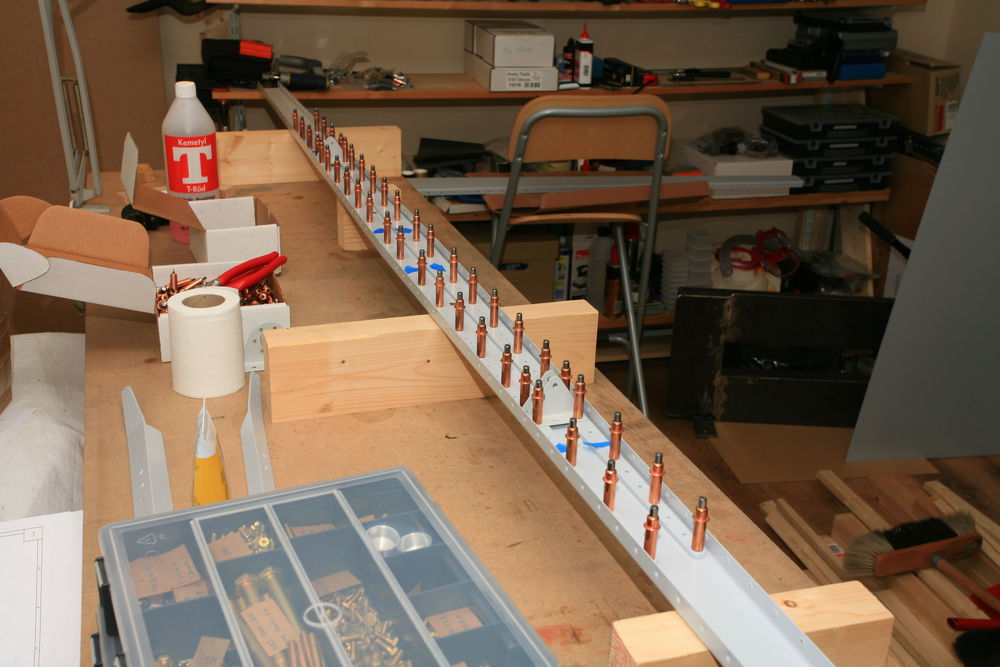
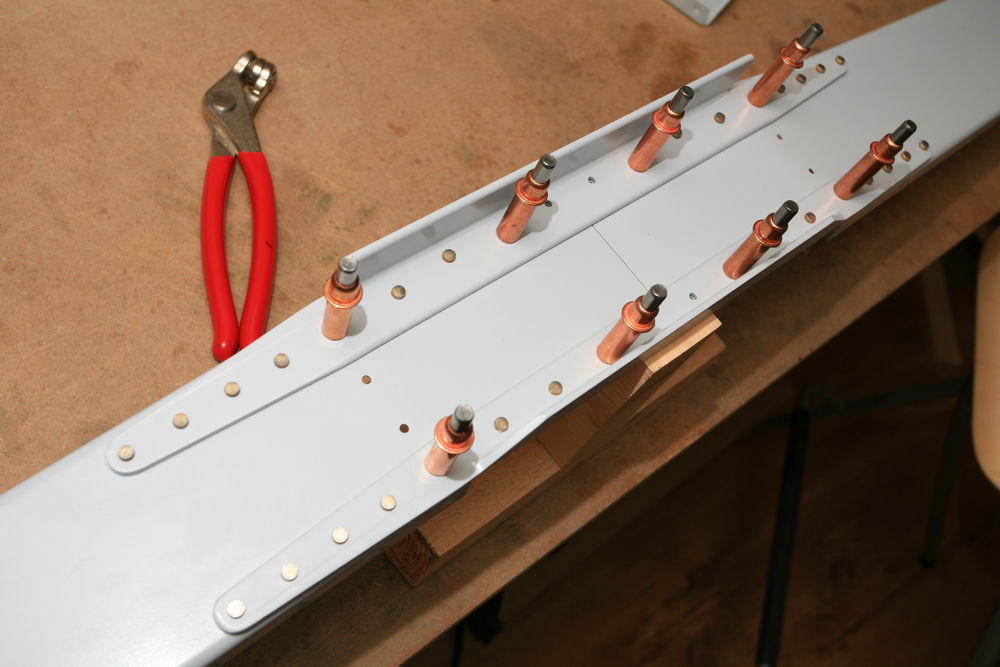
The next day I proceeded with the front spar. Again it's made from two halves (HS-702), this time jointed with two angles (HS-810-1 and HS-814-1). That's what they looked like about half way through the riveting:

2011-05-22_04.jpg

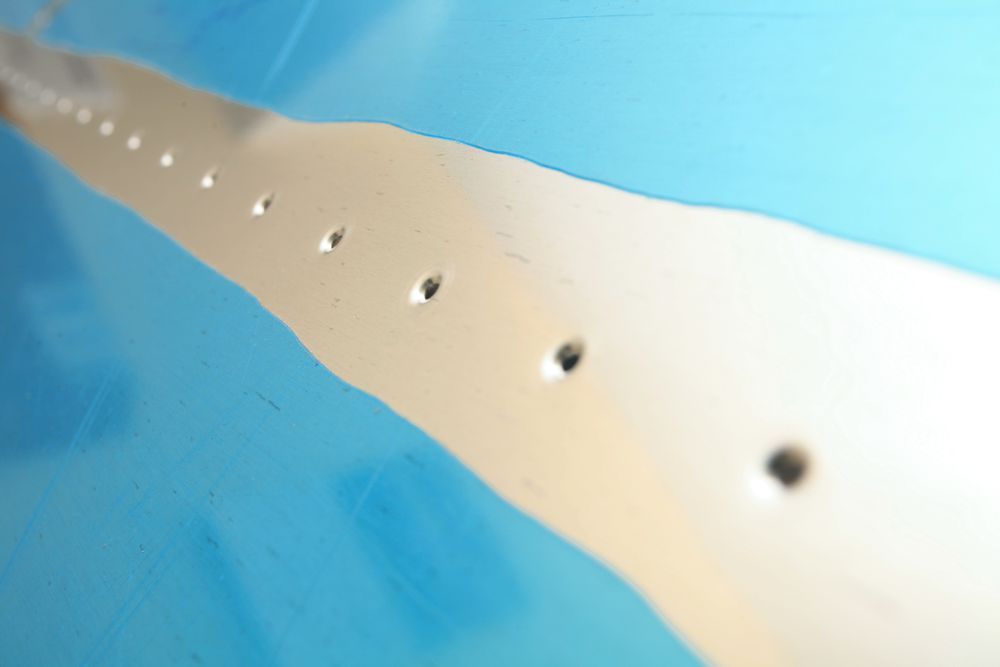
And the (almost) finished product. The central rivets are flush rivets which I did later, and the other holes stayed empty for ribs and the fuselage attachment:

2011-05-22_05.jpg

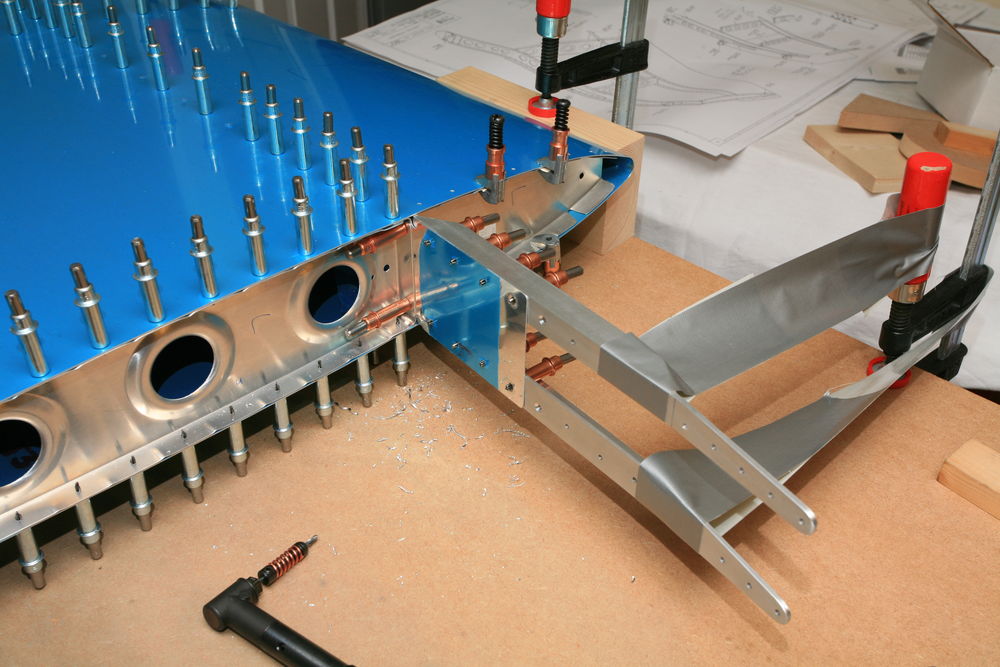
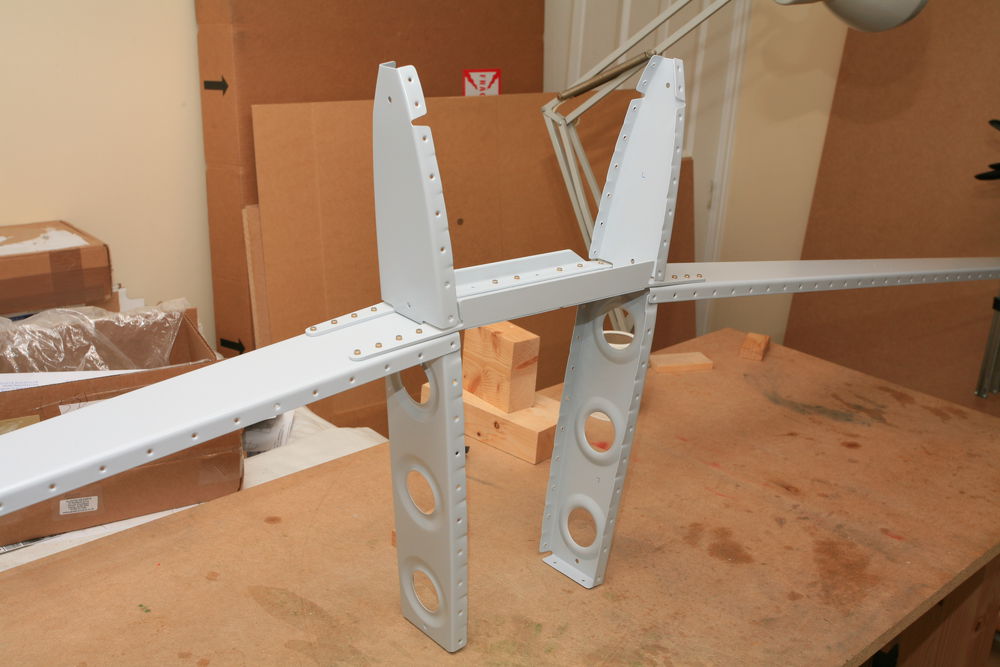
Talking about ribs, I also riveted the main ribs to the spar. Looks like an airplane, doesn't it? I can assure you that no neighbors were harmed during the generation of airplane noises.

2011-05-22_06.jpg

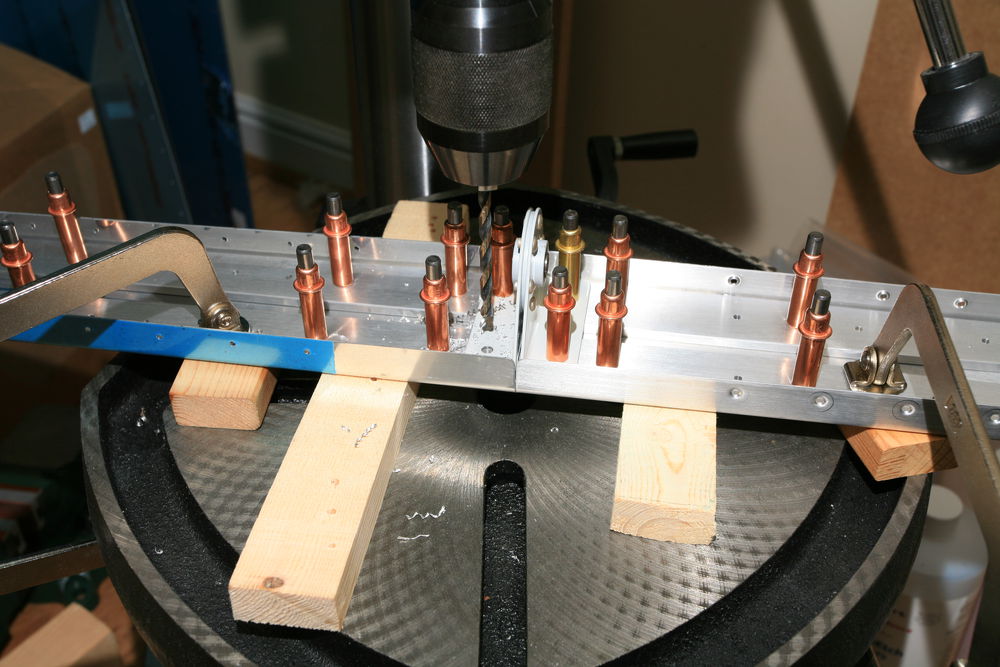
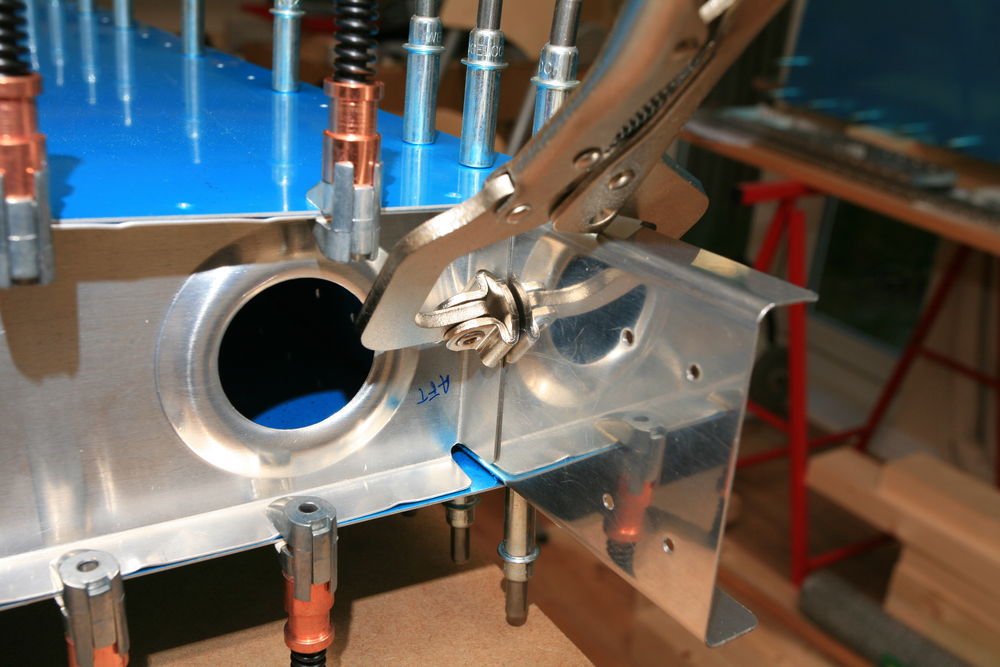
Fast forward two days. This afternoon I drove and squeezed some more rivets. As an easy starter I attached the plate nuts to the E-615PP trim access reinforcement plate. Instead of dimpling the plate nuts I machine countersunk the reinforcement plate and used NAS1097 flush rivets.

2011-05-22_07.jpg

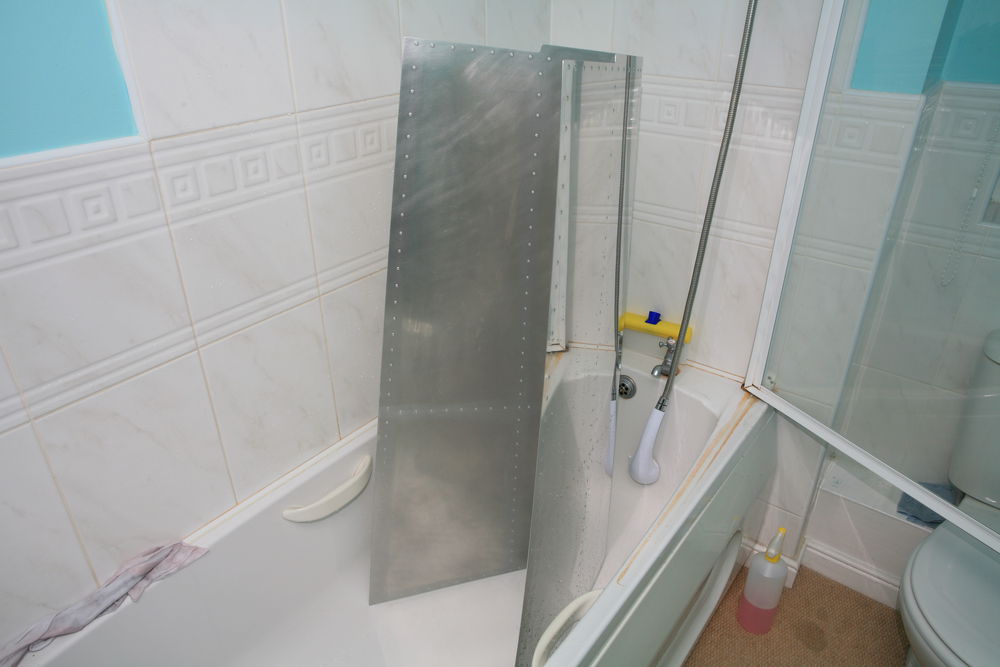
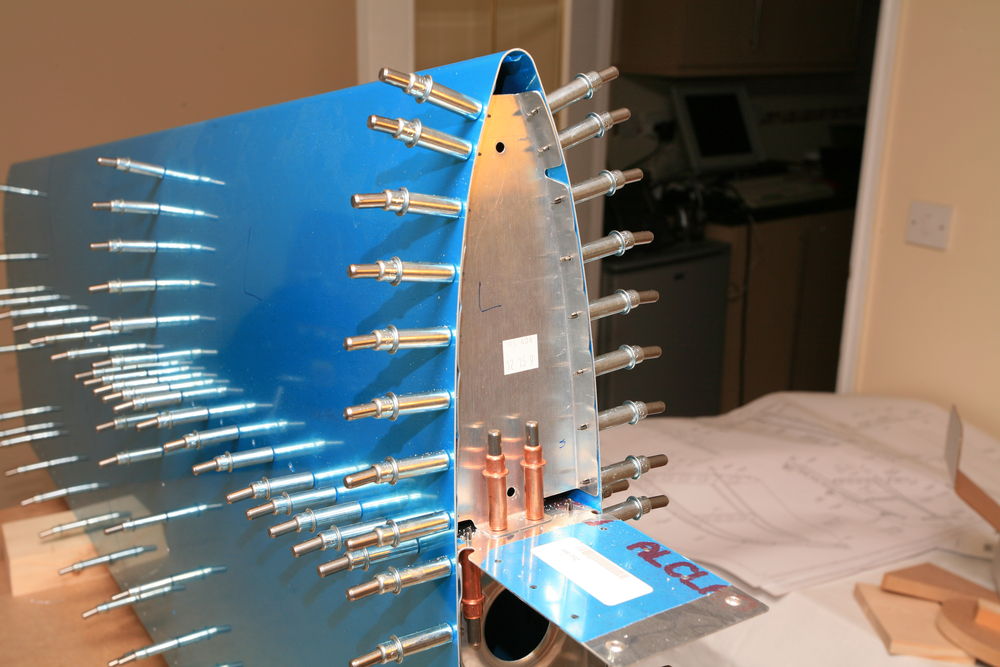
And finally I riveted the HS-707 nose ribs into the two HS skins. I'm glad I have the tungsten bar. There isn't much space to buck the forward rivets:

2011-05-22_08.jpg

Priming left HS skin

Last night I primed the left HS skin. That was the last missing part of the horizontal stabilizer. I'm still fighting with the spraying. Certainly the education bit of "education and recreation".

Priming, deburring and dimpling

Since the wind was forecast to be strong from the north-west, I didn't go to the glider club today. With this wind direction we get some nasty turbulence on the runway and often don't fly at all. So I primed some more HS parts and then deburred and dimpled the left HS skin. No pictures today -- you've seen it all before.

Priming HS parts

Tonight I primed some of the HS parts: The right skin, the left skeleton, and one of the rear spar reinforcement bars. When I primed the rudder skin, I cleaned and etched it in my backyard. Today I tried the bath tub, and even though it's not perfect, I don't depend on weather or daylight:

2011-05-11_01.jpg

The parts in the paint booth:

2011-05-11_02.jpg

Deburring left HS skeleton, drilling the missing bits

Yesterday night I disassembled the left HS and drilled the hinge bearing assembly (HS-411 + VA-146) to the rear spar. You might have noticed that I don't really follow the order of the instructions, but work much more in parallel. According to the instructions I should have drilled this a year ago, well before clecoing and drilling the rest of the HS, but at that time I didn't have the primer yet, so I couldn't prime the bearing, so I couldn't rivet that assembly, so I couldn't drill ... well, you get the idea.

2011-05-10_01.jpg

I also drilled the remaining holes from the HS-810-1 and HS-814-1 reinforcement angles to the front spar. Today I deburred, scuffed and dimpled the skeleton. Still need to deburr and dimple the skin, but that's for another day.

Preparing right HS skin

Weekend, marginal weather, work (the kind that pays the bills) -- today that summarizes most of the day. Nevertheless I prepared new elastic bands for my glider's canopy cover, so that it hopefully doesn't get blown off by the wind anymore, and I deburred and dimpled the right HS skin. Looks like I'll have another priming session next week.

2011-05-07_01.jpg

2011-05-07_02.jpg

Deburring right HS skeleton

Deburred, edge finished, scuffed and dimpled the right HS skeleton tonight. It's now almost ready for etching and priming. I just have to drill the holes for the bolts holding the elevator bearing to their final size.

2011-03-01_01.jpg

First rivets

Just a few minutes in the workshop tonight. I squeezed the rivets on the VA-146 hinge bearing which is sitting between the two HS-411 brackets. Van's calls for -5 rivets, and adds with an exclamation mark that this is the correct length. Well, those rivets do look too short, but I measured the shop heads after squeezing, and sure enough they are within MIL-specs (min. height .050" and min. diameter .163" for 1/8" rivets).

2010-09-02_01.jpg

I will spend some more time this evening figuring out what to order with my wing kit. I want to save shipping, so I asked on VAF what other people typically needed for their wings.

Continued working on left HS

It's been more than a month since I worked on the plane last time. First I had a guest at home for one week, then I was three weeks in Germany and the US for work, and after coming back home it took a few days to settle down again. But at least I wasn't completely deedless. I brought back quite a few tools from the US; mostly stuff I cannot easily get here, like ratchet sockets and wrenches in inch, a torque wrench in in*lbs, but also some gadgets from Avery and Cleaveland as well as several vise-grip C-clamps (why are they so much more expensive here?!?). I also bought a new kitchen scale, uhm, sort of. It's a precision balance with 100mg resolution and 10kg capacity. I've been looking for a good scale for some time now, as I will need something for the expoxy, primer and paint, and with the large capacity I can use it for other things, too. The inauguration was baking bread right after coming home -- this really is the perfect kitchen scale!

'nuff said, tonight I was back in the workshop. One of the things I brought back home from the States was a replacement rib for the HS-405 I screwed up last time, so the clear candidate to work on was the left horizontal stabilizer. After the long break I had a slow start, as it took me some time to get back into it. I edge finished and fluted the rib, then I started drilling it at the aft flange. This time I had learned the lesson and clamped everything tight, using one of my shiny new vise-clamps:

2010-08-21_01.jpg

After also drilling the top and bottom flanges I came to the part where I trashed the first HS-405: the joint of the two inner ribs with the front spar and the two spar reinforcement angles. Again I fixed everything before drilling. The two outer holes could be drilled through the pilot holes in the rib, as per instructions, since the spar and the two angles hadn't been drilled before:

2010-08-21_02.jpg

But I had already drilled the two center holes with the first HS-405, so instead of having a pilot hole in the HS-405 rib I used the existing hole in the spar to match-drill the HS-405 from the front:

2010-08-21_03.jpg

This time the whole thing went completely uneventful, so I could finally match-drill the front rib to the skin. I also finish-drilled all the other skin holes, so the horizontal stabilizers are now ready for disassembly.

2010-08-21_04.jpg

HS drilling and the famous HS-405

Since I received the HS-405 replacement yesterday, I continued with the HS work tonight. First I finished drilling the skin on the right stabilizer; a couple of holes were still missing. Rather uneventful. Then I grabbed the left HS to get the replacement HS-405 in place. I marked the hole positions, fluted the rib, pilot drilled the front flange, clamped the rib into the stabilizer and ... found another way to mess it up, even though the reason is similar: I didn't clamp the stabilizer to the bench. Shouldn't I have learned this lesson last time? When I match-drilled the first of the two holes which attach the rib to the rear spar, the stabilizer laid on the bench and while holding the stabilizer I put some pressure on the spar. Just enough to shift the spar down by 1/32" wrt. to the rib. Of course you already know the result: The hole in the rib is off by 1/32. For a -4 rivet that's quarter of a hole. Maybe I now learn to clamp everything, rather than only almost everything like I did so far? I surely hope I do.

About this Archive

This page is an archive of recent entries in the Horizontal Stabilizer category.

Elevator is the previous category.

Rudder is the next category.

Find recent content on the main index or look in the archives to find all content.