Recently in Preparation Category

Finished aileron training kit

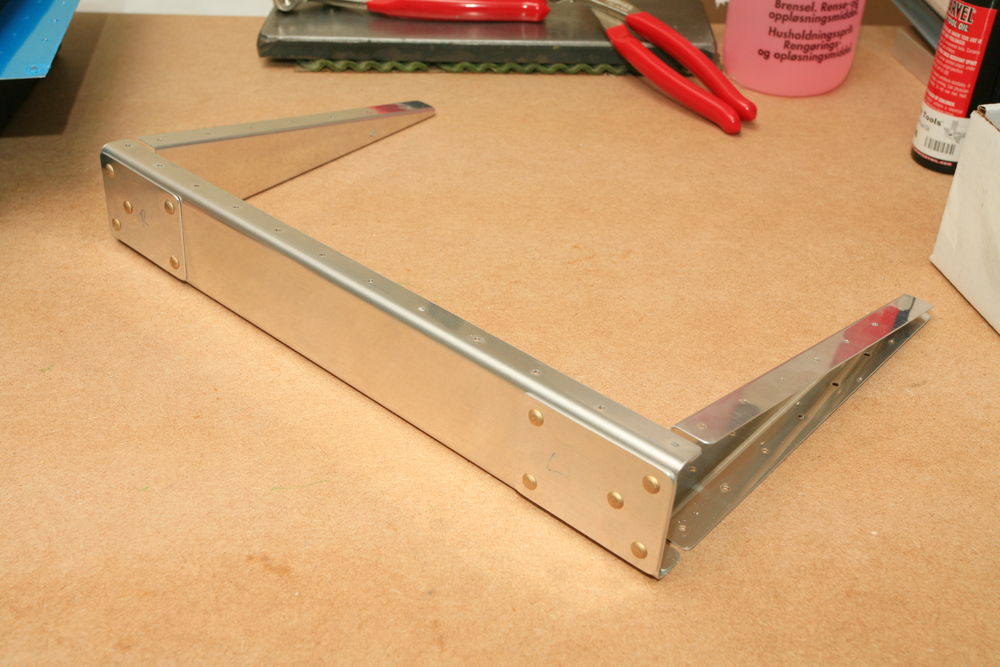
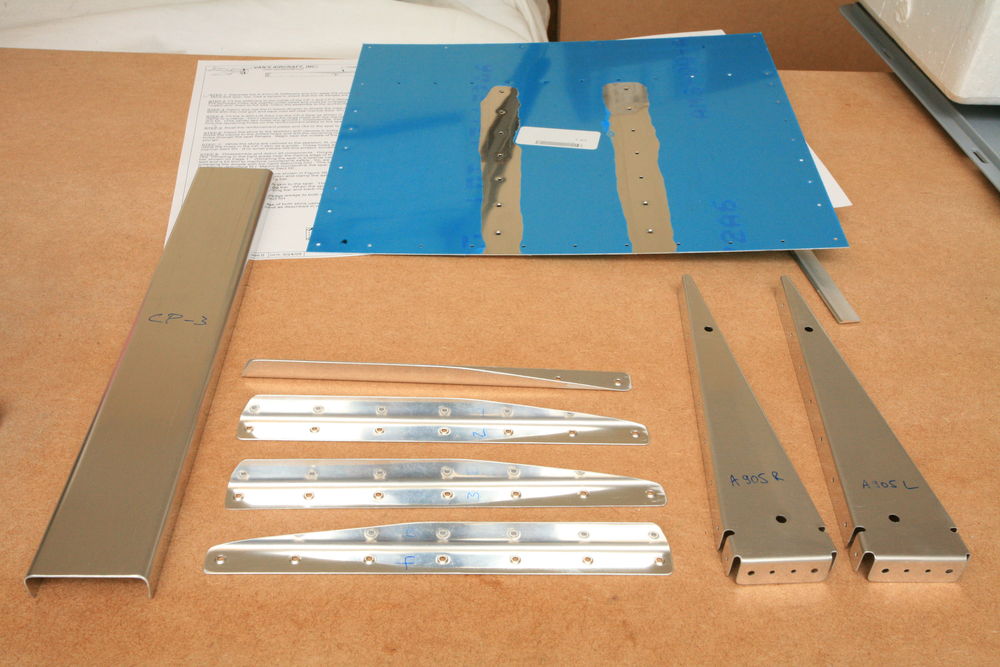
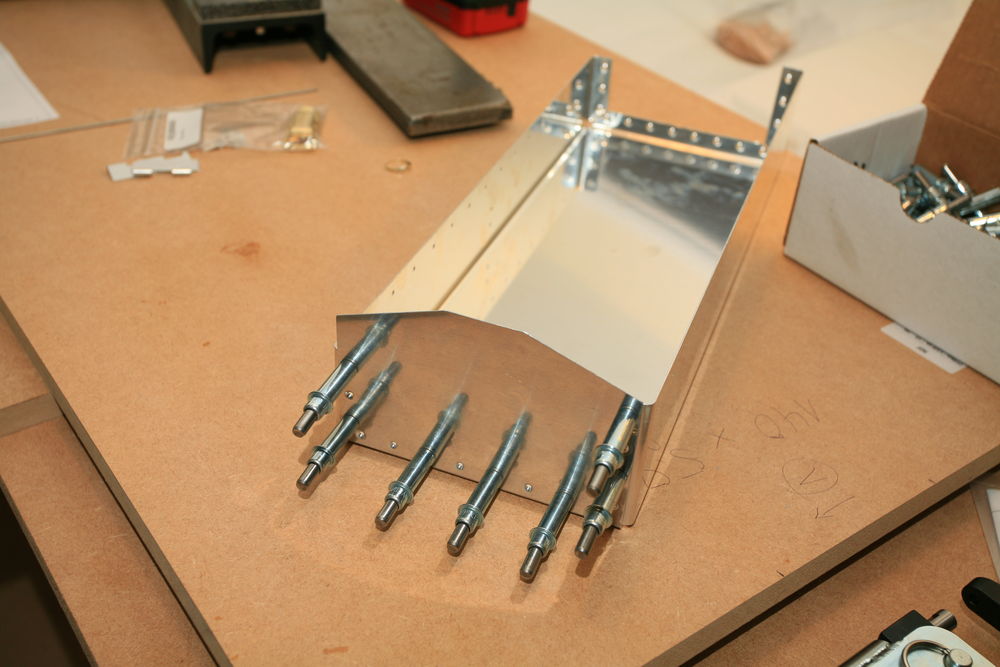
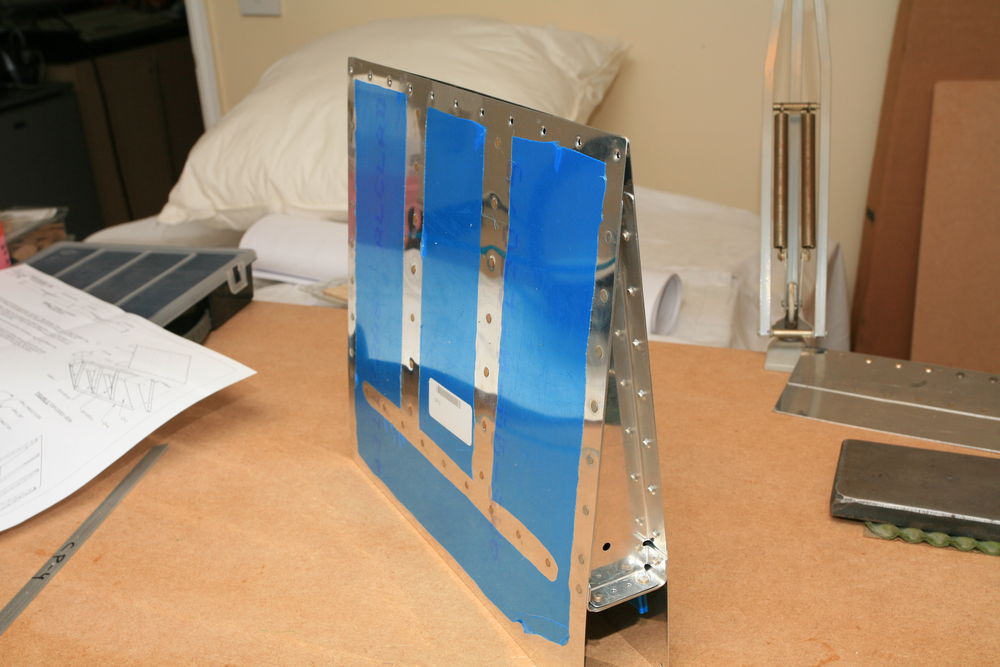
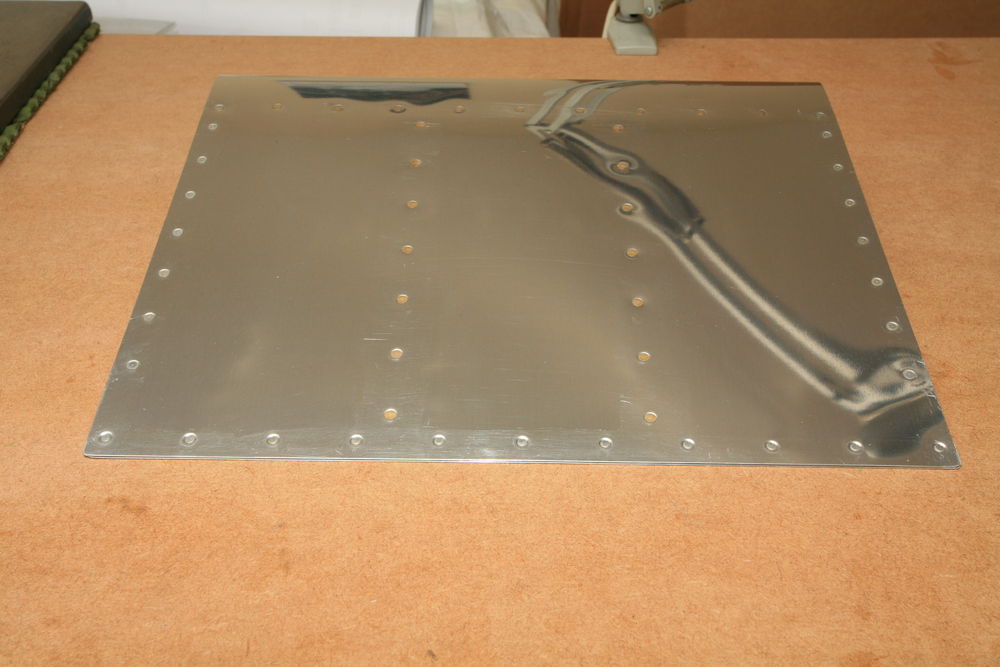
Two days ago I made some more progress on the aileron training kit. First I made a thin dimple die from a piece of steel and dimpled the four missing holes in the ribs. Then I made a simple jig to clamp everything to the workbench and riveted the skins to the spar. Boy, I'm glad that this is a training kit. I think I drilled out about 1/3 of the rivets out -- some because they were bad, some because they were so-so and I wanted to practice a little more. I also scratched the spar a bit when I slipped with the bucking bar, and the skin when I slipped with the center punch (don't ask).

2010-05-03_01.jpg

2010-05-03_02.jpg

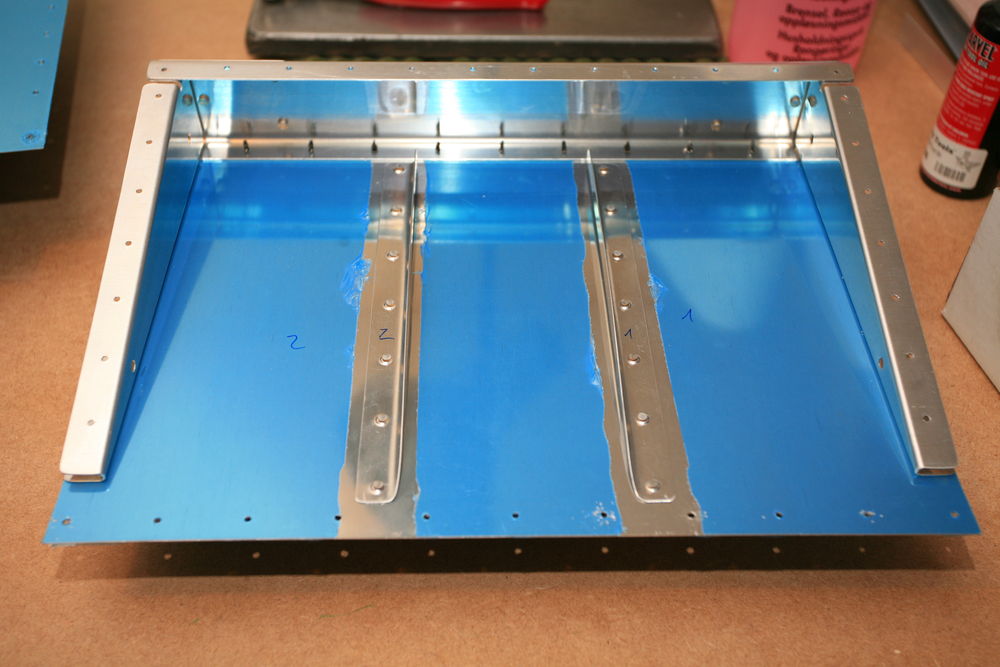
Squeezing the rivets in the ribs was a breeze, except of course for the rivets closest to the trailing edge (which had to be bucked).

2010-05-03_03.jpg

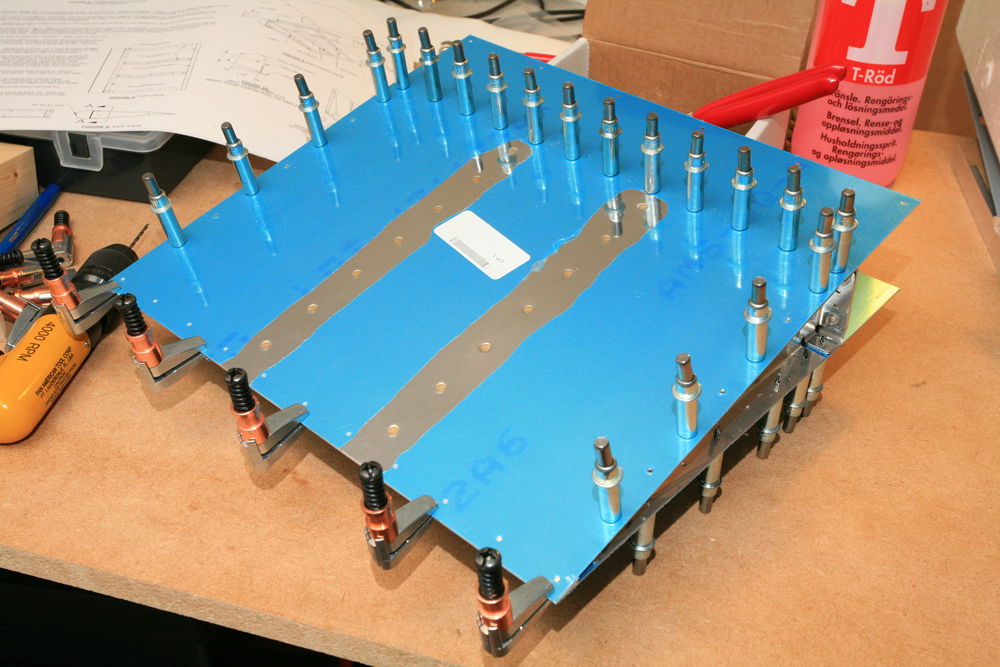
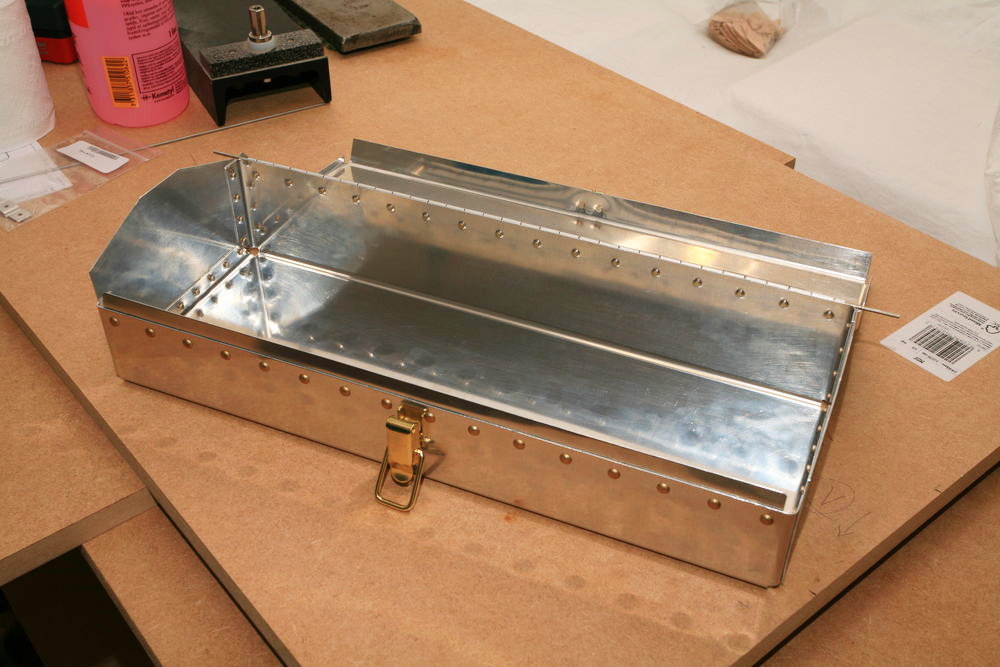
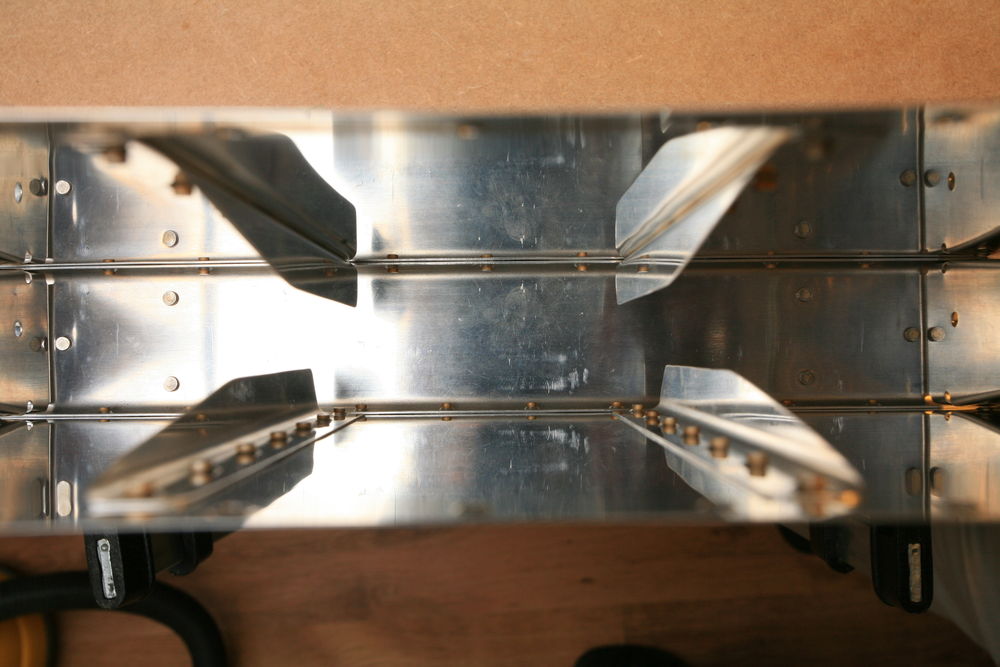
Today I countersunk the wedge for the trailing edge (not deep enough, but hey -- it's a training kit). Riveting the trailing edge was much easier than I thought, and it came out nice and straight:

2010-05-03_05.jpg

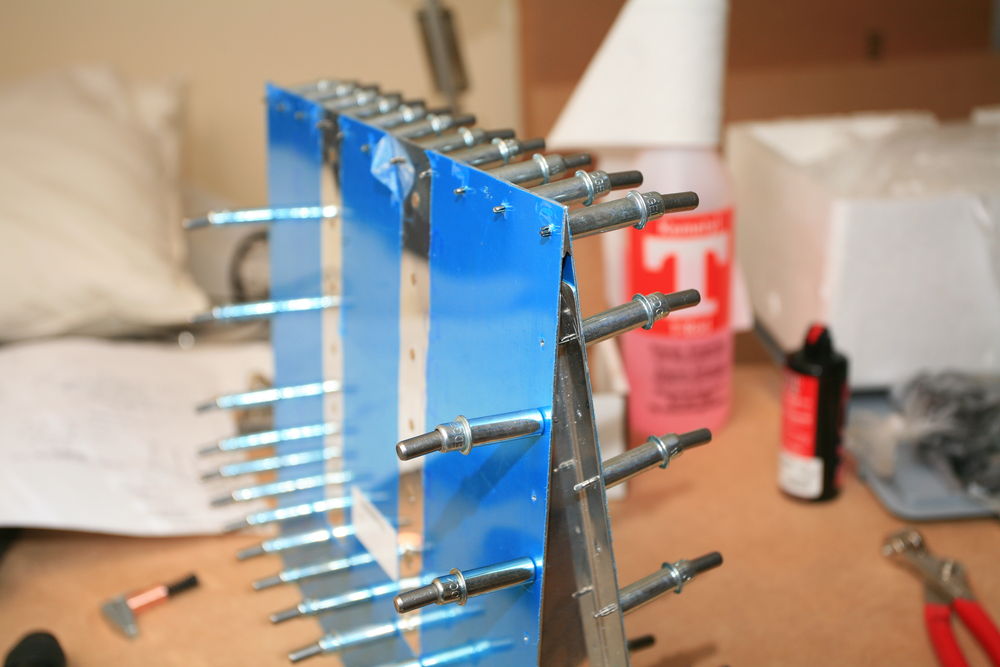
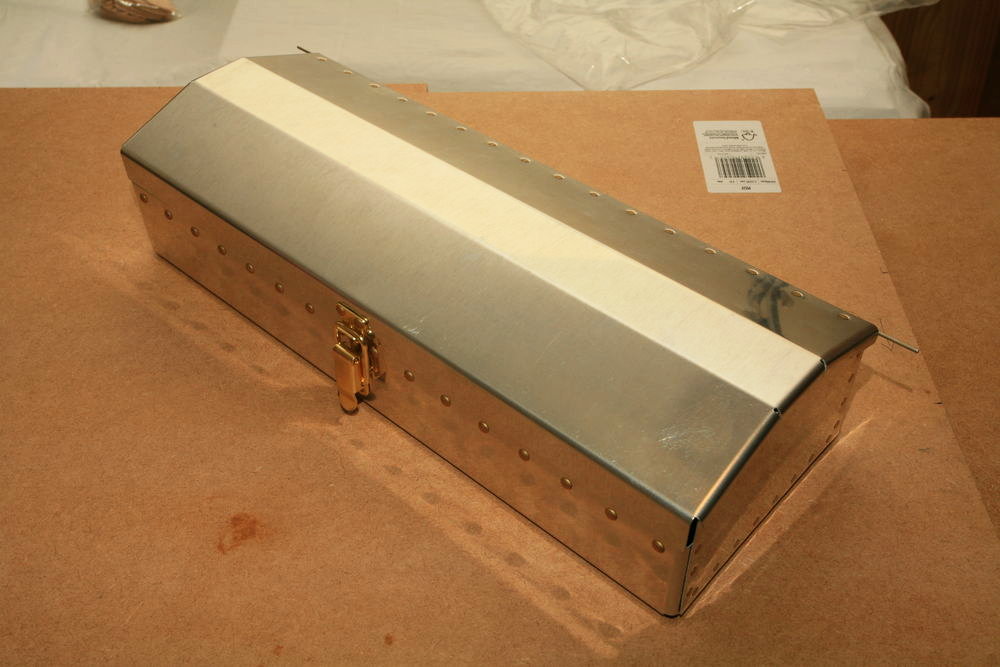
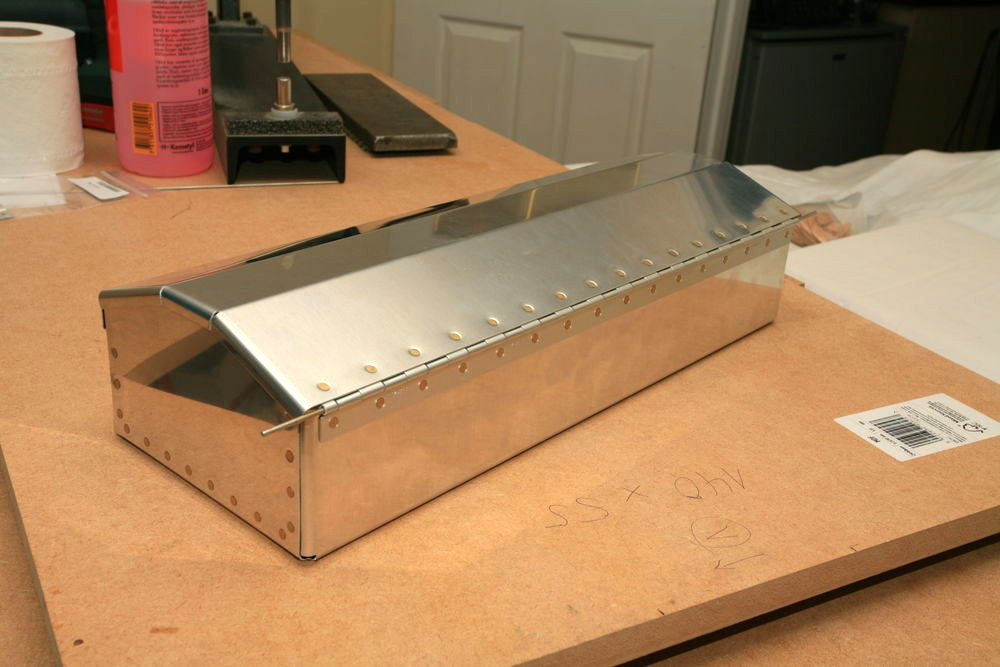
Also rolling the leading edge went very smooth:

2010-05-03_04.jpg

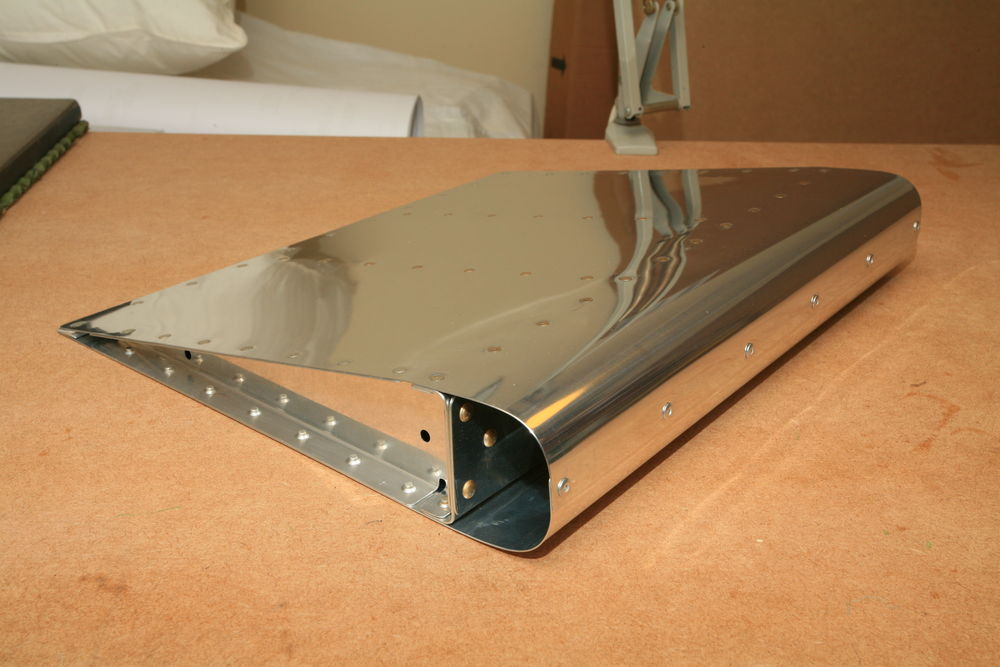
So now I have my first aileron! Well, sort of at least. It was a good idea to start with the training kits. I definitely learned a lot and feel confident to start with the real parts now.

Training kit (2)

Yesterday I continued with the training kit. First I dimpled the skins with the C-frame and riveted the stiffeners to the skins, then I match-drilled, deburred and riveted the spar to the ribs:

2010-04-28_01.jpg

This is how it looked after match-drilling the spar and the ribs to the skins:

2010-04-28_02.jpg

2010-04-28_03.jpg

Then I drilled the trailing edge:

2010-04-28_04.jpg

Finally everything was deburred and dimpled. I still need to countersink the trailing edge wedge and to dimple the wholes that are closest to the end of the ribs, since I couldn't reach them with a normal dimple die or even with the vice-grip style dimpler. So I will need to make a female dimple die from some piece of flat steel.

Training kit

Before I went to Berlin I already practised riveting with some spare aluminium pieces. Today I started the aileron training kit: I cut and deburred the stiffeners, deburred the spar and the ribs, matchdrilled the stiffeners to the skins, deburred the holes, and dimpled the stiffeners:

2010-04-27_01.jpg

Dimpling the skins and riveting the stiffeners to the skins needs to wait until tomorrow, as it's too noisy for the neighbours.

Tools and paperwork

Last weekend I drove to Axminster and bought even more tools. Now I am the proud owner of a drill press, a bench grinder, a disk/belt sander, a vise, and some additional small stuff. That should round off the tools I need to really get going ...

... if there wasn't the bit with the paperwork. On the long run, I want to move back to Germany, so it would be good to have a German registration on the plane. That means that I have to build the plane under German rules, and indeed I found out that this is possible! Now it's "just" a matter of finding a technical inspector who is willing to travel to the UK just to have a look at some parts before I close them. Oh well.

Toolbox (almost) ready

This night I spent some more time on the toolbox training project, and I'm almost done. Riveting was much quicker than yesterday, as well as all the other tasks. I still have to put the handle on and cut the hinge pin to its final length, but I will have to buck the handle rivets, and I don't want to cut the hinge pin until the lid stays on. This will have to wait a little, because before I can buck anything, I will have to finish the anti-noise enclosure for my compressor.

2010-02-25_01.jpg

2010-02-25_02.jpg

2010-02-25_03.jpg

First rivets

Yesterday night I started with the toolbox training project. I cut the hinge to the correct length, and match-drilled, deburred, and dimpled the two side walls. I also riveted one of them. That's how the toolbox looked after dimpling:

2010-02-24_01.jpg

And my first rivets. Not bad, but I'll need much more practice if I want to finish the plane before the end of the universe. Boy, am I slow!

2010-02-24_02.jpg

2010-02-24_03.jpg

Flying!

Today I met Thomas. We spent hours talking and looking at his D-EXTL. Despite the soft runway he took me up for my first ride in an RV, and I got to fly a little from the back seat. The RV-grin is still on my face -- what a wonderful airplane!

Tools arrived

Early Christmas? Late birthday? Anyhow, the parcels from Avery's arrived today. There are a few items on backorder, but since VAT increases on 1 January, we decided to ship the rest already now. The savings on VAT are larger than the extra shipping.

I simply had to put them all on a table:

2009-12-10_01.jpg

2009-12-10_02.jpg

2009-12-10_03.jpg

2009-12-10_04.jpg

2009-12-10_05.jpg

Ordering tools

Yesterday I spent several hours comparing the tool kits of Avery, Cleaveland, Brown, and Isham. I decided to go with Avery's kit, which I modified a bit. There is no need in shipping an 8 lbs backriveting plate across the Atlantic if I can buy a piece of steel locally. For a similar reason (and because I want to live in peace with my neighbours) I skipped the C-frame dimpler and ordered the DRDT-2 front part instead. They also had a pneumatic squeezer on sale.

Preview plans arrived

My preview plans arrived today. After browsing through the plans for two hours they still don't scare me. So let the adventure begin! The next steps are to register the project with the LAA, apply for an end-use number to avoid paying duty fees when importing aircraft parts, buy tools, prepare the workshop ...

About this Archive

This page is an archive of recent entries in the Preparation category.

Other is the previous category.

Shop is the next category.

Find recent content on the main index or look in the archives to find all content.