August 2010 Archives

Prime time

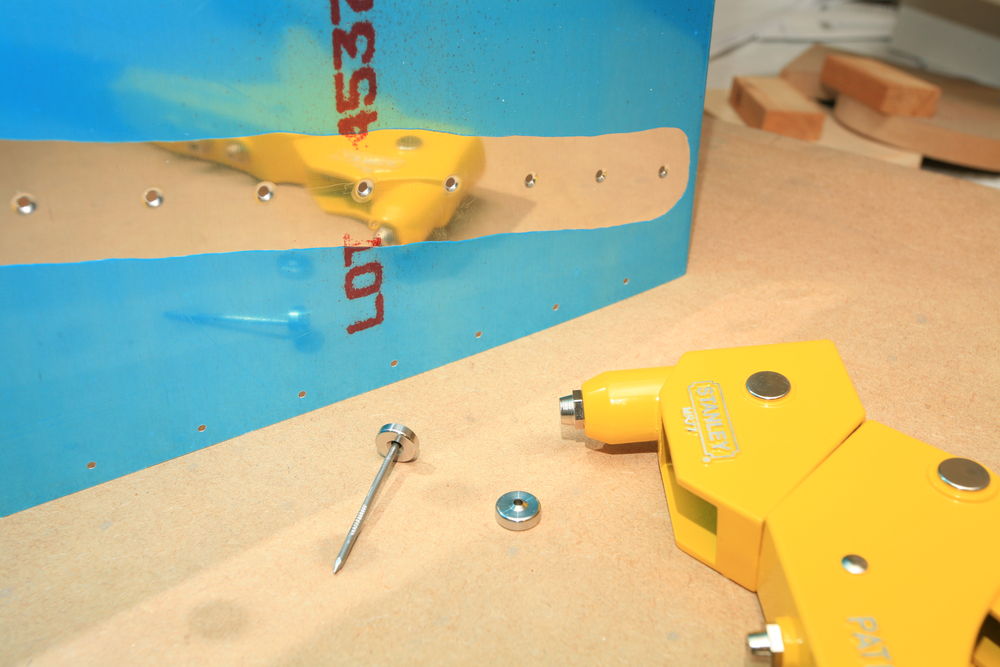
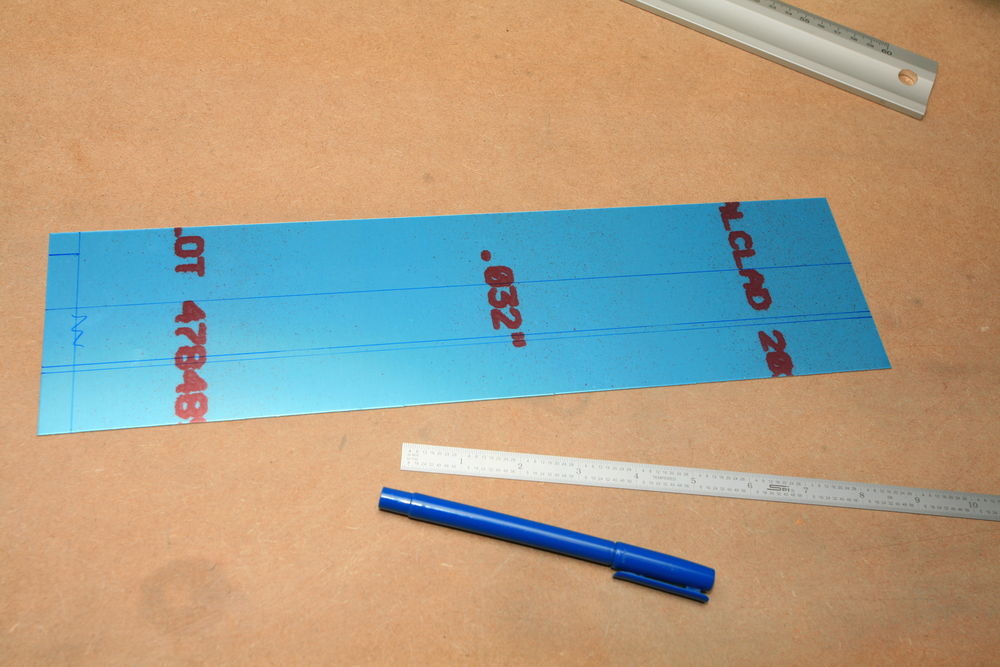
This afternoon was prime time! Premiere with a spray gun for me, too. I had cleaned and etched all the VS skeleton parts and the rudder stiffeners yesterday, and the VS and rudder skins today. For the rudder I left the outer part of the skin unprimed, since it still needs to be drilled to the spar and dimpled. So I taped that area for scuffing, etching and priming. Impressive to see the difference between the bare alclad and the scuffed and etched surface:

2010-08-31_01.jpg

Shooting the primer is really a learning experience. I got some runs on the flanges of the first ribs I primed, but the later parts went much better. I also grossly underestimated the amount of primer I need, so I ran out of primer three times. Later I searched the VAF archives and found that the amount I used isn't uncommon at all, and measuring the thickness in a couple of locations shows that I have about .0015 inch of primer on the parts (well, except for those first ribs ...).

BTW, I'm using Stewart's EkoPoxy, smoke gray. This is a water borne epoxy primer that forms a sealed surface. It is supposed to be fairly tough and the best part is: it's considered non-hazardous and doesn't contain chromates or lead. I still wear a respirator, but I'm not as concerned about my health as I would be with the classic zinc chromate stuff. Since it's water borne, cleanup is easy, too -- just rinse with water.
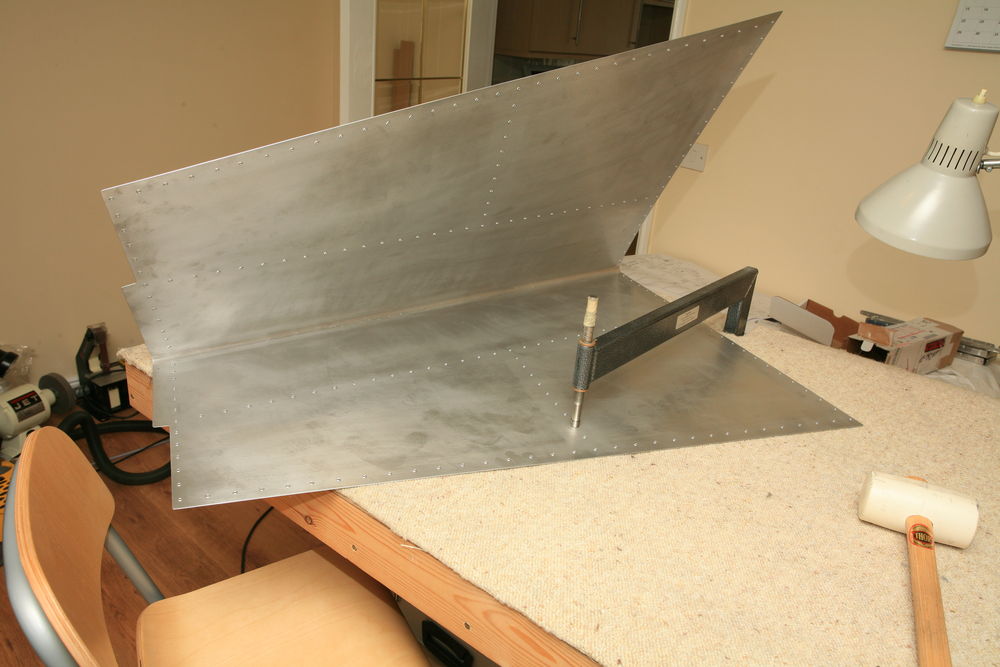
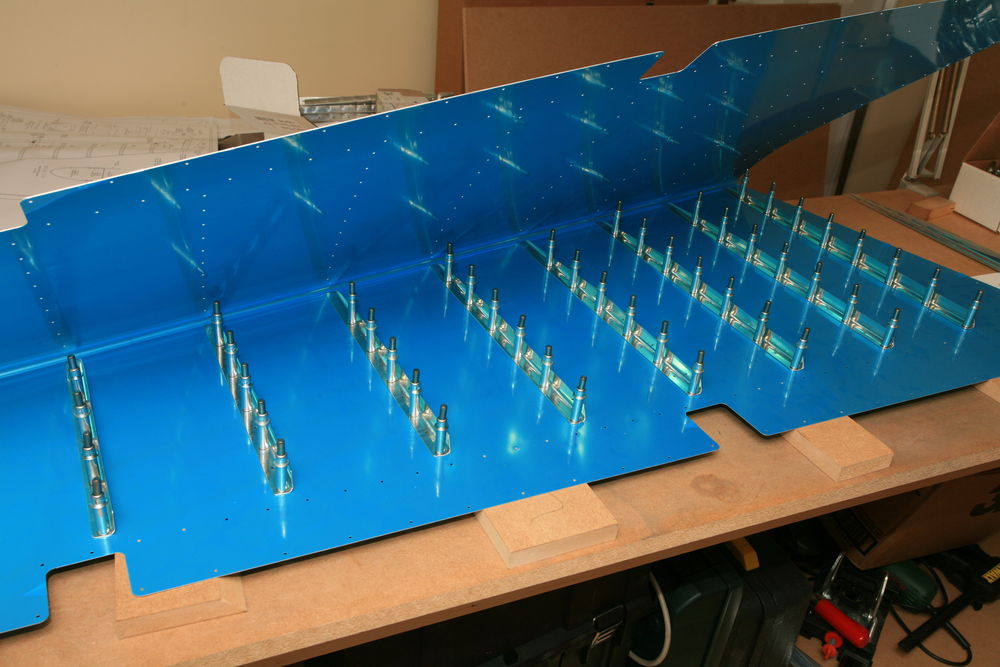
The VS skeleton:

2010-08-31_02.jpg

Rudder skin:

2010-08-31_03.jpg

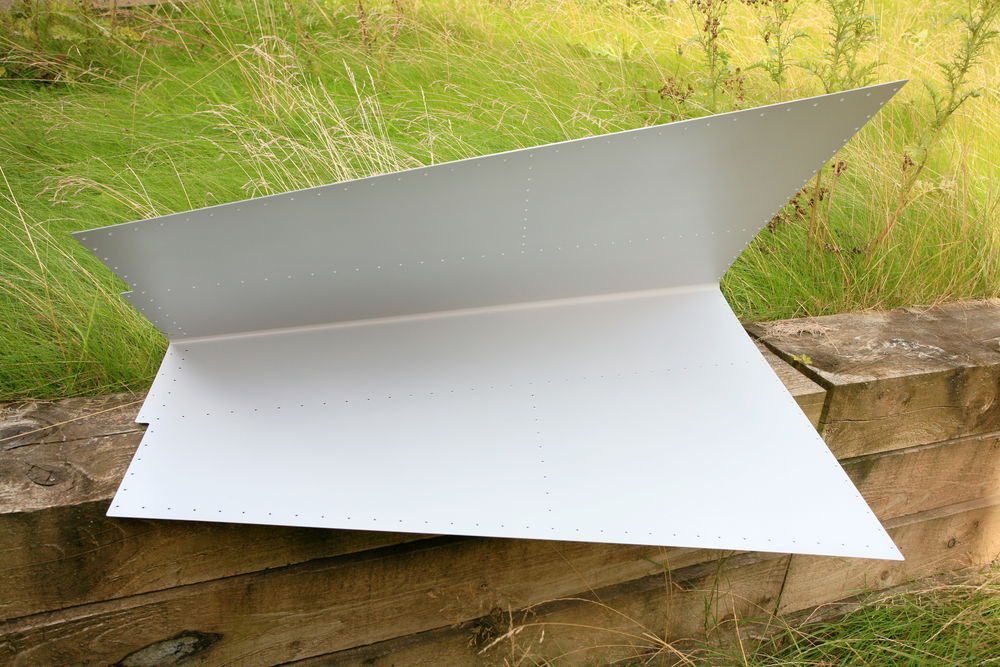
VS skin (no, I didn't shoot it in the grass):

2010-08-31_04.jpg

Dimpling VS and rudder skins

I was hoping that I could start to prime today, but the weather wasn't exactly cooperative.

2010-08-29_01.jpg

So I only finished dimpling the VS skin and deburred/dimpled the stiffener holes in the rudder skin. I don't really like the C-frame for dimpling. I find it hard to get nice dimples, and overall it's rater cumbersome. Hopefully I get the frame for my DRDT-2 soon, that should be much nicer. Anyhow, thanks Steve for lending me the C-frame in the meantime!

2010-08-29_02.jpg

I couldn't reach the three aft holes of each stiffener in the rudder skin with the C-frame dimpler, so I used the pop rivet dimpling tool. It's an ingenious piece of equipment. The two dies have a center hole through which you can put a nail. So you put one die on the nail, push the nail through the hole in the skin, put the second die on the nail, and then compress this sandwich with the blind rivet puller.

2010-08-29_03.jpg

There will be a shared container from Van's to the UK later this year, and they are collecting orders now. I will probably join and get the wings, so I spent some time today researching different options (flop tube, which fuel senders, ...).

Rudder skeleton and VS skin

Today was a good day. I started working on the rudder skeleton. First I trimmed the R-710 rudder horn brace. I didn't take a "before" picture, but here is the brace after trimming:

2010-08-28_01.jpg

When you do this, be careful not to trim to much. It's very easy to run into edge distance problems at the skin hole nearest to the spar (the blue Sharpie mark on the far right bottom).

I had rounded the top edge of the R-405PD rudder horn already yesterday, to fit it to the R-704 rib. So I could cleco the rudder horn and the rudder horn brace to the rib:

2010-08-28_02.jpg

Looks good, everything seems to fit.

Next step was match-drilling the R-717 spacer to the spar. I marked the center line, drilled the middle hole and clecoed the spacer to the spar such that I could see the center line in the two other holes. Like this I knew that it is straight.

2010-08-28_03.jpg

2010-08-28_04.jpg

Having the spacer, I then could cleco the whole assembly to the spar. As you can see, I also clecoed the reinforcement plates on. Oh, and all the parts are already edge finished except for the rudder horn.

2010-08-28_05.jpg

2010-08-28_06.jpg

After some thinking I'm pretty sure now that I can use solid rivets in all holes in this area. We'll see. I drilled all the holes in the spar web and the holes that hold the rudder and rudder brace together and to the bottom rib to final size. Then I prepared the tip rib (edge finishing, fluting) and drilled it to the spar, too:

2010-08-28_07.jpg

As finale I deburred and scuffed the skin of the vertical stabilizer, and dimpled the holes I can reach with the squeezer. I didn't want to use the C-frame dimpler late in the evening, for obvious reasons. No photos, sorry.

Fabricated R-716 and R-717

Tonight I ticked just two items. The quick one was enlarging a hole in the R-704 rib (the rib in the bottom of the rudder) for the bottom rudder bearing, using a unibit.

Then I went on to "Fabricate the R-717 spacer and both R-716 rudder bottom attach strips". The R-716 will hold the fiberglass tip at the bottom of the rudder, and the R-717 spacer is a shim between the rudder horn and the spar, making up for the thickness of the front flange of the R-704 rib. Those three parts need to be fabricated from .032" 2024-T3 alclad -- good that I hadn't touched the "trim bundle" yet, I thought those pieces were just for practicing!

2010-08-26_01.jpg

Here are the finished parts. As you can see I still need to drill them, but as they need to be match-drilled to other parts I don't do this tonight. On the left you can also see the R-704 rib with the hole for the rod bearing:

2010-08-26_02.jpg

Spray table

Yesterday I wanted to do something quick; a frame with chicken wire as spray table. No problem with the frame, but ... Let me tell you that I'm usually not cheap when it comes to buying tools. I prefer good quality even if that means that I have to spend some money. Five months ago was an exception. I needed a stapler to put the blankets in my compressor enclosure and thought that I don't need it often enough to invest money. Besides that, what could possibly go wrong with a stapler?

I can tell you now: First it was not strong enough to get the tiny 2/8" staples all the way into the pine, and after five or six staples it died altogether. It really only lived long enough for the compressor blankets, yesterday it found its final peace in my trash bin.

Fast forward one day. After work I stopped by at a tool store and got a new stapler, about five times more expensive than the old one, but at least it's not made of plastic. I also got four new trestles (learned that word today -- don't we build for education and recreation? I guess this qualifies as "education"), since all my saw horses are already in use. With the new stapler finishing that spray table was a breeze:

2010-08-25_01.jpg

Finished rudder stiffeners

Tonight I continued on the rudder stiffeners. First step was to drill them to the rudder skin:

2010-08-23_01.jpg

Then I deburred the holes, scuffed the stiffeners and dimpled them. Ready for priming:

2010-08-23_02.jpg

Cut rudder stiffeners

Rather than disassembling the HS I decided to leave it clecoed in order to save some space. Instead I started with the rudder stiffeners. Van's provides you with some long angles that need to be cut into shape:

2010-08-22_01.jpg

The first step is to cut them to length, then mark the taper and cut them with snips:

2010-08-22_02.jpg

I cut slightly outside the marked line and did the final trimming on the band/disc sander:

2010-08-22_03.jpg

The final step was a short (*cough*, *cough*) run on the Scotchbrite wheel to smoothen and deburr all edges and corners. That bench grinder does get hot after a while ...

Here is the result:

2010-08-22_04.jpg

Continued working on left HS

It's been more than a month since I worked on the plane last time. First I had a guest at home for one week, then I was three weeks in Germany and the US for work, and after coming back home it took a few days to settle down again. But at least I wasn't completely deedless. I brought back quite a few tools from the US; mostly stuff I cannot easily get here, like ratchet sockets and wrenches in inch, a torque wrench in in*lbs, but also some gadgets from Avery and Cleaveland as well as several vise-grip C-clamps (why are they so much more expensive here?!?). I also bought a new kitchen scale, uhm, sort of. It's a precision balance with 100mg resolution and 10kg capacity. I've been looking for a good scale for some time now, as I will need something for the expoxy, primer and paint, and with the large capacity I can use it for other things, too. The inauguration was baking bread right after coming home -- this really is the perfect kitchen scale!

'nuff said, tonight I was back in the workshop. One of the things I brought back home from the States was a replacement rib for the HS-405 I screwed up last time, so the clear candidate to work on was the left horizontal stabilizer. After the long break I had a slow start, as it took me some time to get back into it. I edge finished and fluted the rib, then I started drilling it at the aft flange. This time I had learned the lesson and clamped everything tight, using one of my shiny new vise-clamps:

2010-08-21_01.jpg

After also drilling the top and bottom flanges I came to the part where I trashed the first HS-405: the joint of the two inner ribs with the front spar and the two spar reinforcement angles. Again I fixed everything before drilling. The two outer holes could be drilled through the pilot holes in the rib, as per instructions, since the spar and the two angles hadn't been drilled before:

2010-08-21_02.jpg

But I had already drilled the two center holes with the first HS-405, so instead of having a pilot hole in the HS-405 rib I used the existing hole in the spar to match-drill the HS-405 from the front:

2010-08-21_03.jpg

This time the whole thing went completely uneventful, so I could finally match-drill the front rib to the skin. I also finish-drilled all the other skin holes, so the horizontal stabilizers are now ready for disassembly.

2010-08-21_04.jpg

About this Archive

This page is an archive of entries from August 2010 listed from newest to oldest.

July 2010 is the previous archive.

September 2010 is the next archive.

Find recent content on the main index or look in the archives to find all content.