During the last few weeks I didn't work on the RV, but nevertheless spent quite some time in the workshop. So why not document it here? Then at least you know why the work on the RV is stagnating.
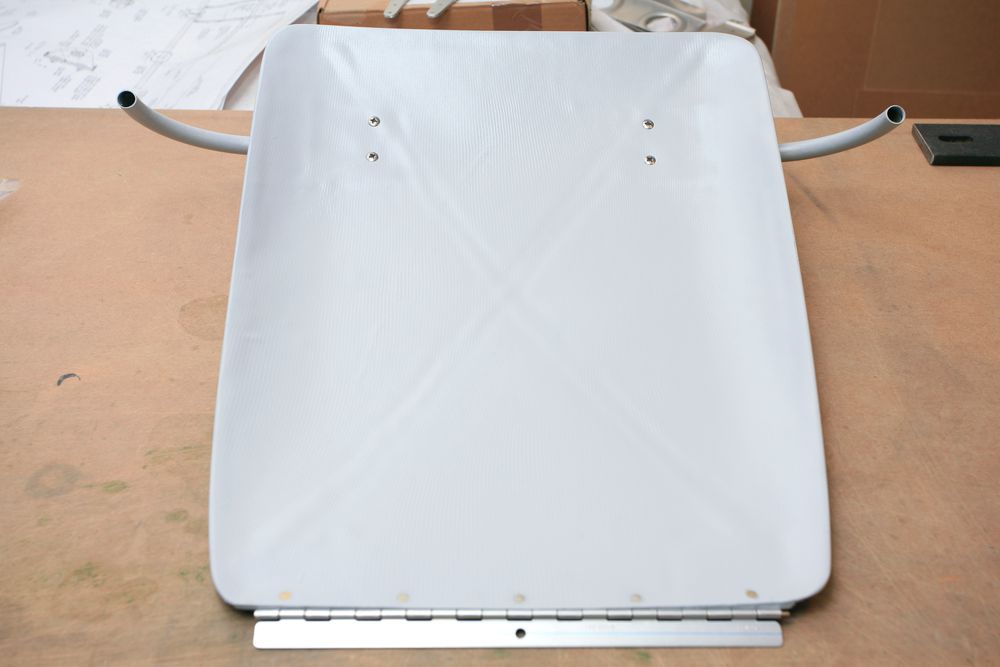
One of those projects was the refurbishment of the seat back in my Club Libelle. The cable for the seat adjustment had to be changed (sorry, no pictures for that), and having the seat back on the work bench was the perfect chance to fix the rotten piano hinge holding it in place. Here is the old vs new comparison:

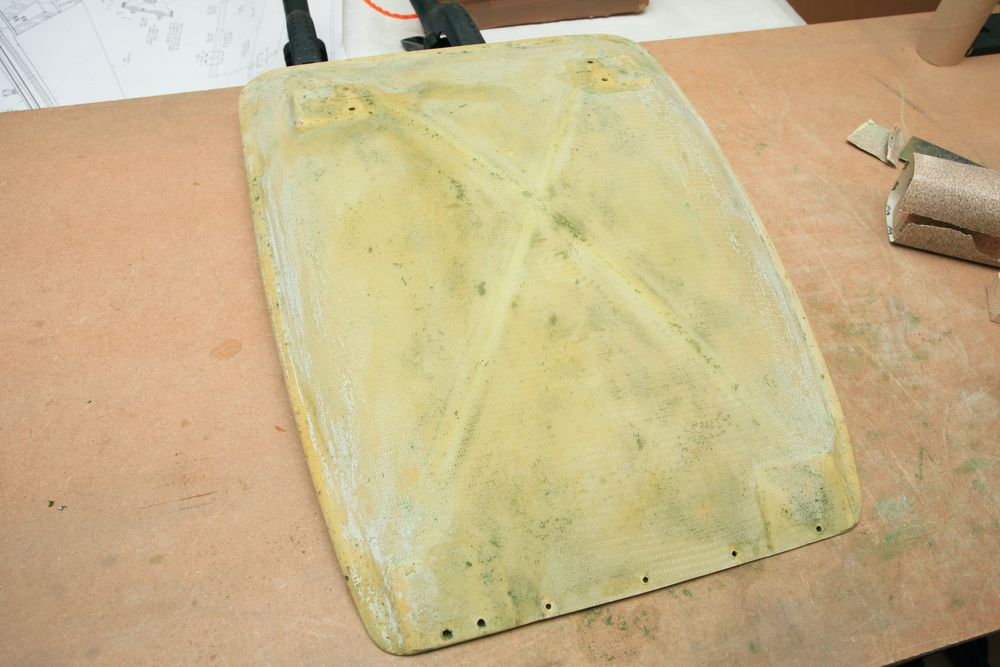
The reason why it cracked so much is that it had been riveted to a wavy surface, so I decided to make a fillet with flox (epoxy with flocked cotton), but of course not on the old paint. Perfect excuse to get rid of the horrible dark green paint and strip the whole thing:
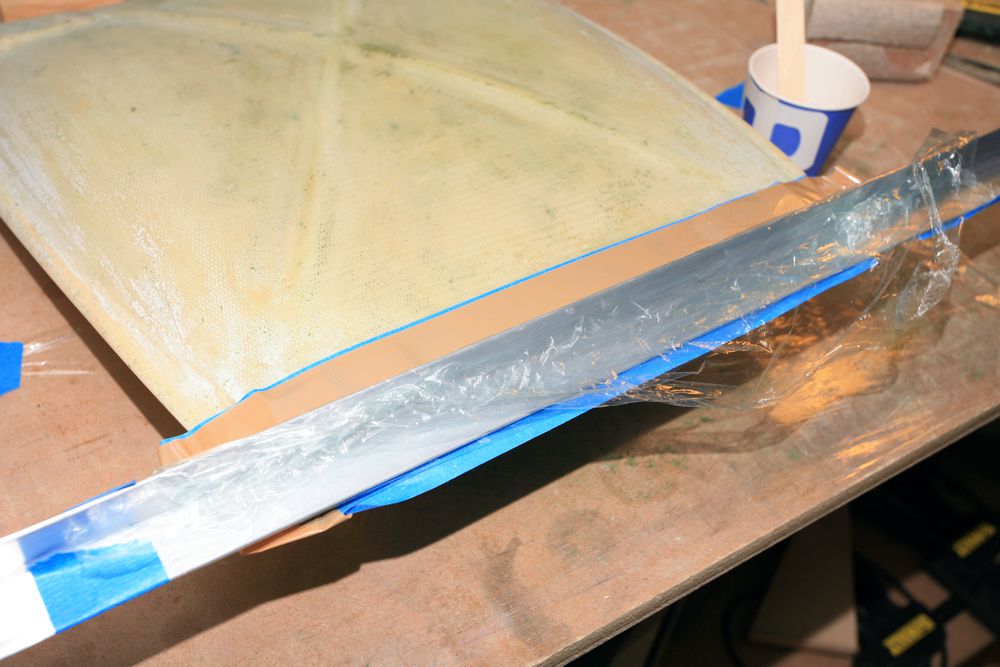
Using an aluminum angle as flat surface to form the fillet:
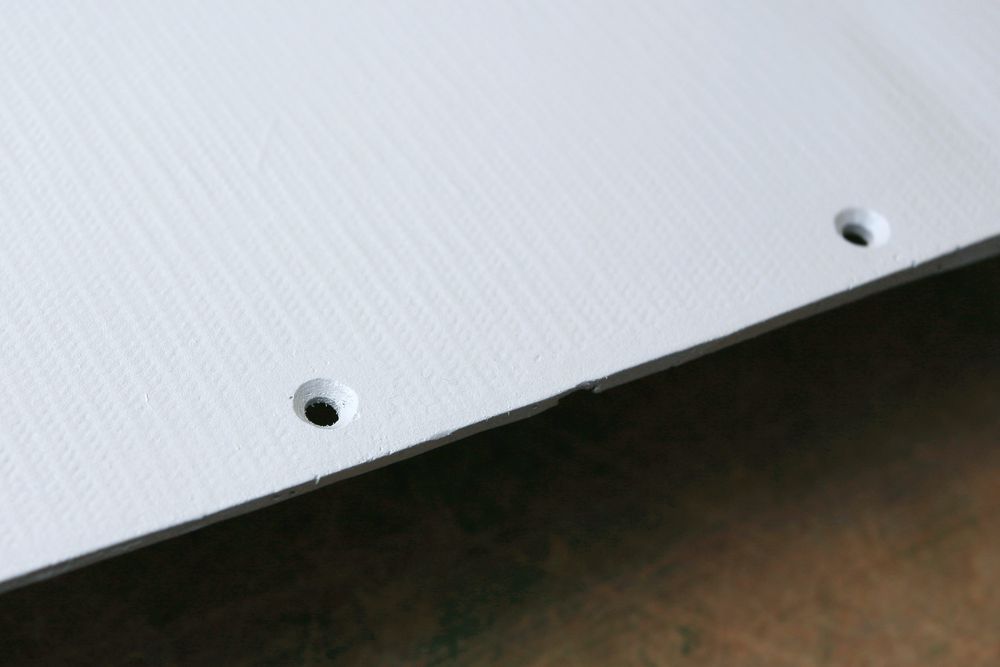
Nice new rivet holes, shown after painting the seat back with smoke grey epoxy paint:
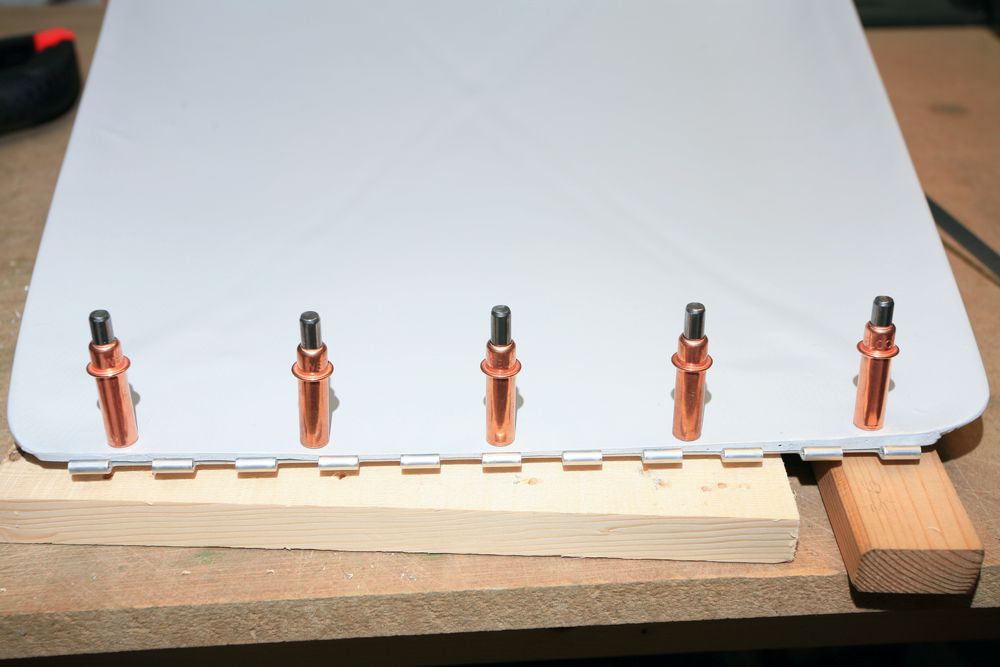
Here I'm fitting the new piano hinge. What would life be without clecos?
And the final product. Note that in this picture I didn't drill the screw holes in the bottom part of the hinge yet. That was done at the airplane, to get the alignment right.