Recently in Empennage Category

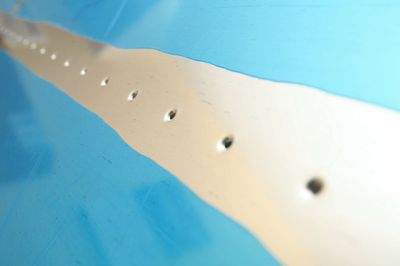
Dimpling rudder skin

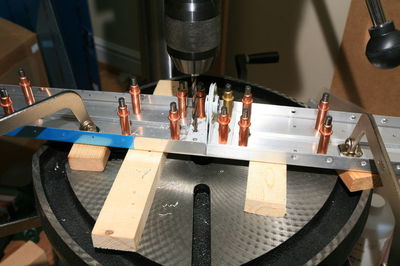
I dimpled the holes in the rudder skin that connect to the spar and the top and bottom ribs. Now the skin is ready for priming that edge. I didn't prime this region before, because those rivet holes needed to be match drilled after riveting the stiffeners and bending the trailing edge.

Did I ever mention that the DRDT-2 is a great tool? A heavy sucker, but wonderful to work with.

2012-12-19_09.jpg

Rudder horn riveting

In my last post about the rudder horn you might have noticed that I riveted the R-710 rudder horn brace first, and then the rivets that connect the rudder horn and the rear spar. Van's calls out for a different order, but I have no idea how to add the brace without serious bending once the rudder horn, bottom rib and rear spar are connected. That's why I did it this way.

I had to make an L-shaped custom bucking bar to reach all those rivets through the small hole in the rudder horn brace, but in the end it all worked. Look ma, all solid rivets:

2012-12-18_10.jpg

2012-12-18_11.jpg

2012-12-18_12.jpg

Deburring rudder skin

I deburred the holes from the rudder skin to the spar, and edge-finished the skin.

Riveting HS spars, trim reinforcement plate, and HS nose ribs

I got some work done on the RV in the past few days, but didn't write any updates here, so today's entry actually covers three days.

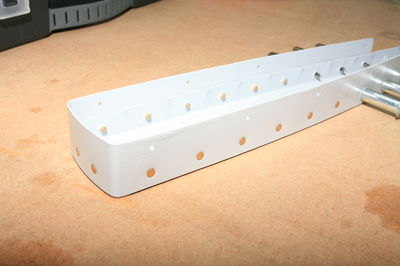
As you already read I have lots of primed parts now, so I could do some riveting. I started with the horizontal stabilizer spars. The rear spar consists of the left and right channel (HS-603PP) and two reinforcement bars (HS-609PP) plus some hinge brackets and the central bearing for the elevators. Here you see the reinforcement bars clecoed to the spar channels:
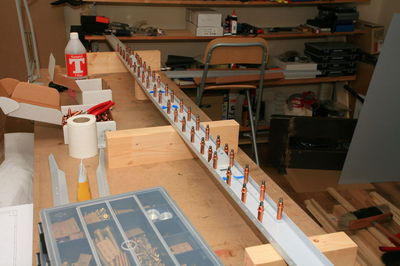
2011-05-22_01.jpg

And the riveted spar:

2011-05-22_02.jpg

The plans call for AN470AD4-5 rivets for the outer hinge brackets (HS-413PP), but they are way too long and so I used -4 rivets after the very first -5 rivet tipped over and I had to drill it out.

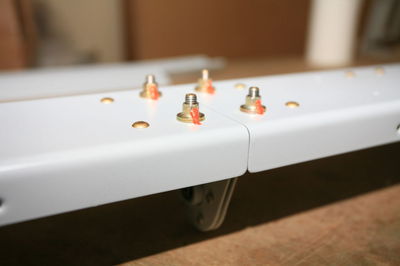
The central bearing is bolted to the spar. Instead of AN-365 nylocks I decided to use all-metal locknuts (MS-21042) because they are quite a bit lighter (0.75g vs 2.2g) and perform the same. Here they are, torqued and sealed:
2011-05-22_03.jpg

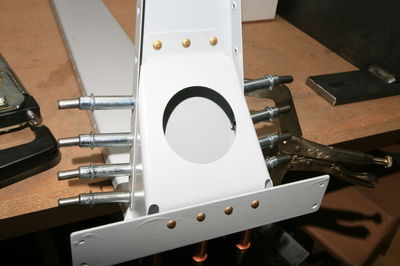
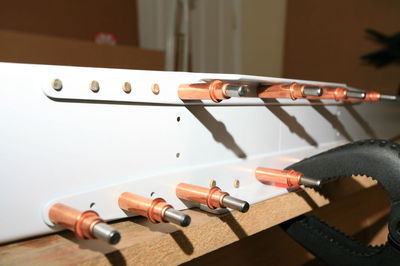
The next day I proceeded with the front spar. Again it's made from two halves (HS-702), this time jointed with two angles (HS-810-1 and HS-814-1). That's what they looked like about half way through the riveting:
2011-05-22_04.jpg

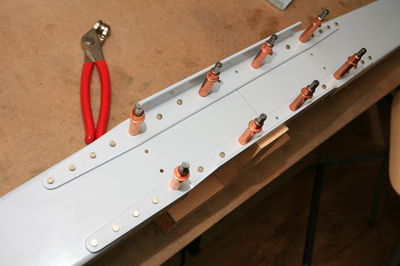
And the (almost) finished product. The central rivets are flush rivets which I did later, and the other holes stayed empty for ribs and the fuselage attachment:
2011-05-22_05.jpg

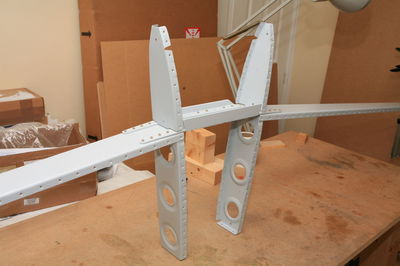
Talking about ribs, I also riveted the main ribs to the spar. Looks like an airplane, doesn't it? I can assure you that no neighbors were harmed during the generation of airplane noises.
2011-05-22_06.jpg

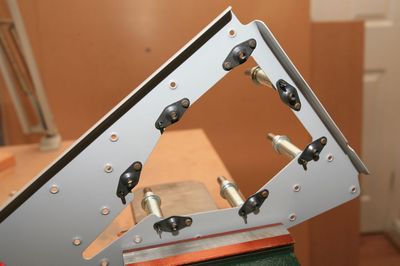
Fast forward two days. This afternoon I drove and squeezed some more rivets. As an easy starter I attached the plate nuts to the E-615PP trim access reinforcement plate. Instead of dimpling the plate nuts I machine countersunk the reinforcement plate and used NAS1097 flush rivets.
2011-05-22_07.jpg

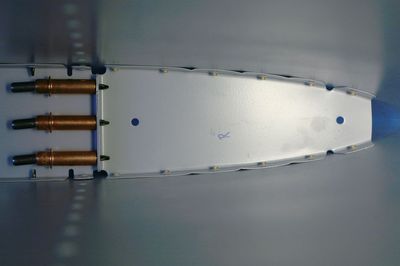
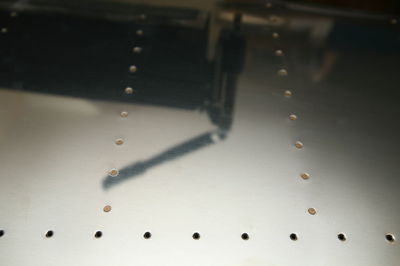
And finally I riveted the HS-707 nose ribs into the two HS skins. I'm glad I have the tungsten bar. There isn't much space to buck the forward rivets:
2011-05-22_08.jpg

Priming left HS skin

Last night I primed the left HS skin. That was the last missing part of the horizontal stabilizer. I'm still fighting with the spraying. Certainly the education bit of "education and recreation".

Priming, deburring and dimpling

Since the wind was forecast to be strong from the north-west, I didn't go to the glider club today. With this wind direction we get some nasty turbulence on the runway and often don't fly at all. So I primed some more HS parts and then deburred and dimpled the left HS skin. No pictures today -- you've seen it all before.

Priming HS parts

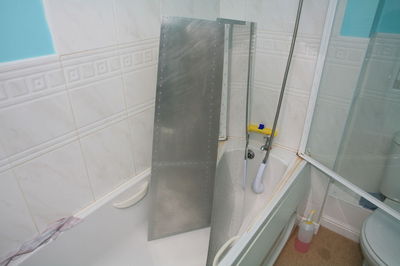
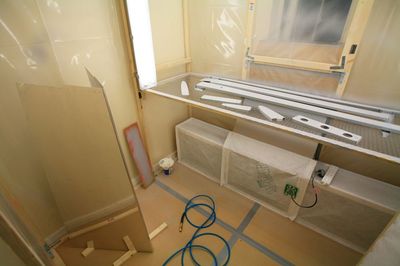
Tonight I primed some of the HS parts: The right skin, the left skeleton, and one of the rear spar reinforcement bars. When I primed the rudder skin, I cleaned and etched it in my backyard. Today I tried the bath tub, and even though it's not perfect, I don't depend on weather or daylight:

2011-05-11_01.jpg

The parts in the paint booth:

2011-05-11_02.jpg

Deburring left HS skeleton, drilling the missing bits

Yesterday night I disassembled the left HS and drilled the hinge bearing assembly (HS-411 + VA-146) to the rear spar. You might have noticed that I don't really follow the order of the instructions, but work much more in parallel. According to the instructions I should have drilled this a year ago, well before clecoing and drilling the rest of the HS, but at that time I didn't have the primer yet, so I couldn't prime the bearing, so I couldn't rivet that assembly, so I couldn't drill ... well, you get the idea.

2011-05-10_01.jpg

I also drilled the remaining holes from the HS-810-1 and HS-814-1 reinforcement angles to the front spar. Today I deburred, scuffed and dimpled the skeleton. Still need to deburr and dimple the skin, but that's for another day.

Preparing right HS skin

Weekend, marginal weather, work (the kind that pays the bills) -- today that summarizes most of the day. Nevertheless I prepared new elastic bands for my glider's canopy cover, so that it hopefully doesn't get blown off by the wind anymore, and I deburred and dimpled the right HS skin. Looks like I'll have another priming session next week.

2011-05-07_01.jpg

2011-05-07_02.jpg

Rudder skeleton

Today I came back from work rather late, after a frustrating day of merging two software projects, so I really wanted to do something fun and set some rivets. The first victims of my enthusiasm were the R-703 tip rib and the R-713 counterbalance skin:

2011-03-02_01.jpg

Then I continued with the upper two spar reinforcement plates and finally squeezed the first seven rivets of the R-710 rudder horn brace and the R-405 rudder horn. The hand squeezer with the longeron yoke comes handy here, but I guess I will have to use the gun for the rivets holding the rudder horn to the spar.

2011-03-02_02.jpg

Yes, I primed the rudder horn too wet. Still learning ...

About this Archive

This page is an archive of recent entries in the Empennage category.

Libelle is the next category.

Find recent content on the main index or look in the archives to find all content.