Recently in Elevator Category

Riveting HS spars, trim reinforcement plate, and HS nose ribs

I got some work done on the RV in the past few days, but didn't write any updates here, so today's entry actually covers three days.

As you already read I have lots of primed parts now, so I could do some riveting. I started with the horizontal stabilizer spars. The rear spar consists of the left and right channel (HS-603PP) and two reinforcement bars (HS-609PP) plus some hinge brackets and the central bearing for the elevators. Here you see the reinforcement bars clecoed to the spar channels:

2011-05-22_01.jpg

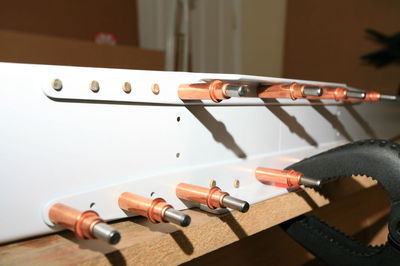
And the riveted spar:

2011-05-22_02.jpg

The plans call for AN470AD4-5 rivets for the outer hinge brackets (HS-413PP), but they are way too long and so I used -4 rivets after the very first -5 rivet tipped over and I had to drill it out.

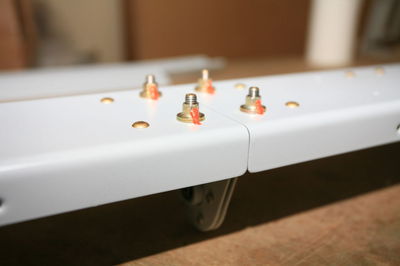
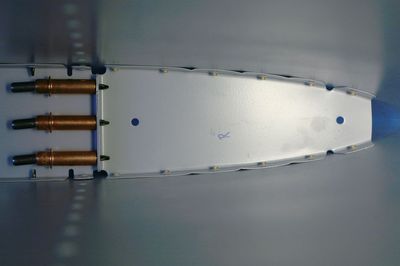
The central bearing is bolted to the spar. Instead of AN-365 nylocks I decided to use all-metal locknuts (MS-21042) because they are quite a bit lighter (0.75g vs 2.2g) and perform the same. Here they are, torqued and sealed:

2011-05-22_03.jpg

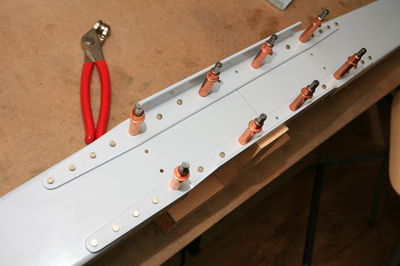
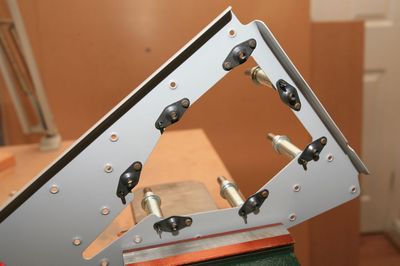
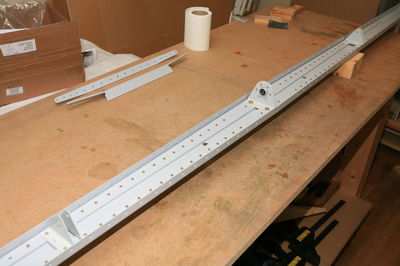
The next day I proceeded with the front spar. Again it's made from two halves (HS-702), this time jointed with two angles (HS-810-1 and HS-814-1). That's what they looked like about half way through the riveting:

2011-05-22_04.jpg

And the (almost) finished product. The central rivets are flush rivets which I did later, and the other holes stayed empty for ribs and the fuselage attachment:

2011-05-22_05.jpg

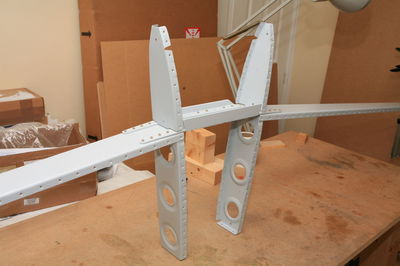
Talking about ribs, I also riveted the main ribs to the spar. Looks like an airplane, doesn't it? I can assure you that no neighbors were harmed during the generation of airplane noises.

2011-05-22_06.jpg

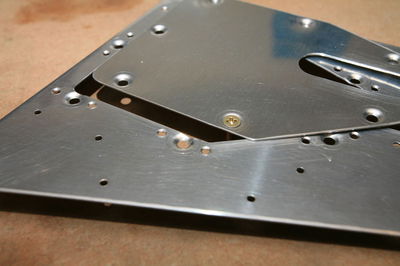
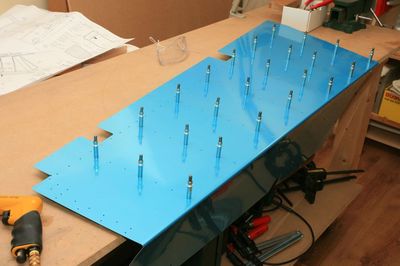
Fast forward two days. This afternoon I drove and squeezed some more rivets. As an easy starter I attached the plate nuts to the E-615PP trim access reinforcement plate. Instead of dimpling the plate nuts I machine countersunk the reinforcement plate and used NAS1097 flush rivets.

2011-05-22_07.jpg

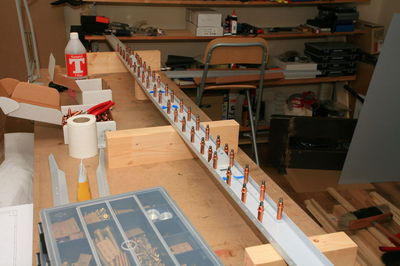
And finally I riveted the HS-707 nose ribs into the two HS skins. I'm glad I have the tungsten bar. There isn't much space to buck the forward rivets:
2011-05-22_08.jpg

Priming -- at last!

Today I got a very strange look from my neighbour's kid. He spotted me through the window as I was preparing the primer, wearing the respirator. I hope I didn't scare him.

It is great to be able to paint on a rainy day with temperatures in the 40s (Fahrenheit). The paint booth works like a charm; the only missing bit is a stand for the paint gun. I have a hook on the wall, but that is too short. Should be easy to fix. Now if my spraying skills were on the same standard as the booth ...

I have primed the rudder skeleton and the elevator stiffeners. Maybe I can do the elevator skins tomorrow.

2011-02-26_01.jpg

Drilling right elevator skin, preparing trim access plate

Before i moved to the UK a bit more than a year ago people told me that there would be no snow. Maybe a day, but definitely not more. Well, last winter we enjoyed the white beauty for about six weeks. And this winter? Three days ago it started snowing. It's still there, about 10 inches thick, and more is coming. :-)

Today I edge finished and deburred the trim cover plate E-616PP and the trim access reinforcement plate E-615PP. The cover will be held by #6 screws, so I will have to put platenuts on the reinforcement plate. I countersunk the rivet holes for the platenuts for NAS1097 rivets, because I don't want to dimple them. Since the heads of those oops-rivets are so small, countersinking is just a matter of giving the hole a couple of turns with the deburr tool.

However, I'm not sure what to do with the screw holes. I dimpled them with the #6 screw dimple dies, which is the correct size, but the holes in the reinforcement plate are so close to the edge that the dimple extends all the way to the edge. The cover plate is not a problem, here the edge distance is larger. I'll ask on VAF what other people do.

2010-11-27_01.jpg

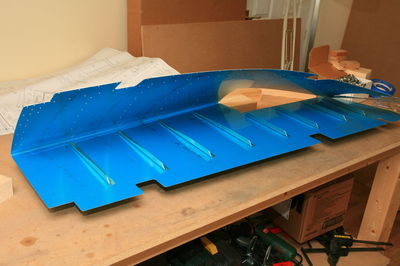
When I was done with the trim access, I drilled the stiffeners to the right elevator skin:

2010-11-27_02.jpg

I really have to come up with a way to shoot primer in the house. It's cold and wet outside, so painting in the backyard or in the garage is not an option. I have a "bed room" upstairs that is so tiny that the only direction to fit a bed would be vertical. So far I use that as storage space, but I might empty it and build a paint booth there.

Drilling left elevator skin

There are those pilots who have landed wheels up and those who will. I'm still in the second category.

There are those builders who have drilled their finger and those who will. I guess you know where this is going. No, don't ask. I will not tell you about that rear hole in the stiffener that needs to be matchdrilled to the skin, nor about that very stiffener bending away from the skin under the slightest pressure of the drill, nor about ... no, I won't tell you. Fortunately it wasn't a central hit.

The skin I actually wanted to pierce belongs to the left elevator. Tonight I drilled the stiffeners and the E-615PP trim access reinforcement plate to the skin. Strange thought that this wobbly something will in the future tell the plane how fast to go:

2010-11-23_01.jpg

Elevator stiffeners

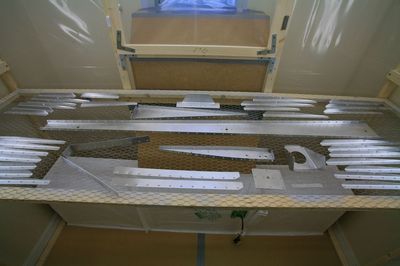
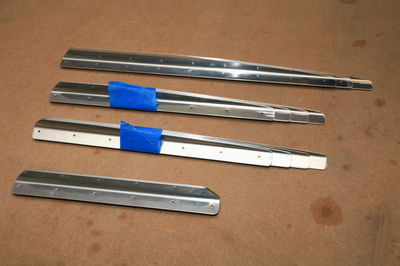
Yesterday night I started cutting the stiffeners for the elevator. Since the left elevator has the trim tab and therefore the spacing between the stiffeners is different than on the right side, there are eleven different types of stiffeners. In total it's 29 pieces. I hope I don't mix them up during/after priming. Anyway, tonight I trimmed them to their final sizes on the belt sander and them edge finished them with the vixen file and the Scotchbrite wheel. They are now ready to be drilled to the skins.

2010-11-22_01.jpg

About this Archive

This page is an archive of recent entries in the Elevator category.

Horizontal Stabilizer is the next category.

Find recent content on the main index or look in the archives to find all content.