Before i moved to the UK a bit more than a year ago people told me that there would be no snow. Maybe a day, but definitely not more. Well, last winter we enjoyed the white beauty for about six weeks. And this winter? Three days ago it started snowing. It's still there, about 10 inches thick, and more is coming. :-)
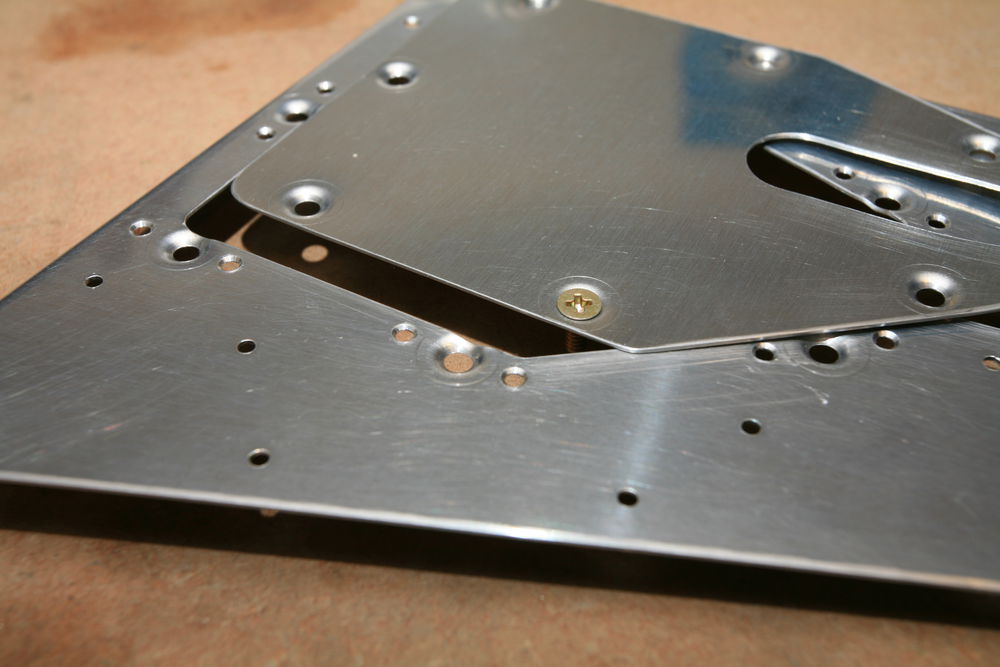
Today I edge finished and deburred the trim cover plate E-616PP and the trim access reinforcement plate E-615PP. The cover will be held by #6 screws, so I will have to put platenuts on the reinforcement plate. I countersunk the rivet holes for the platenuts for NAS1097 rivets, because I don't want to dimple them. Since the heads of those oops-rivets are so small, countersinking is just a matter of giving the hole a couple of turns with the deburr tool.
However, I'm not sure what to do with the screw holes. I dimpled them with the #6 screw dimple dies, which is the correct size, but the holes in the reinforcement plate are so close to the edge that the dimple extends all the way to the edge. The cover plate is not a problem, here the edge distance is larger. I'll ask on VAF what other people do.
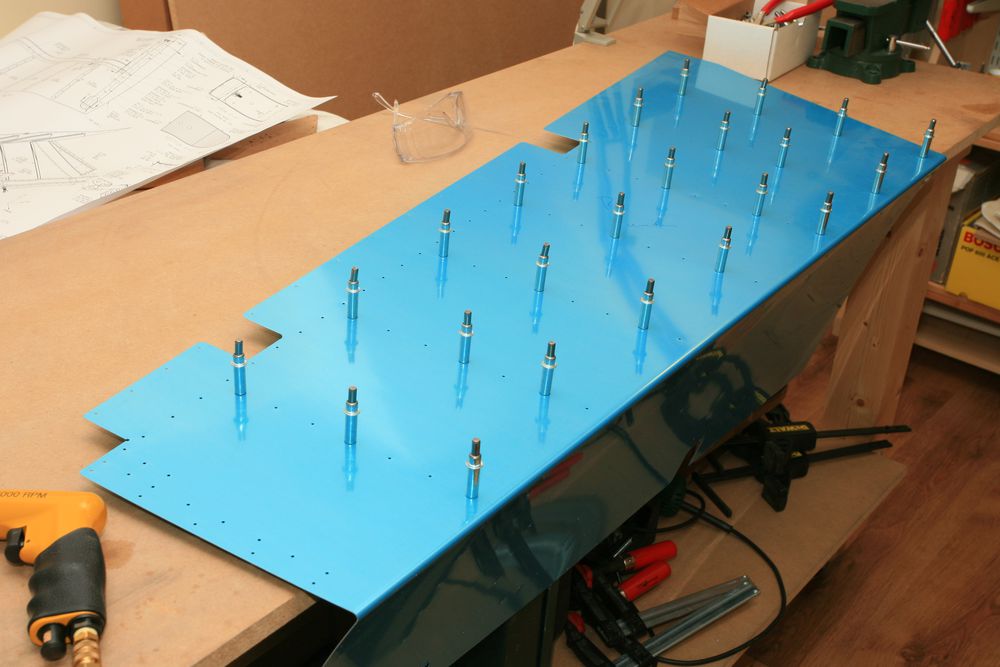
When I was done with the trim access, I drilled the stiffeners to the right elevator skin:
I really have to come up with a way to shoot primer in the house. It's cold and wet outside, so painting in the backyard or in the garage is not an option. I have a "bed room" upstairs that is so tiny that the only direction to fit a bed would be vertical. So far I use that as storage space, but I might empty it and build a paint booth there.