Recently in Vertical Stabilizer Category

More rivets

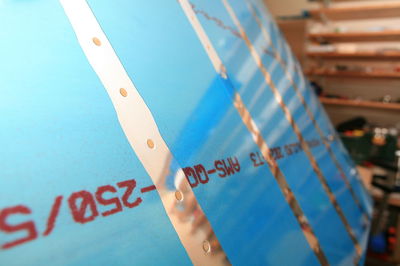
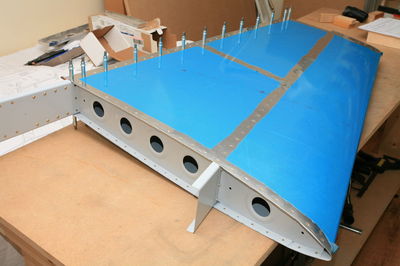
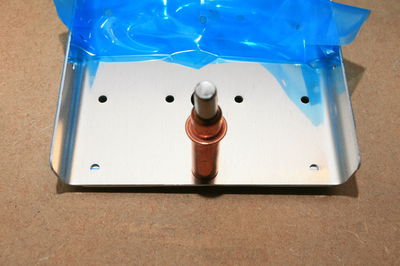
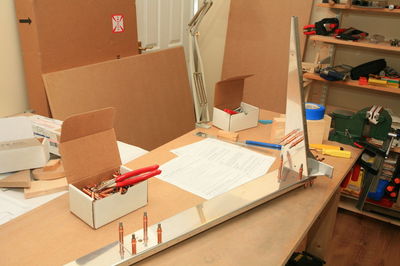
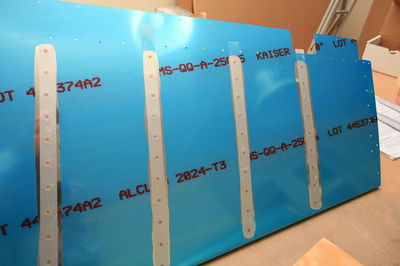
Two productive days! Yesterday I had my first large rivet session. I riveted the stiffeners to the rudder skin. Backriveting is the best option here, so the first step is to insert rivets in the holes and fix them with tape. I use Scotch Magic Tape -- much cheaper than rivet tape and works just as good.

2010-09-05_01.jpg

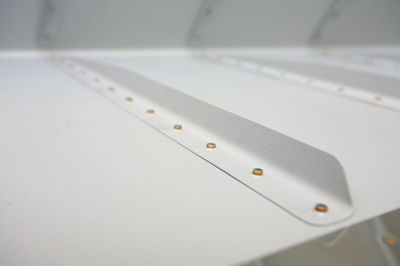
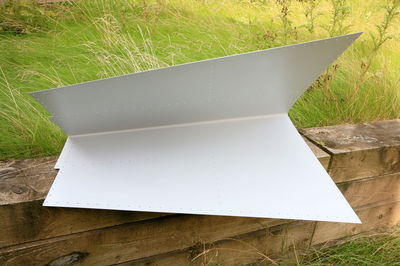
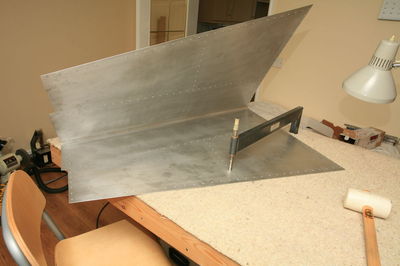
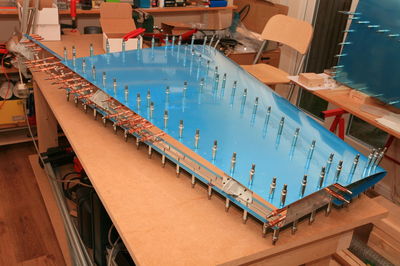
Then you place the skins with the manufactured rivet heads down on a heavy flat chunk of steel and form the shop heads with the rivet gun. This is how the skin looked afterwards; it really is a different beast now, gone is all the floppiness:

2010-09-05_02.jpg

2010-09-05_03.jpg

2010-09-05_04.jpg

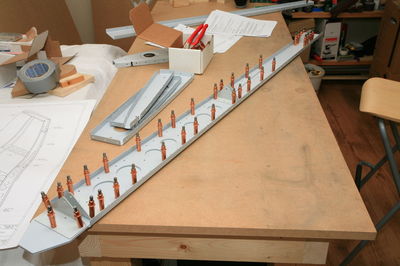
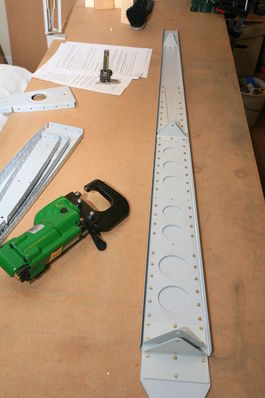
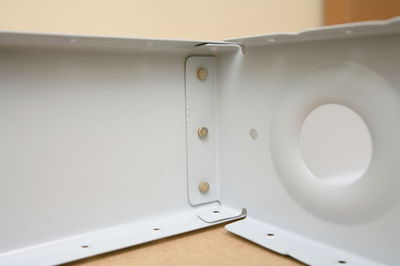
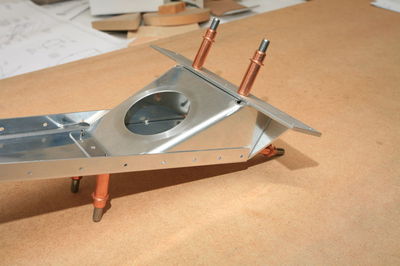
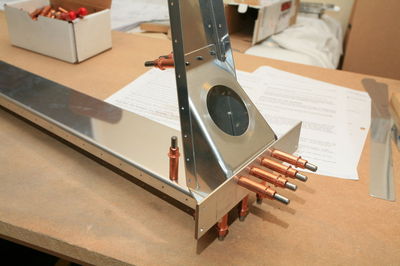
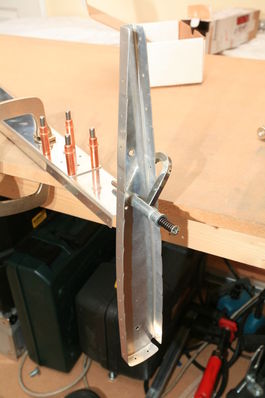
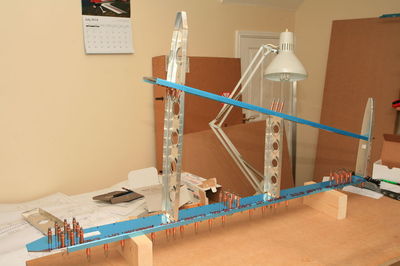
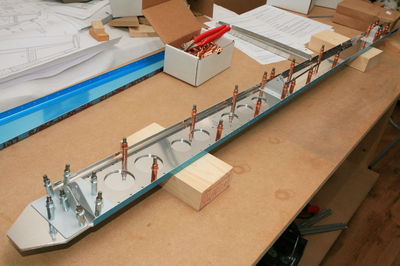
Then I assembled the VS rear spar. Ready for riveting:

2010-09-05_05.jpg

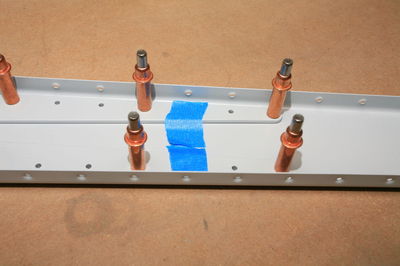
I taped over the holes where the ribs will be attached, so that I don't accidentally put rivets in:

2010-09-05_06.jpg

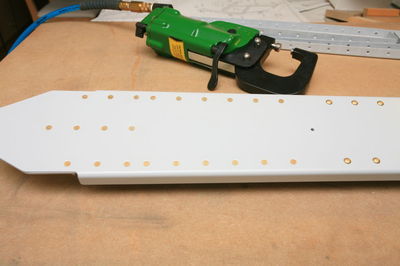
All done, gotta love that pneumatic squeezer!

2010-09-05_07.jpg

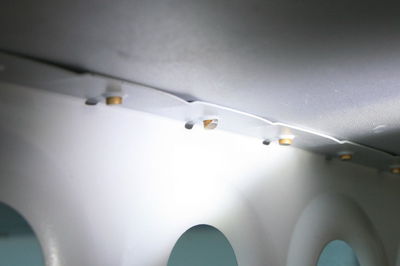
In the lower part of the spar flush rivets are used. That's where the VS will be attached to the fuselage, and universal rivet heads would interfere:

2010-09-05_08.jpg

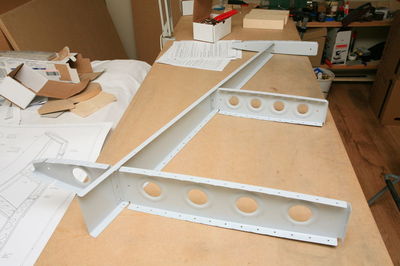
This afternoon I first riveted the VS ribs to the front spar:

2010-09-05_09.jpg

2010-09-05_10.jpg

I told you that I got some runs on the first ribs I primes ...

2010-09-05_11.jpg

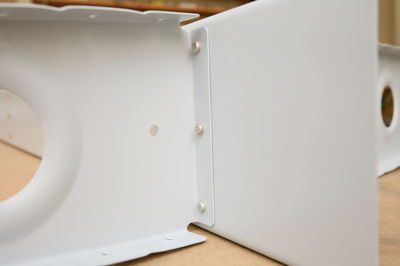
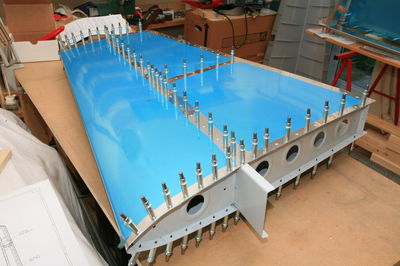
Now I could cleco and then rivet the VS skin to the front spar and the ribs. I love that tungsten bar!!!

2010-09-05_12.jpg

I drilled out four rivets on the VS. On two I slipped with the bucking bar (see the picture below) and two were simply too short. Van's calls for AN426AD3-4 rivets where the front spar and the main rib at the bottom meet, but there's no way to get a proper shop head with that. I ended up using -4.5 and that worked fine.

2010-09-05_13.jpg

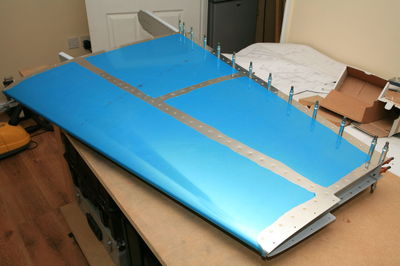
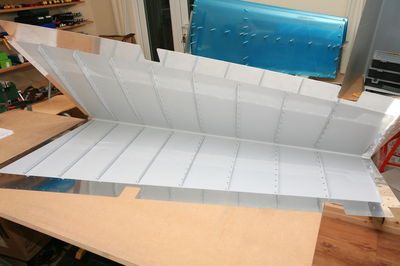
Look ma, no clecos! (Except on the rear spar, that is. I can't close any parts before someone official has looked at them.)
2010-09-05_14.jpg

2010-09-05_15.jpg

Prime time

This afternoon was prime time! Premiere with a spray gun for me, too. I had cleaned and etched all the VS skeleton parts and the rudder stiffeners yesterday, and the VS and rudder skins today. For the rudder I left the outer part of the skin unprimed, since it still needs to be drilled to the spar and dimpled. So I taped that area for scuffing, etching and priming. Impressive to see the difference between the bare alclad and the scuffed and etched surface:

2010-08-31_01.jpg

Shooting the primer is really a learning experience. I got some runs on the flanges of the first ribs I primed, but the later parts went much better. I also grossly underestimated the amount of primer I need, so I ran out of primer three times. Later I searched the VAF archives and found that the amount I used isn't uncommon at all, and measuring the thickness in a couple of locations shows that I have about .0015 inch of primer on the parts (well, except for those first ribs ...).

BTW, I'm using Stewart's EkoPoxy, smoke gray. This is a water borne epoxy primer that forms a sealed surface. It is supposed to be fairly tough and the best part is: it's considered non-hazardous and doesn't contain chromates or lead. I still wear a respirator, but I'm not as concerned about my health as I would be with the classic zinc chromate stuff. Since it's water borne, cleanup is easy, too -- just rinse with water.

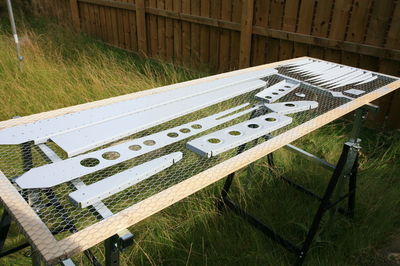
The VS skeleton:

2010-08-31_02.jpg

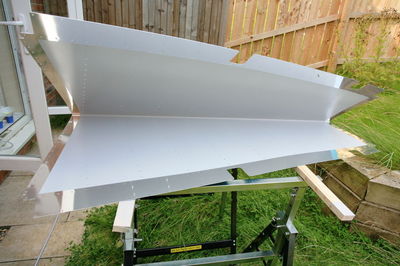
Rudder skin:

2010-08-31_03.jpg

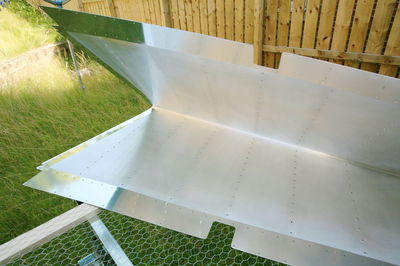
VS skin (no, I didn't shoot it in the grass):

2010-08-31_04.jpg

Dimpling VS and rudder skins

I was hoping that I could start to prime today, but the weather wasn't exactly cooperative.

2010-08-29_01.jpg

So I only finished dimpling the VS skin and deburred/dimpled the stiffener holes in the rudder skin. I don't really like the C-frame for dimpling. I find it hard to get nice dimples, and overall it's rater cumbersome. Hopefully I get the frame for my DRDT-2 soon, that should be much nicer. Anyhow, thanks Steve for lending me the C-frame in the meantime!

2010-08-29_02.jpg

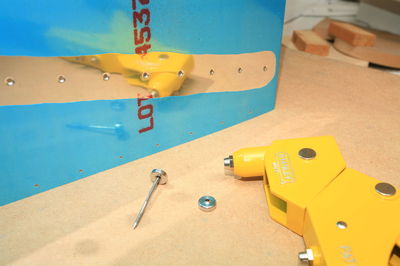
I couldn't reach the three aft holes of each stiffener in the rudder skin with the C-frame dimpler, so I used the pop rivet dimpling tool. It's an ingenious piece of equipment. The two dies have a center hole through which you can put a nail. So you put one die on the nail, push the nail through the hole in the skin, put the second die on the nail, and then compress this sandwich with the blind rivet puller.

2010-08-29_03.jpg

There will be a shared container from Van's to the UK later this year, and they are collecting orders now. I will probably join and get the wings, so I spent some time today researching different options (flop tube, which fuel senders, ...).

Rudder skeleton and VS skin

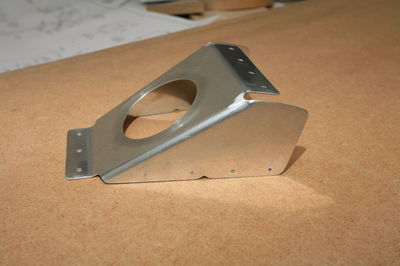
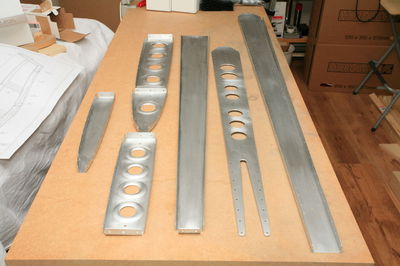
Today was a good day. I started working on the rudder skeleton. First I trimmed the R-710 rudder horn brace. I didn't take a "before" picture, but here is the brace after trimming:

2010-08-28_01.jpg

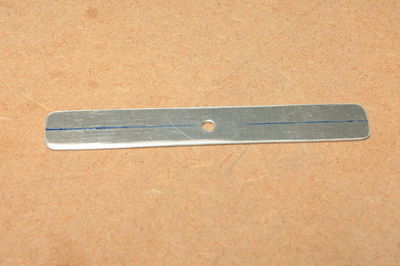
When you do this, be careful not to trim to much. It's very easy to run into edge distance problems at the skin hole nearest to the spar (the blue Sharpie mark on the far right bottom).

I had rounded the top edge of the R-405PD rudder horn already yesterday, to fit it to the R-704 rib. So I could cleco the rudder horn and the rudder horn brace to the rib:

2010-08-28_02.jpg

Looks good, everything seems to fit.

Next step was match-drilling the R-717 spacer to the spar. I marked the center line, drilled the middle hole and clecoed the spacer to the spar such that I could see the center line in the two other holes. Like this I knew that it is straight.

2010-08-28_03.jpg

2010-08-28_04.jpg

Having the spacer, I then could cleco the whole assembly to the spar. As you can see, I also clecoed the reinforcement plates on. Oh, and all the parts are already edge finished except for the rudder horn.

2010-08-28_05.jpg

2010-08-28_06.jpg

After some thinking I'm pretty sure now that I can use solid rivets in all holes in this area. We'll see. I drilled all the holes in the spar web and the holes that hold the rudder and rudder brace together and to the bottom rib to final size. Then I prepared the tip rib (edge finishing, fluting) and drilled it to the spar, too:

2010-08-28_07.jpg

As finale I deburred and scuffed the skin of the vertical stabilizer, and dimpled the holes I can reach with the squeezer. I didn't want to use the C-frame dimpler late in the evening, for obvious reasons. No photos, sorry.

Deburring and dimpling VS skeleton

Three days ago I disassembled the vertical stabilizer, deburred the skeleton and scuffed it, as I figured this would be easier before dimpling. Yesterday I cleaned up all the black dust from scuffing. I don't even want to think about the mess once I start with all the wing ribs ...

2010-07-18_01.jpg

Today I also spent a little while in the workshop, dimpled the skeleton and countersunk the rear spar doubler where needed.

2010-07-18_03.jpg

2010-07-18_02.jpg

Now I only have to deburr and dimple the skin, then the VS is ready for priming.

More VS work

Today the work on the vertical stabilizer continued. I started off with preparing the ribs, then I drilled the spar and assembled and drilled the skeleton:

2010-07-10_01.jpg

After this I clecoed the skin to the skeleton and drilled everything:

2010-07-10_02.jpg

Getting the VS-705 nose rib to fit was a bit of a pain -- it took me more than half an hour. But now it's all done and the vertical stabilizer is ready for disassembly.

Started VS rear spar

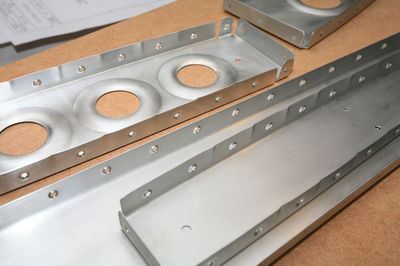
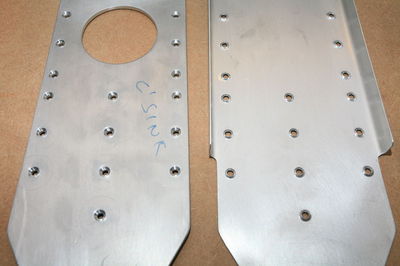
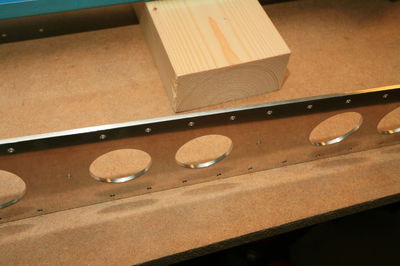
Yesterday I had a closer look at the plans and instructions for the vertical stabilizer, and today I started by finishing the edges of the rear spar doubler. The punch marks were so rough that I didn't want to scratch the spar channel with them.

2010-07-07_02.jpg

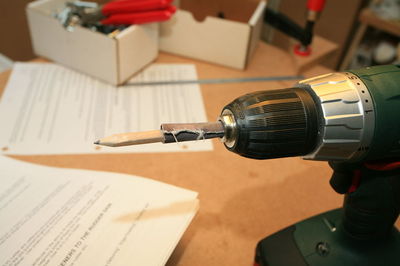
I bought a drum sanding kit, and it worked great for the lighting holes, but even the smallest drum was too large for the gap in the upper part of the doubler. Some emery cloth wrapped around a pencil mounted in an electric screwdriver worked great!

2010-07-07_03.jpg

Finally I clecoed the doubler to the spar. Any drilling will have to wait until tomorrow, though. It's bed time now.

2010-07-07_04.jpg

About this Archive

This page is an archive of recent entries in the Vertical Stabilizer category.

Rudder is the previous category.

Find recent content on the main index or look in the archives to find all content.