July 2010 Archives
Three days ago I disassembled the vertical stabilizer, deburred the skeleton and scuffed it, as I figured this would be easier before dimpling. Yesterday I cleaned up all the black dust from scuffing. I don't even want to think about the mess once I start with all the wing ribs ...
Today I also spent a little while in the workshop, dimpled the skeleton and countersunk the rear spar doubler where needed.
Now I only have to deburr and dimple the skin, then the VS is ready for priming.
Since I received the HS-405 replacement yesterday, I continued with the HS work tonight. First I finished drilling the skin on the right stabilizer; a couple of holes were still missing. Rather uneventful. Then I grabbed the left HS to get the replacement HS-405 in place. I marked the hole positions, fluted the rib, pilot drilled the front flange, clamped the rib into the stabilizer and ... found another way to mess it up, even though the reason is similar: I didn't clamp the stabilizer to the bench. Shouldn't I have learned this lesson last time? When I match-drilled the first of the two holes which attach the rib to the rear spar, the stabilizer laid on the bench and while holding the stabilizer I put some pressure on the spar. Just enough to shift the spar down by 1/32" wrt. to the rib. Of course you already know the result: The hole in the rib is off by 1/32. For a -4 rivet that's quarter of a hole. Maybe I now learn to clamp everything, rather than only almost everything like I did so far? I surely hope I do.
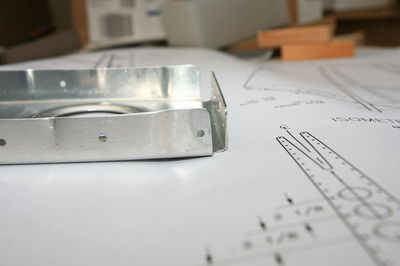
I got my HS-405 replacement rib for the left horizontal stabilizer this morning. In an attempt to do at least a little work on the plane every day, I finished the edges tonight and made the flanges perpendicular to the web.
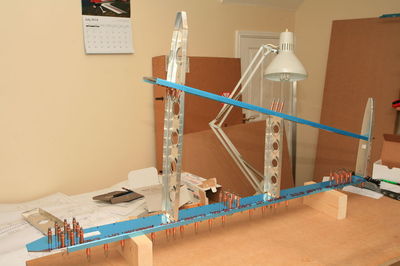
Today the work on the vertical stabilizer continued. I started off with preparing the ribs, then I drilled the spar and assembled and drilled the skeleton:
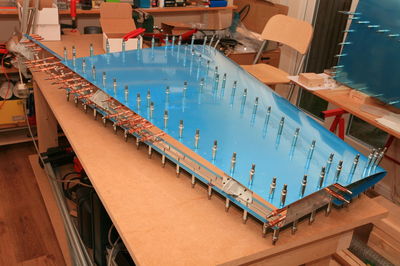
After this I clecoed the skin to the skeleton and drilled everything:
Getting the VS-705 nose rib to fit was a bit of a pain -- it took me more than half an hour. But now it's all done and the vertical stabilizer is ready for disassembly.
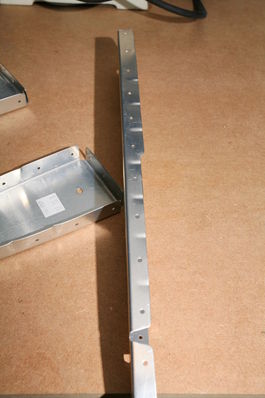
Yesterday I had a closer look at the plans and instructions for the vertical stabilizer, and today I started by finishing the edges of the rear spar doubler. The punch marks were so rough that I didn't want to scratch the spar channel with them.
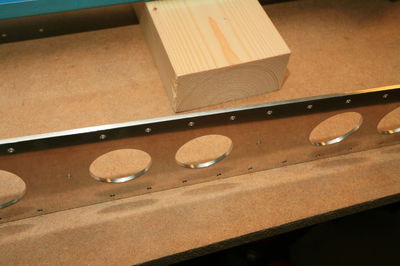
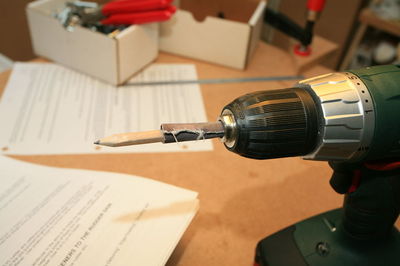
I bought a drum sanding kit, and it worked great for the lighting holes, but even the smallest drum was too large for the gap in the upper part of the doubler. Some emery cloth wrapped around a pencil mounted in an electric screwdriver worked great!
Finally I clecoed the doubler to the spar. Any drilling will have to wait until tomorrow, though. It's bed time now.
Two days ago I spent a short while in the workshop and drilled the right HS skin. Not much work. Since Van's was closed on Monday, I ordered the replacement rib yesterday and also asked them about the edge distance of the most forward hole in the HS-405 top and bottom flanges. I got the same answer as generations of builders before: There is just no way of keeping proper edge distance on this hole, and it's fine from an engineering point, so forget it and build on.
I've put the HS on hold for now and will start with the vertical stabilizer.
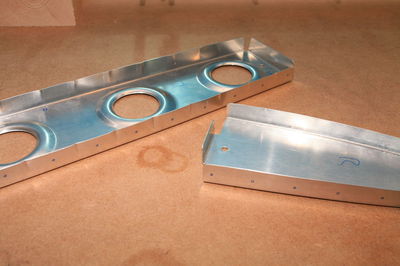
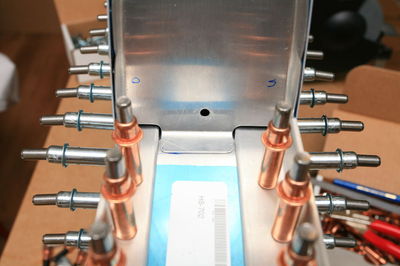
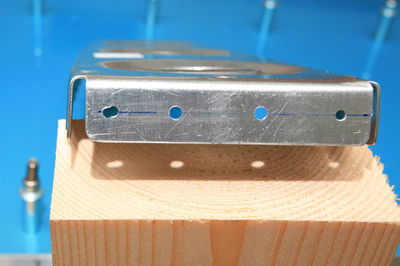
Since the left HS is on hold until I get the replacement HS-405 rib, I started drilling the right HS in the afternoon. Same steps as for the left side, just that everything went much faster this time: Assembling and drilling the skeleton, putting the skin on, drilling the middle rib to the rear spar, marking and fluting the HS-404 and HS-405, drilling the HS-405 to the rear spar and the skin, drilling the front spar to the skin, and finally drilling the intersection of the front spar with HS-404 and HS-405 (where I got stuck with the left stabilizer). Since I didn't take a picture of the HS-404 and HS-405 when I was fluting them on the left side, I took a picture now. You can see the approximate hole positions marked with a Sharpie, so that I can put the flutes in between:
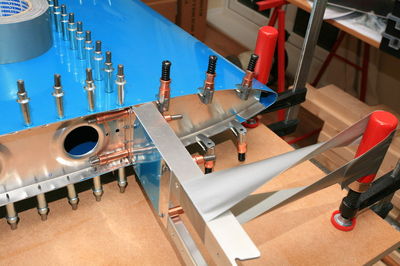
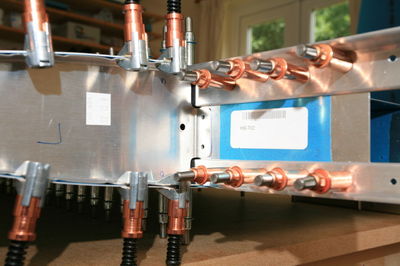
Drilling the intersection was a non-event, mainly because I took much better care of securing everything to the work bench, so that I could use both hands on the drill. If duct tape can't fix it ...:
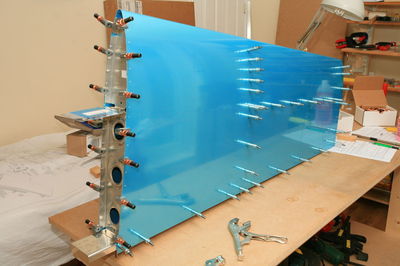
Two nights ago I continued working on the left HS. I clecoed the skin to the skeleton, marked the approximate hole locations on the inner ribs (HS-404 and HS-405) and fluted those two ribs. With the skin it really looks like an airplane part:
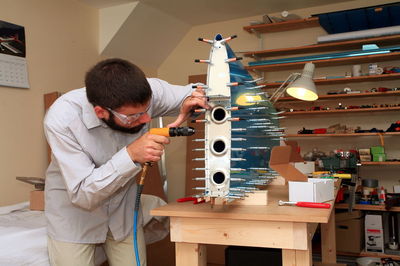
Today I drilled the HS-405 rib to the rear spar and then to the skin, and I also drilled the skin to the front spar:
When I prepared the junction of the HS-404 and HS-405 ribs with the front spar and the two front spar angles, I had to trim the HS-404 rib a bit more. Remember that I under-trimmed them to be safe with the edge distance? That was certainly the right decision -- thanks to all the other build log on the web for the heads up!
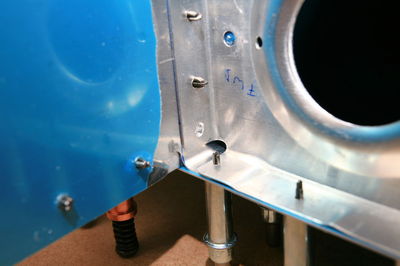
The two center holes came out fine and edge distance on the HS-404 isn't a problem at all:
I was still in a good mood when I started drilling the third hole, but then the drill wandered and ... I guess I'll support the US economy and get a new HS-405 rib.
The hole is too large to be saved, and I'm below edge distance anyhow. Will contact Van's tomorrow. Fortunately the front spar and the HS-810-1 are not damaged -- the markings on the spar are constrained to the area where the hole will be.
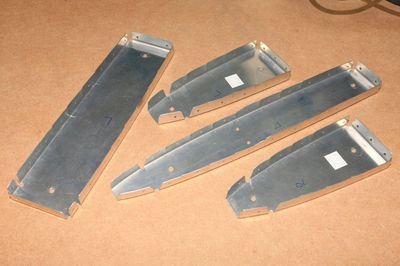
Another productive day! Today I started by fluting the HS ribs (except HS-404 and HS-405 for which the location of the holes is not yet known):
When the ribs were fluted, I spent an hour staring at the drawings, the instructions and the parts to visualize the next steps. I don't feel like messing up parts by drilling in the wrong spot, not keeping proper edge distance, or any other stupidity. When I was convinced that I know how to continue, I marked and pilot drilled the forward flange of the HS-405 ribs. This is where the HS-405, HS-404, the front spar and the two front spar angles join, and edge distance on the HS-404, HS-405 and HS-810-1 matters:
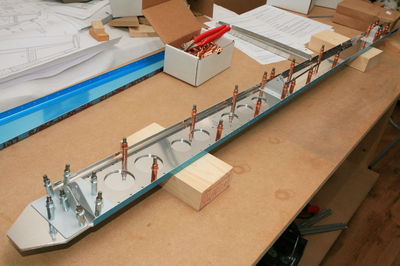
Finally I put the pieces for the left side of the HS together and drilled all the rib-to-spar holes (yes, this is the left side, it's just upside-down on the table):
